In the nine previous articles in this series, we have learnt how to set up a Siebel Sandbox instance for Siebel users who want to re-implement Siebel and how to upgrade the application servers for users who want to perform an in-place upgrade.
This article is relevant to all users who want to perform an in place upgrade. This might be Siebel 8.1.1.X users, for whom an in place upgrade is the correct way forward, or Siebel 8.X customers who are not completing a re-implementation because of some constraints.
The Siebel upgrade process is split into 3 separate parts which are described below:
- Upgrade the Non Production Database (Development Database).
- Perform the Database Upgrade.
- Perform the Incremental Repository Merge and any bug fixes.
- Upgrade the production database (non-development instances).
This article details the first step in the process – performing the database upgrade for the non-production database.
Preparing for the upgrade
Requirements
- There must be a valid installation of a Siebel Application Server and a Siebel Database Server for the steps to be performed. These need to be the version being upgraded to.
- An installation of Siebel Tools in the version being upgraded from is mandatory for a repository rename and repository deletes.
- The OBBC connection must be tested. It should use the Siebel drivers which are registered when the Siebel server is installed.
Database Tasks
The following tasks need to be completed on the database server before any further steps are started. It is critical that these steps are performed so that the upgrade does not fail because of memory or other performance constraints:
- Ensure that the NLS sort parameter is set to Binary.
- Pctincrease on the tablespace should be high to avoid too many extents.
- Pctfree must be 30 or higher on the large tables. Typically tables like S_CONTACT, S_EVT_ACT etc.
- DB_CACHE_SIZE. Set this parameter to a minimum of 394264576, higher would be better.
- SORT_AREA_SIZE. Set this parameter to a minimum of 1524288. Higher would be better.
- UNDO_MANAGEMENT should be set to auto.
- The following needs to be done for the ODBC connection on the windows server from which the upgrade is being run. If we take the Amazon setup from our earlier articles in this series, this would be the server named Siebel Web_Gateway_Server which has the Database Configuration utilities installed on it.
- Start the registry editor (regedit).
- Navigate to the following location:
HKEY_LOCAL_MACHINE\Software\Systemwow64\ODBC\ODBC.INI\ODBC_Name(Please refer to the installation instructions for Siebel Tools where this is created) where the ODBC_Name is the ODBC name for the Oracle Database. - In the data display pane, verify that the following entries are present:
123Name Type DataColumnsAsChar REG_SZ 1ColumnSizeAsCharacter REG_SZ 1 - If these entries are not present, then right-click in the data display pane, choose New, and then String Value to add them.
- Step off the ODBC_Name and return to it. Verify that the two new entries are present and correct.
- Close the Registry Editor and reboot.
- Take a full backup of the development database.
Backup of S_LST_OF_VAL, S_SRM_ACTION, S_SRM_ACT_PARAM_S_SRM_REQUEST
It is recommended that the following tables be backed up so that none of the transactional data is lost during the upgrade. The S_LST_OF_VAL table is extremely important and must be backed up. These tables are purged and recreated during the upgrade process and custom values are de-activated. To back up these tables the following steps can be used:
- From the Windows command prompt, navigate to
<siebsrvr>\bindirectory. - From this directory, execute the following command to run Siebel DATAEXP utility (replacing $tokens with actual values that represent the environment):
dataexp /u SADMIN /p $Password /c "$ODBCDataSource" /d SIEBEL /f$DataFileToExport.dat /l $LogFile.log - When prompted Type S_LST_OF_VAL, and hit Enter.
- The export is complete when the utility prompts you for a table name again.
- Repeat steps 2 to 5 for S_SRM_ACTION, S_SRM_ACT_PARAM and S_SRM_REQUEST.
- Close the command window, check the log file for errors, and verify that the data files were created.
Additional Recommended Tasks
The following additional tasks are recommended:
- Take a backup of all the runtime events. The upgrade process introduces a lot of new runtime events which cause a tremendous load on the server once it is up and running. The new runtime events will need to be deactivated if not required.
- Deactivate all workflow processes. This ensures that runtime event actions associated with old workflows are cleaned up properly.
- Verify that all tasks with the status of QUEUED are removed from S_SRM_REQUEST. The upgrade process does not clear these.
Siebel Tools Tasks
The following tasks need to be done before starting the upgrade.
- Connect to the server using Siebel tools (please ensure that the Siebel Tools version is the same as the version being upgraded from).
- Open “Repository” in the object explorer.
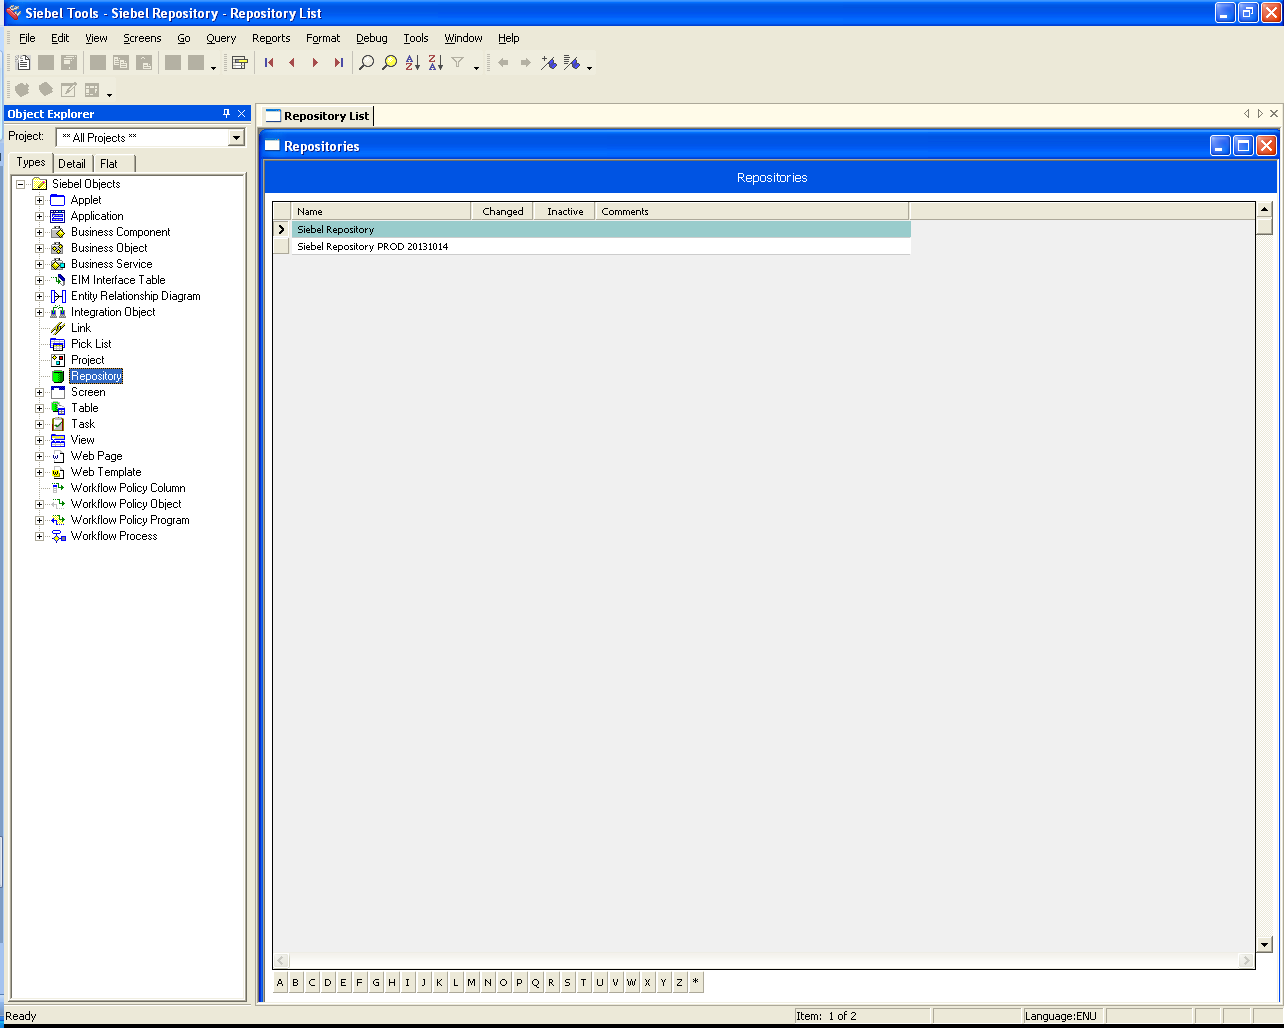
- Ensure that there is only one Repository in the database (Siebel Repository). All other repositories must be deleted. The upgrade will fail if there are multiple repositories.
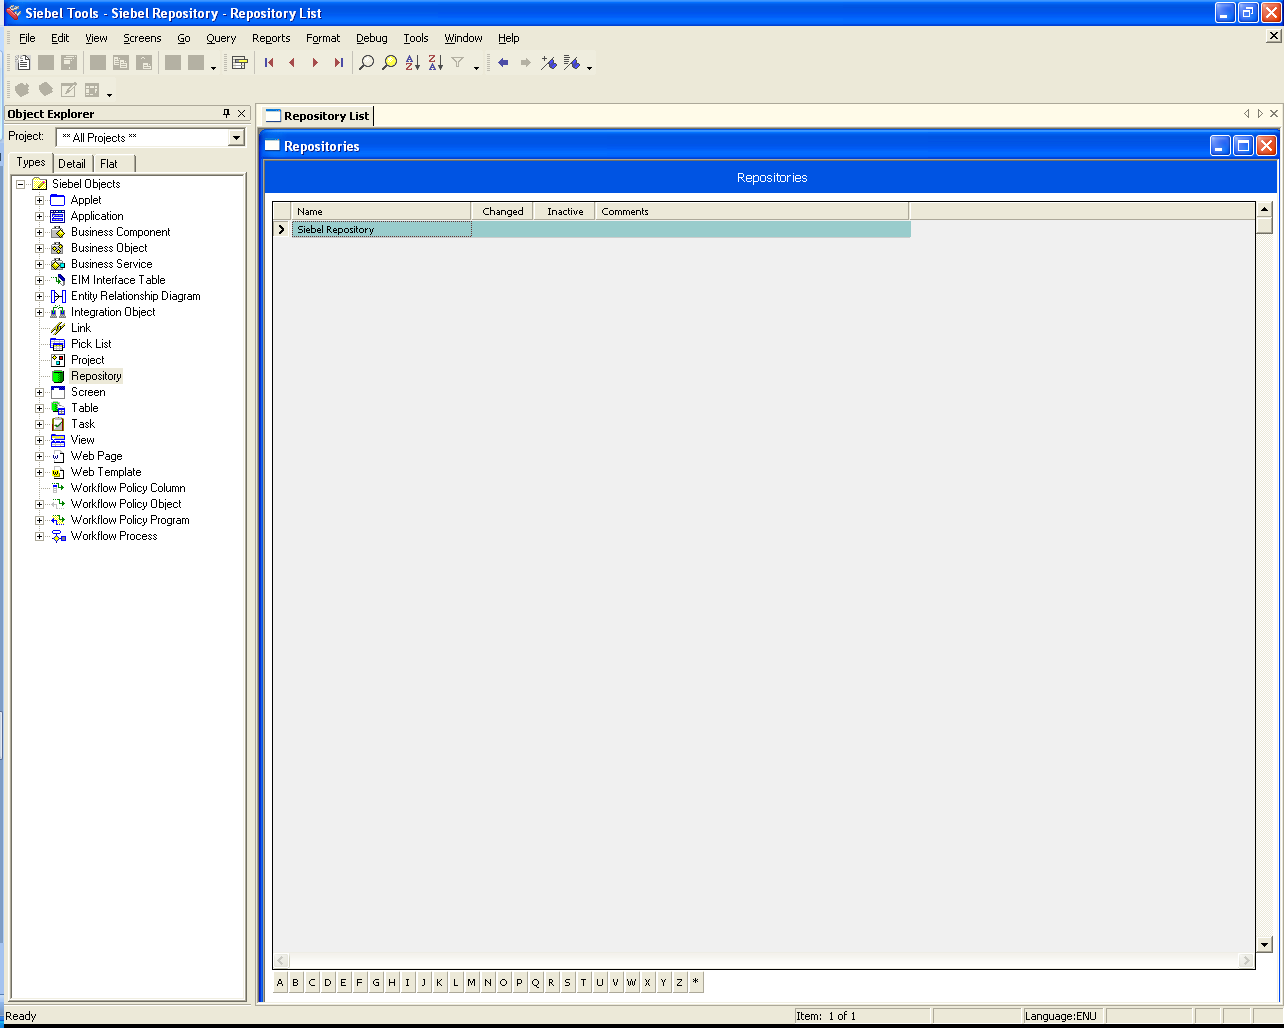
- Rename the “Siebel Repository” to “Prior Customer Repository”

- Close and log off from Siebel Tools.
Extracting the Ancestor Repositories
In the 4th Article in this series (Siebel Network Image Creation), we had extracted a folder called Ancestor_Repositories in the Server named Siebel Database Server in D:\Software. Copy this folder to the D:\Software in the server named Siebel Web_Gateway_Server.
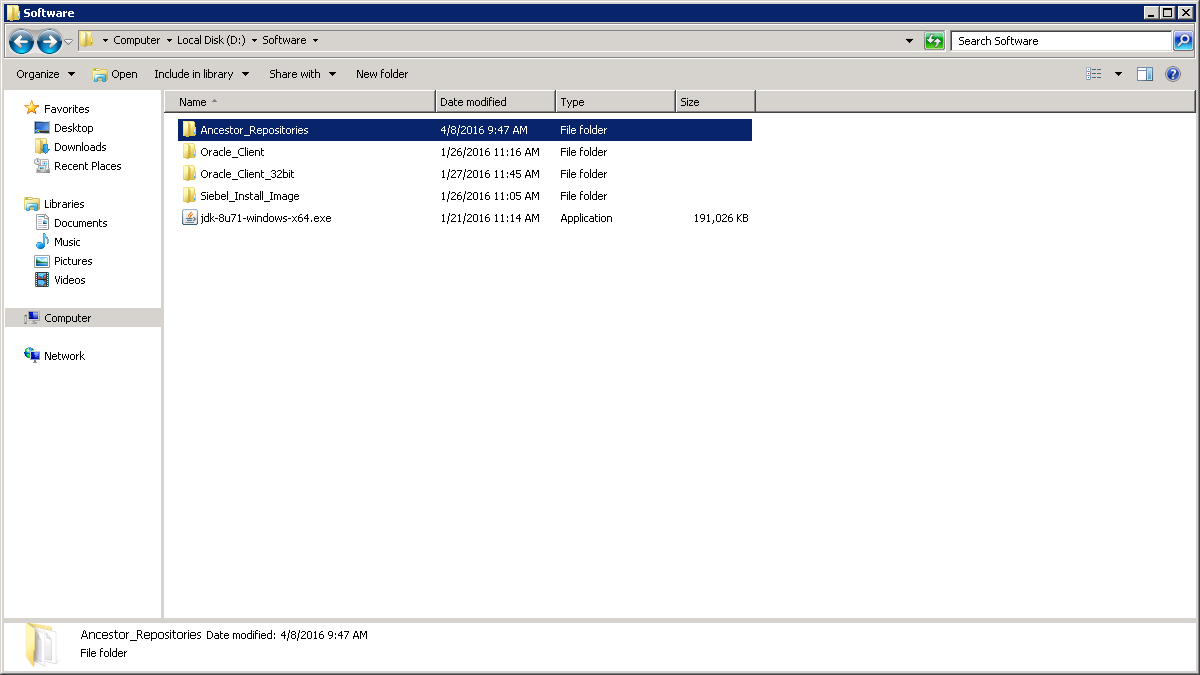
Open a command prompt and navigate to this folder. Please ensure that there are no spaces in the directory name.
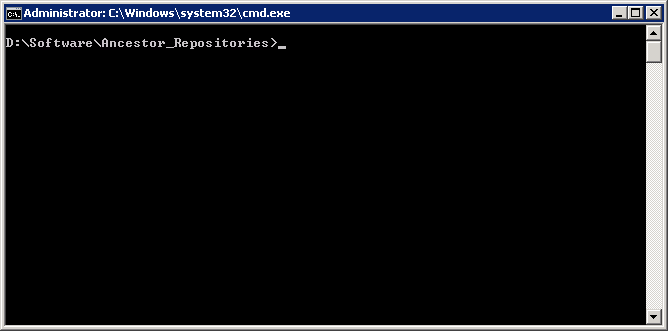
Execute the command “copydat.bat D:\Siebel\15.0.0.0.0\ses d:\temp\log.txt“. (The first parameter is the Siebel server installation folder. The second parameter is the log file to write to.)
This process takes about 30 minutes and copies the Ancestor repositories across to the Database configuration utilities installation folder.
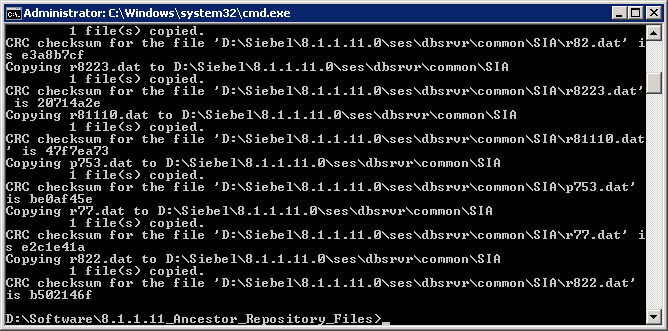
The process is complete once the CRC checksums are verified.
This concludes the preparatory steps for the upgrade and we are ready for the actual upgrade.
Database Upgrade to 8.1.1.15 (Development Database Only)
Before we start our development database we need to keep the following values handy as they are asked for during the upgrade process.
- The SADMIN Password.
- The SIEBEL Password.
- The Index Space name (SBL_INDX in our sandbox environment).
- The Tablespace name (SBL_DAT in our sandbox environment).
- The ODBC Name (DEVENT81_DSN in our sandbox environment).
- The Siebel Version being upgraded from (for example SIA (Siebel Industry Applications) Version 8.0).
Navigate to the Siebel Enterprise Server program folder and click on Database Server Configuration.
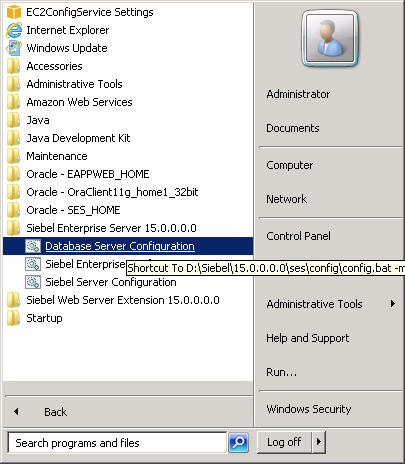
The following wizard opens up:
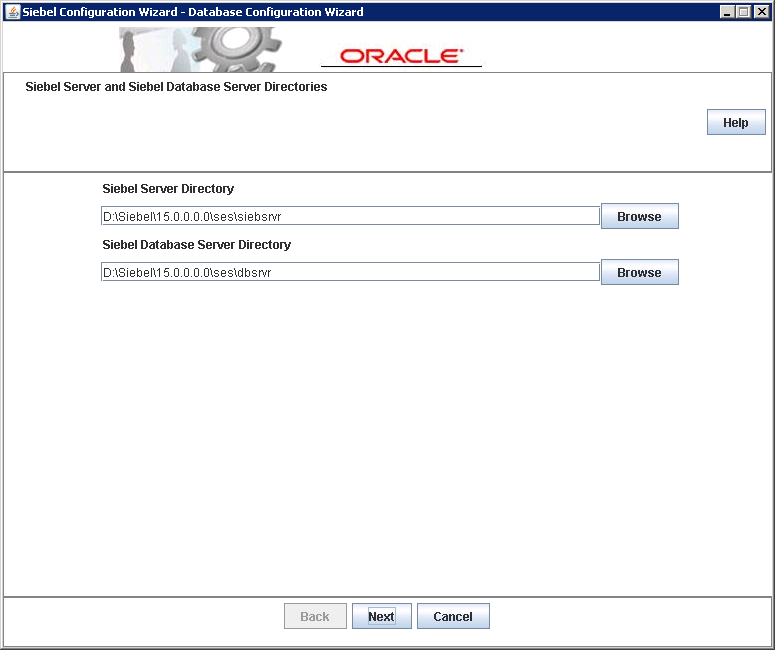
The installation directories are already filled in, please verify the values and click on Next.
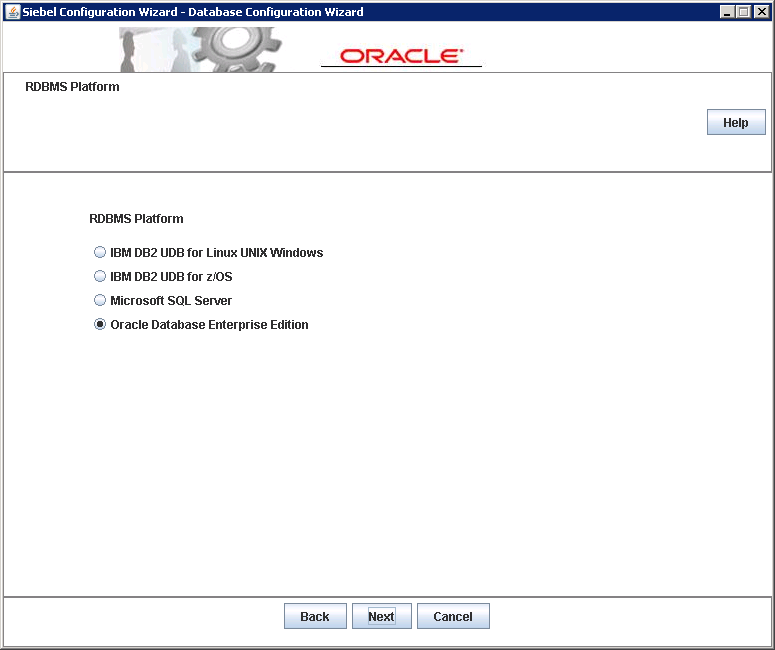
Choose the correct Database platform (Oracle in our case) and click on Next.
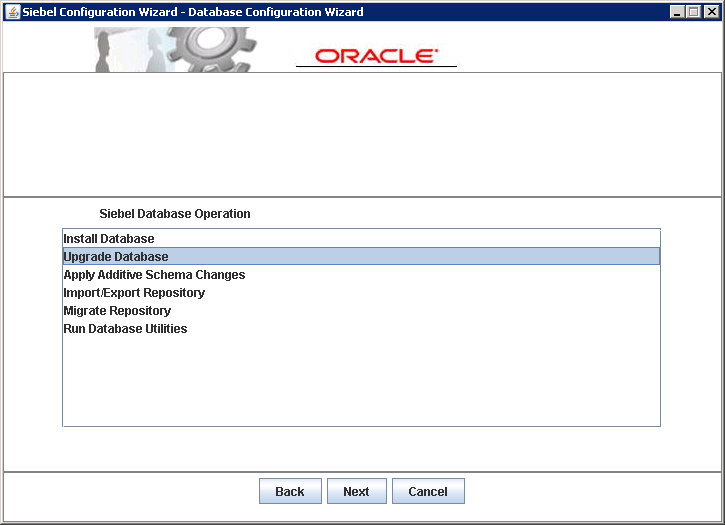
Choose “Upgrade Database” on the Siebel Database operation window and click Next.
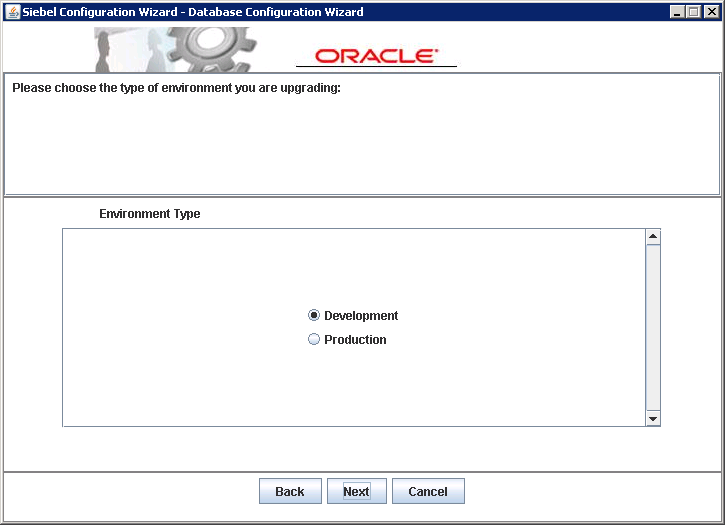
Choose Development for the Environment Type and click on Next.
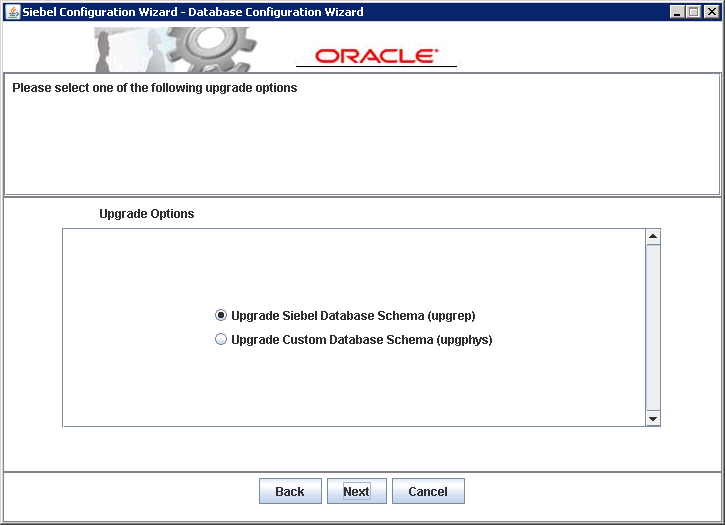
Choose “Upgrade Siebel Database Schema (upgrep)” and click on Next (please note that upgphys is done only after the incremental repository merge is complete).
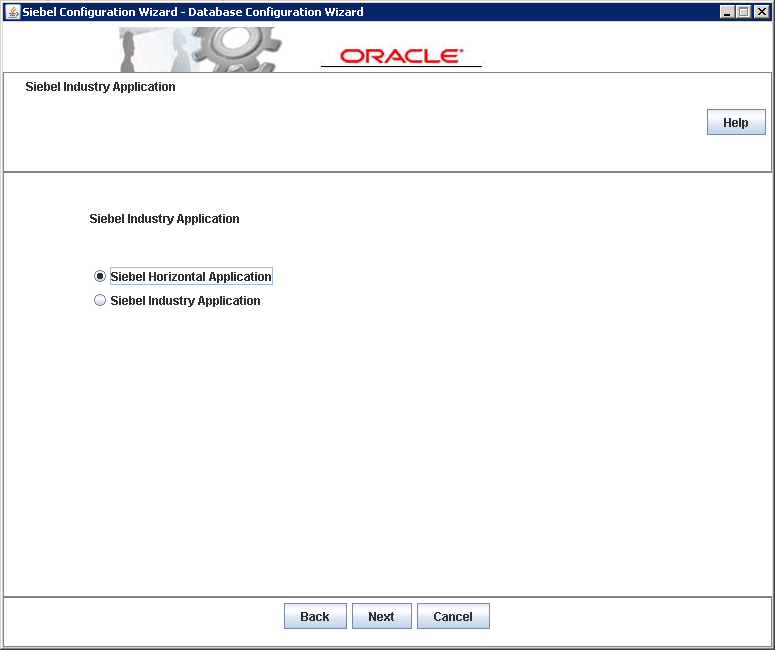
Choose the correct version for your setup: if your current Siebel version is SEA Choose “Siebel Horizontal Application”, if it is SIA, Choose “Siebel Industry Application”. Click on Next once done. This must be chosen correctly, otherwise the upgrade will fail.
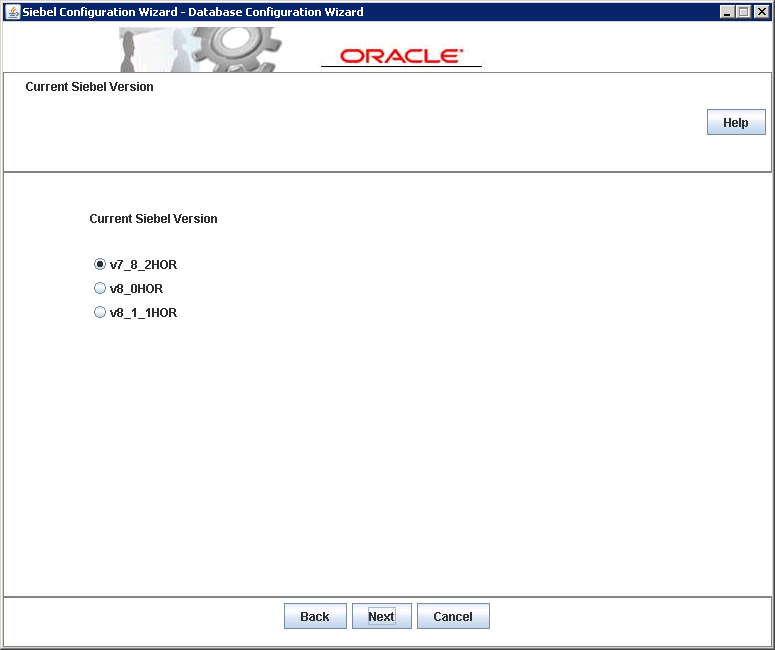
Based on the choice in the previous screen, the version dialog opens up. The values in the image above are what you would see if you selected “Siebel Horizontal Application”.
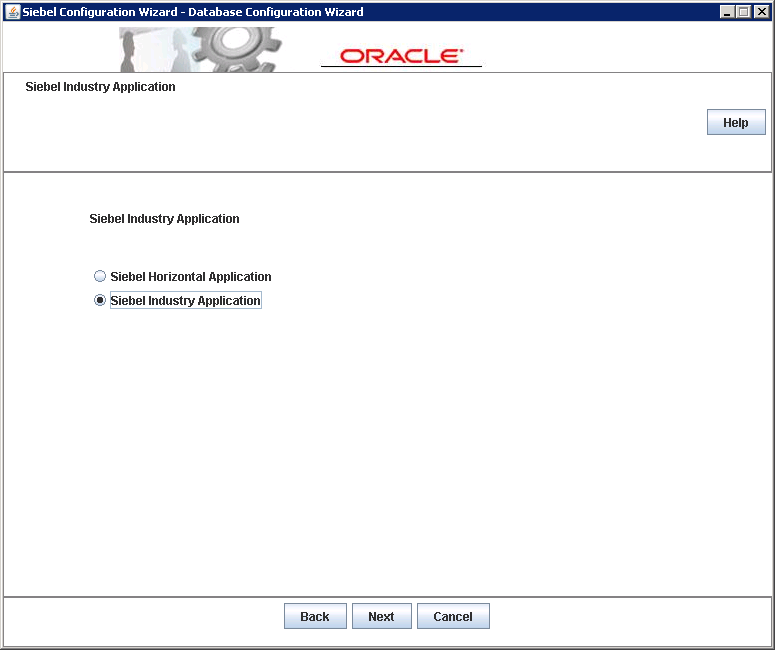
If the current installation is SIA, select “Siebel Industry Application” and click on Next.
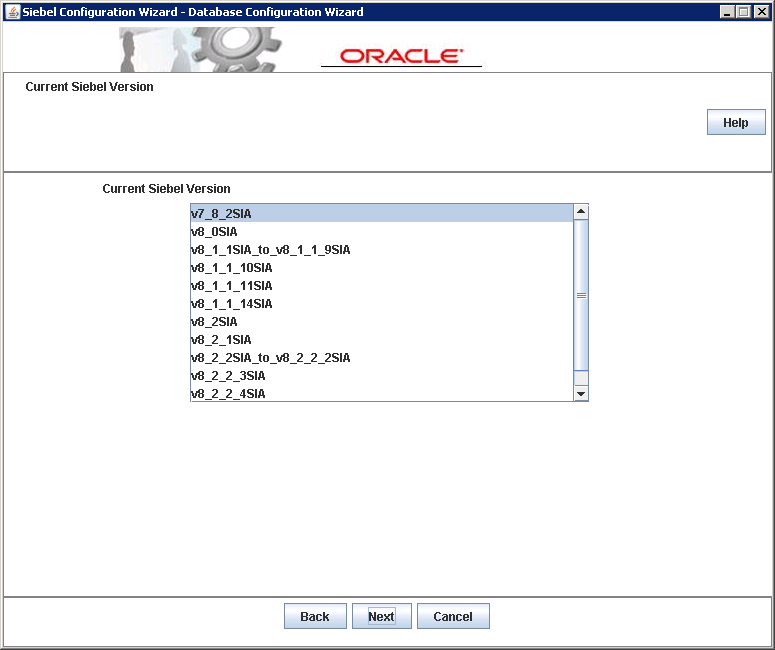
Choose the correct SIA version and click on Next.
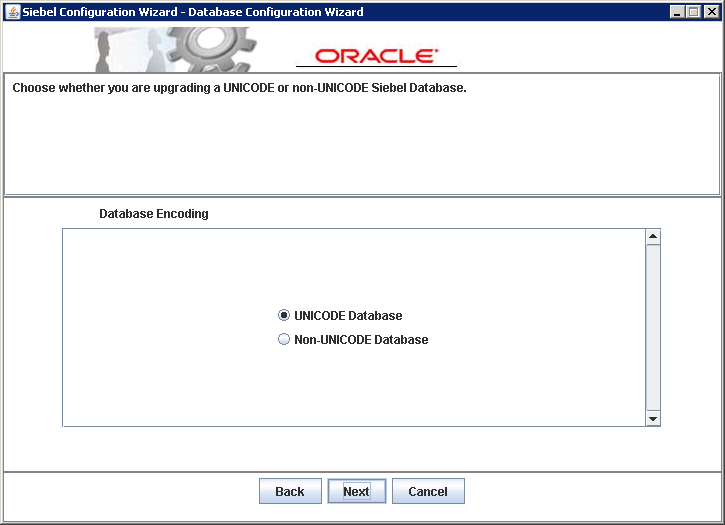
Choose the correct Encoding (UNICODE, in the case of our sandbox) and click on Next.
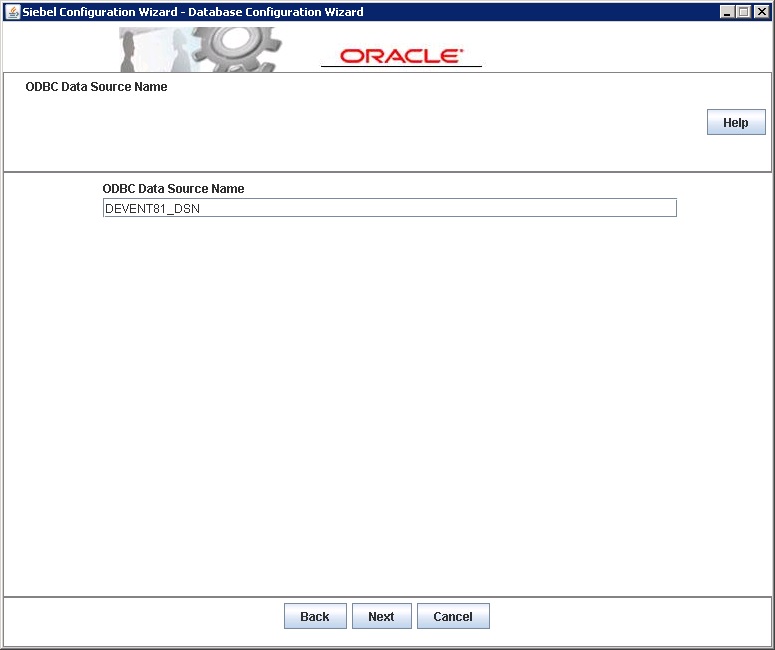
Enter the correct ODBC name at the prompt and click on Next.
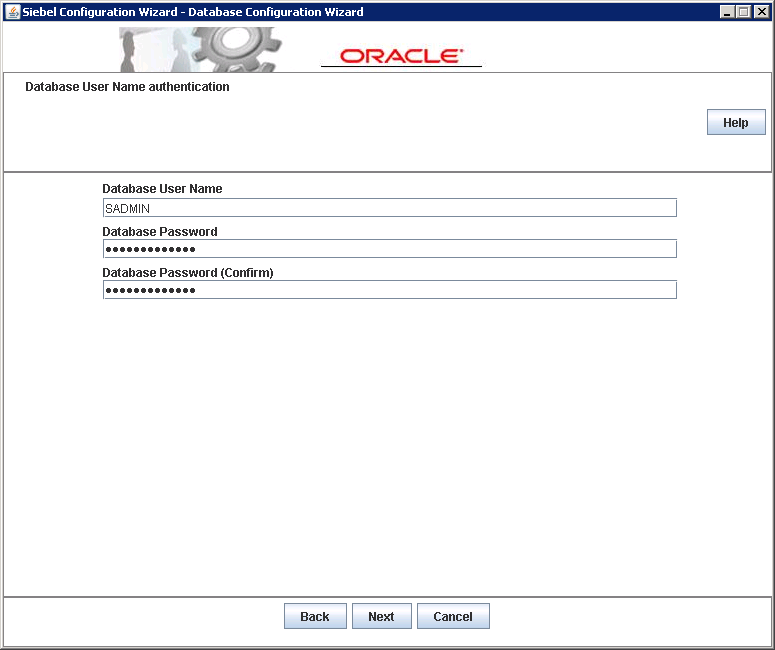
Put in the SADMIN username and passwords in the Database User Name authentication screen. Click on Next once done.
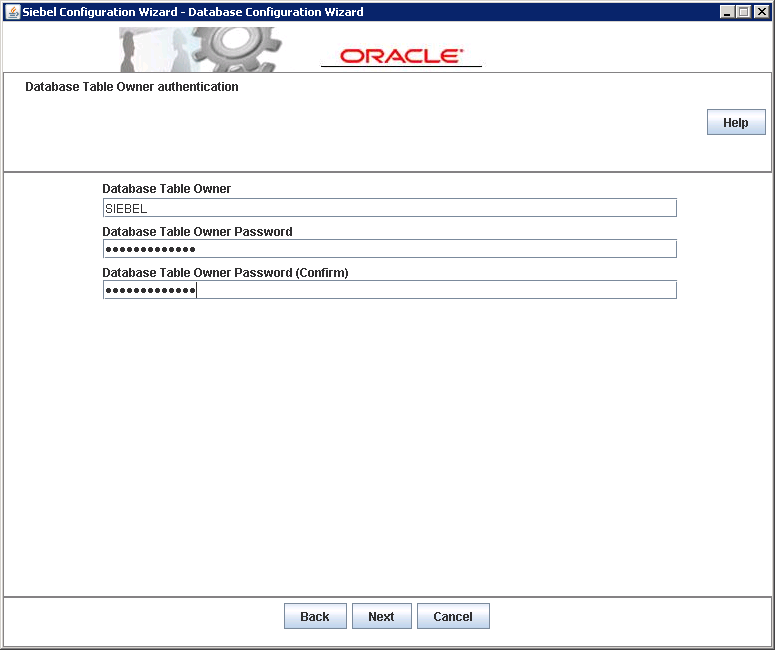
Put in the SIEBEL username and passwords in the Database Table Owner authentication screen. Click on Next once done.

Enter the Index Table Space name (SBL_INDX in our sandbox) and the Table space name (SBL_DAT) for our sandbox and click Next.
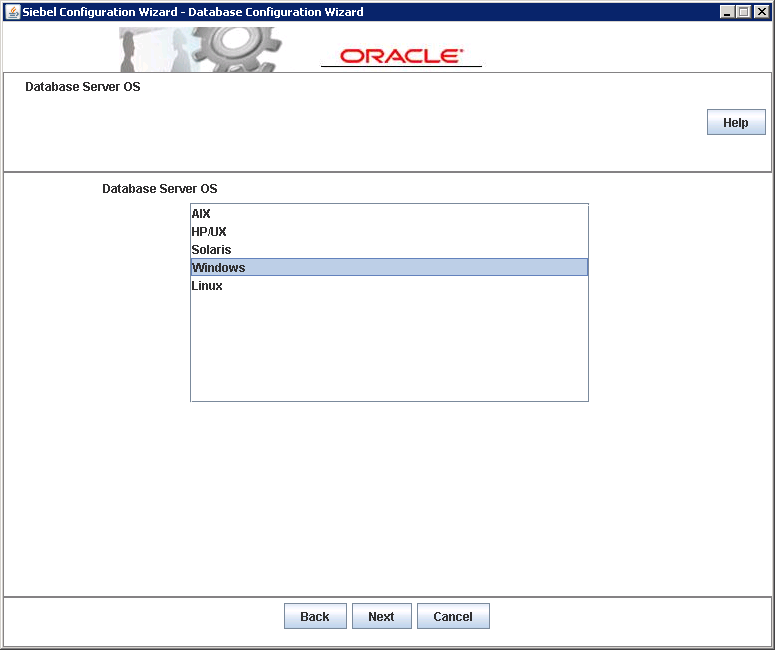
Choose the correct Database Server Operating system (Windows in the case of our sandbox) and click on Next.
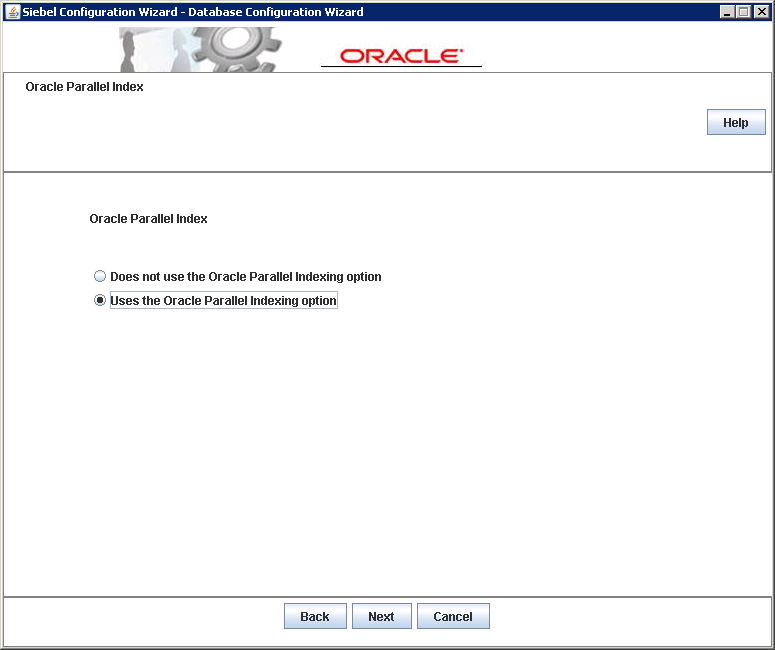
Irrespective of whether parallel indexing is enabled or not, choose the parallel indexing option. This will cut down the upgrade time from 1 hour per major index to around 10 minutes. Click Next once done.
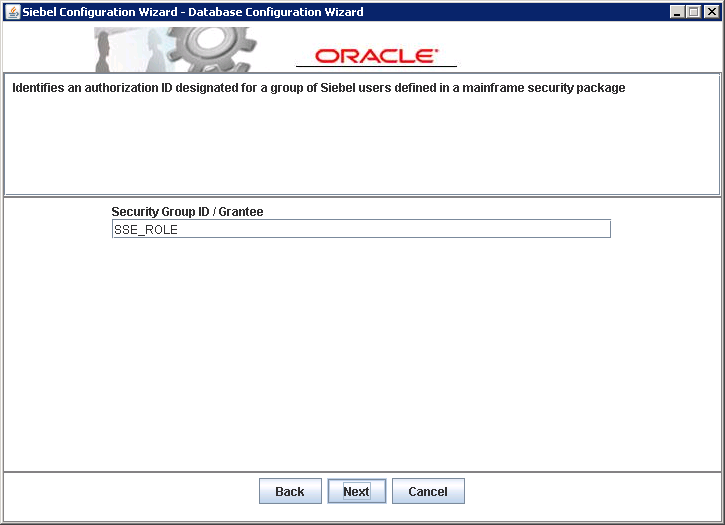
Leave the role as SSE_ROLE and click Next.
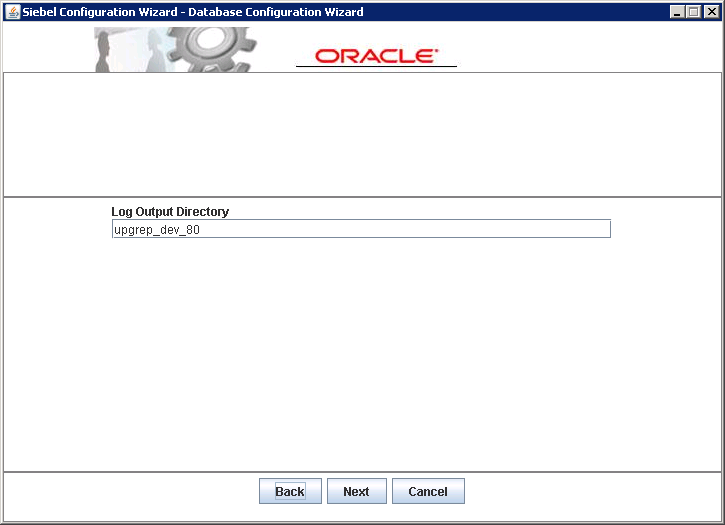
Accept the default for the log output directory and click on Next. Please make a note of the output directory. This is an extremely important folder for 2 reasons:
- If the upgrade fails, this is the folder which holds the upgrade wizard log files. The log files will tell you at what step the upgrade failed so that the errors can be fixed and the upgrade restarted.
- The folder also contains the state of the upgrade. When we restart the wizard, the state files are read and the wizard will start from where it left off rather than from the start.
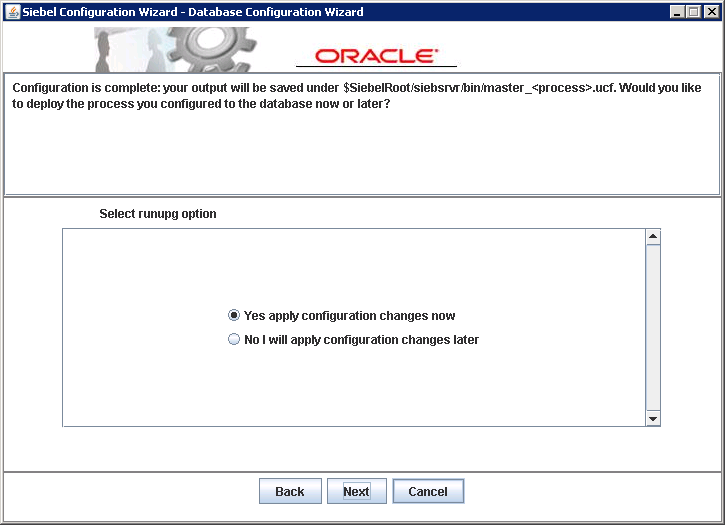
Click on apply changes now and click Next.
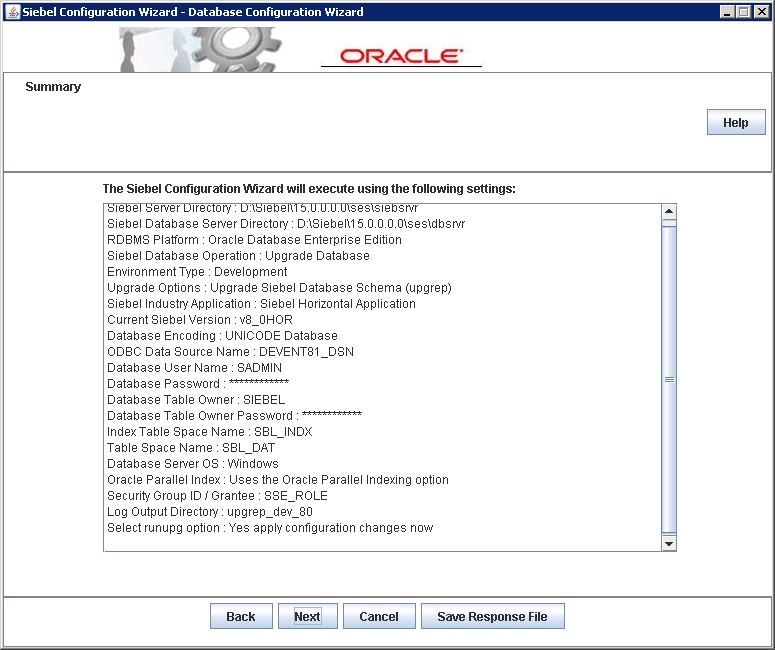
Check the summary and click on Next to start the upgrade.
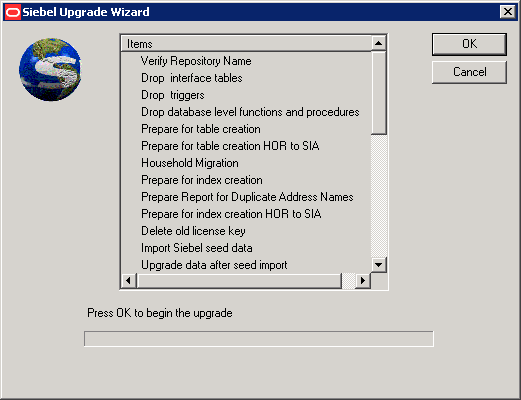
Click on OK for the upgrade wizard.
This starts the database upgrade. On an average the development database upgrade takes approximately 9-10 hours to complete.
Verifying the Upgrade Process
Once the database upgrade completes, Siebel provides a set of tools to verify the database upgrade. Open a command prompt and follow the steps mentioned below:
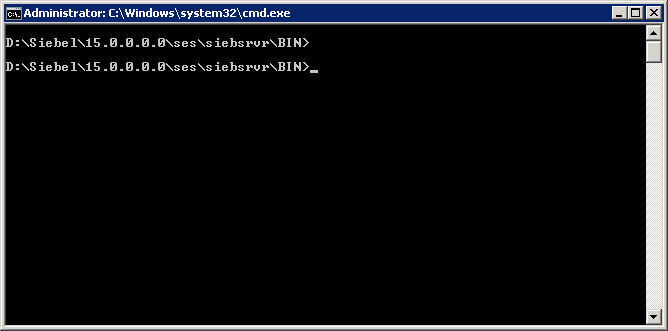
Navigate to the Siebel folder “D:\Siebel\15.0.0.0.0\ses\siebsrvr\bin” and execute “logparse /s D:\Siebel\15.0.0.0.0\ses /g ENU /r upgrep_dev_80 /l logparse.log“.
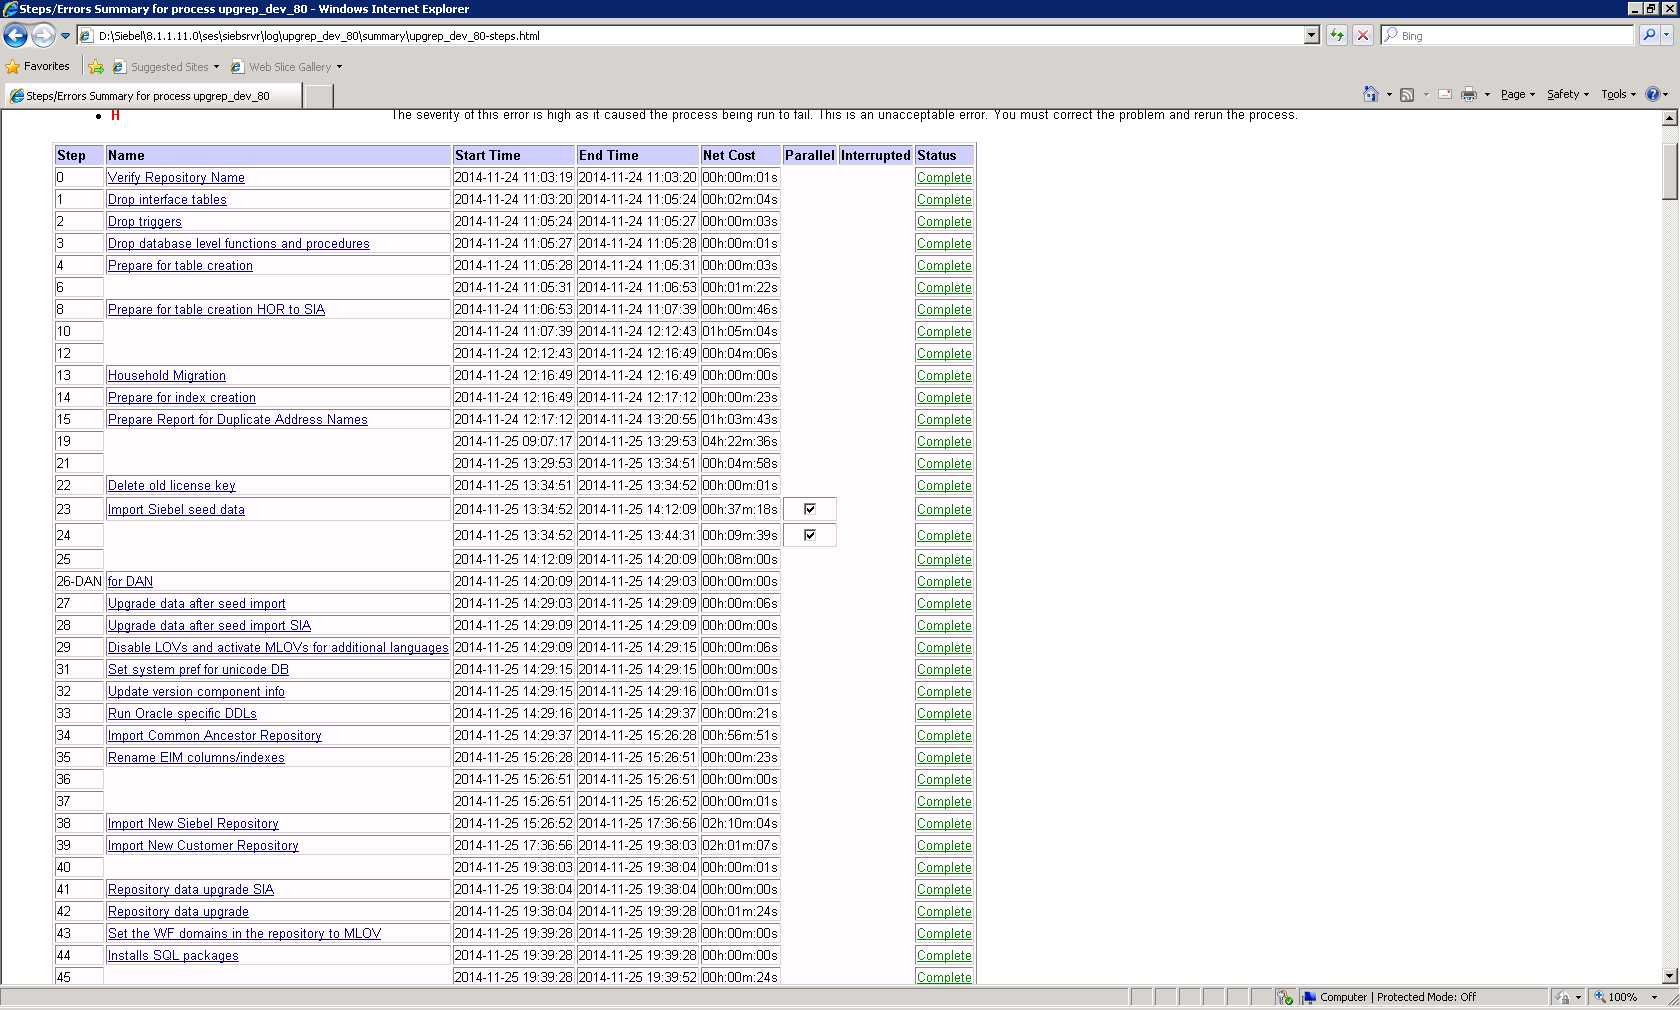
The utility goes through all the log files and generates a Summary folder and a summary.html file in the <SIEBESRVR>\log\upgrep_dev_80 folder.
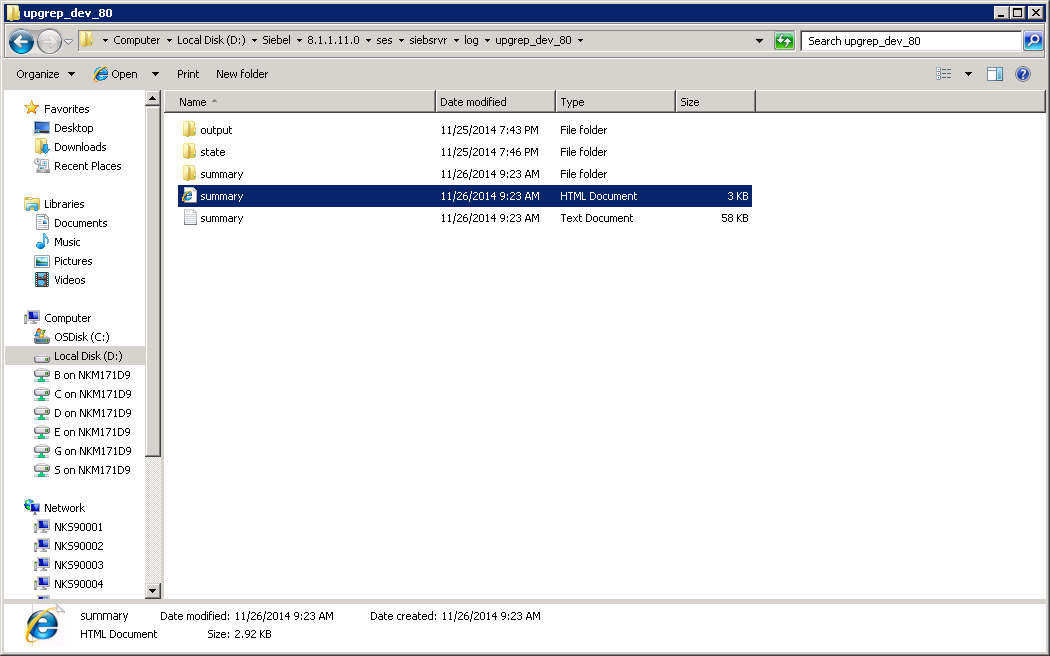
Open the summary.html file to verify that the upgrade has been successful.
This completes the first part of the database upgrade. In the next article, we will cover the process of the incremental repository merge.
Load comments