The extraction of zip files is usually a fairly simple exercise, but in the case of Siebel CRM it is a unique challenge in its own right. The Siebel Network image creator (SNIC) can be executed with the JRE as well, however installing the Java development kit is advisable for 2 reasons:
- The SQL developer, which will be required at a later stage, requires the Java Development kit to be installed.
- Siebel Open UI works extremely well with external Java scripts. The Development kit can help with coding and debugging.
Installation of the Java Development Kit.
The installation of the Java client is something which pretty much everyone who has worked in IT will have come across at some point in time, so for the purposes of this article the installation of the JDK is not being covered.
A good practice while doing the JDK installation is that instead of installing into the default location (Program Files\Java), it is prudent to install to a folder without any spaces in the name , for example D:\Java. There are however two steps which do get missed out as they are not a part of the installation, which are setting up the environment variables for JRE and JDK.
Once the installation is completed, note the installation locations and bring up the start menu:
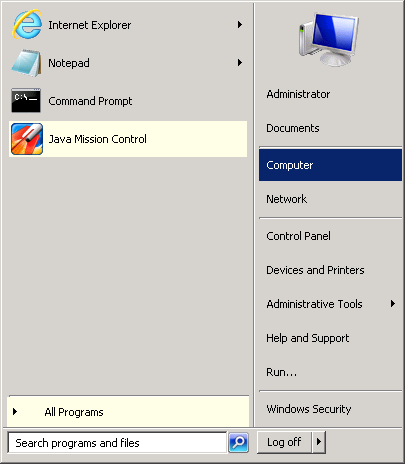
Right Click on the Computer and go to Properties.
Click on Advanced System Settings:

Click on Environment Variables.
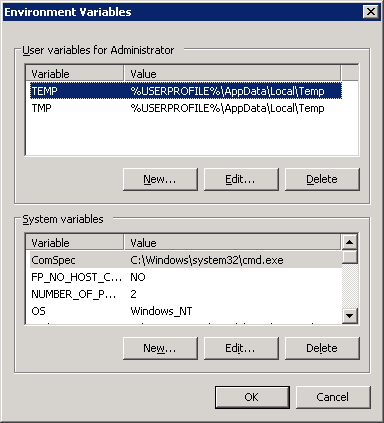
Create a new System Variable called JAVA_HOME. This needs to point to the JDK installation folder.

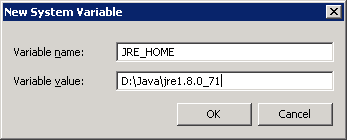
Create another system variable called JRE_HOME. This needs to point to the JRE installation folder.
This completes the installation of the Java Development Kit.
Extraction of the Zip Files
Once the Java Development Kit installation is completed, the next step is to create the Siebel Network image. In the last article in this series, we covered the download of the Siebel installation zip files.
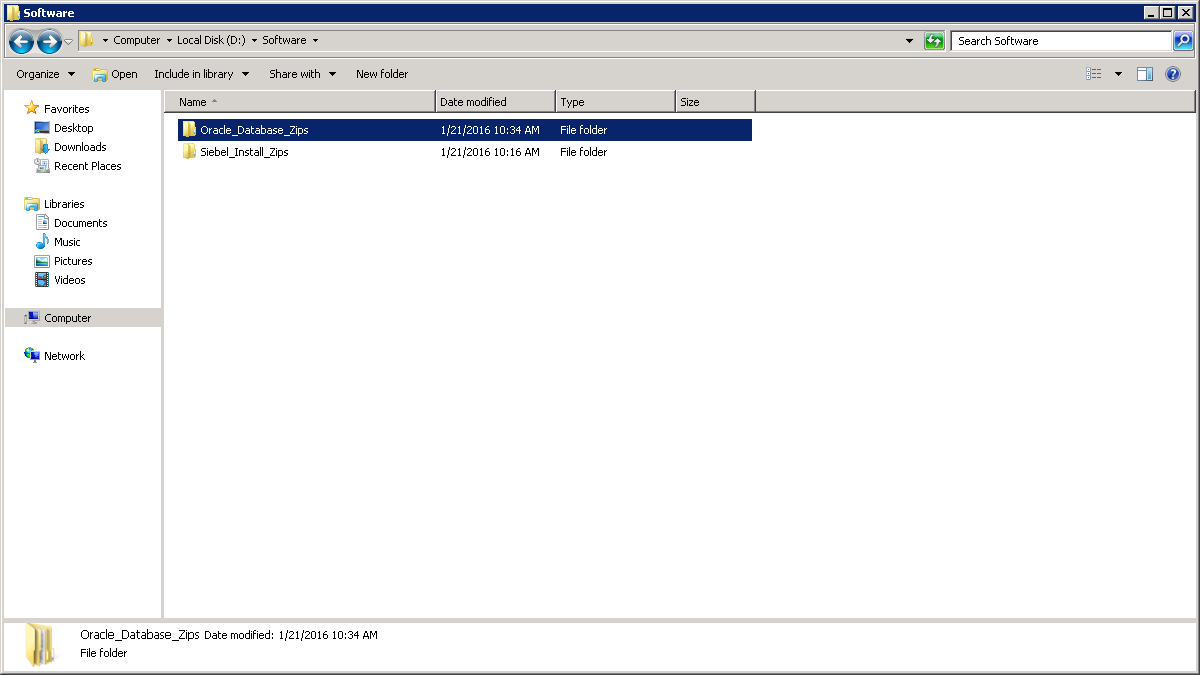
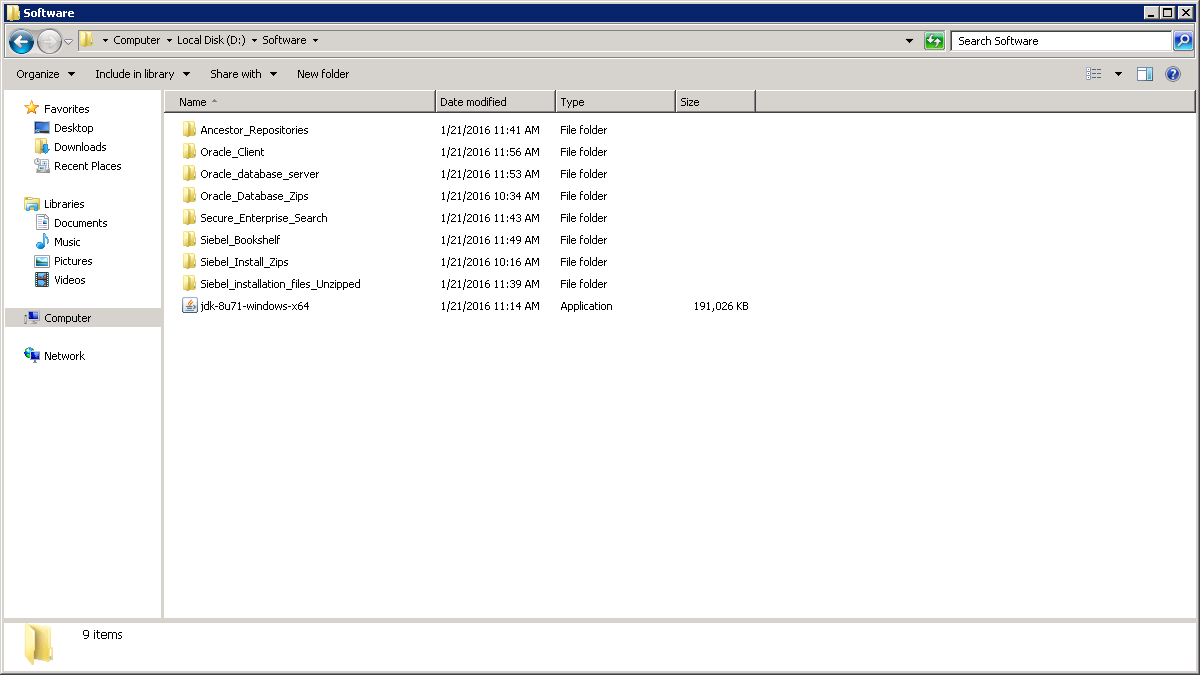
We had downloaded the Oracle Database Server zip files and the Siebel installation zip files into D:\Software on our server.
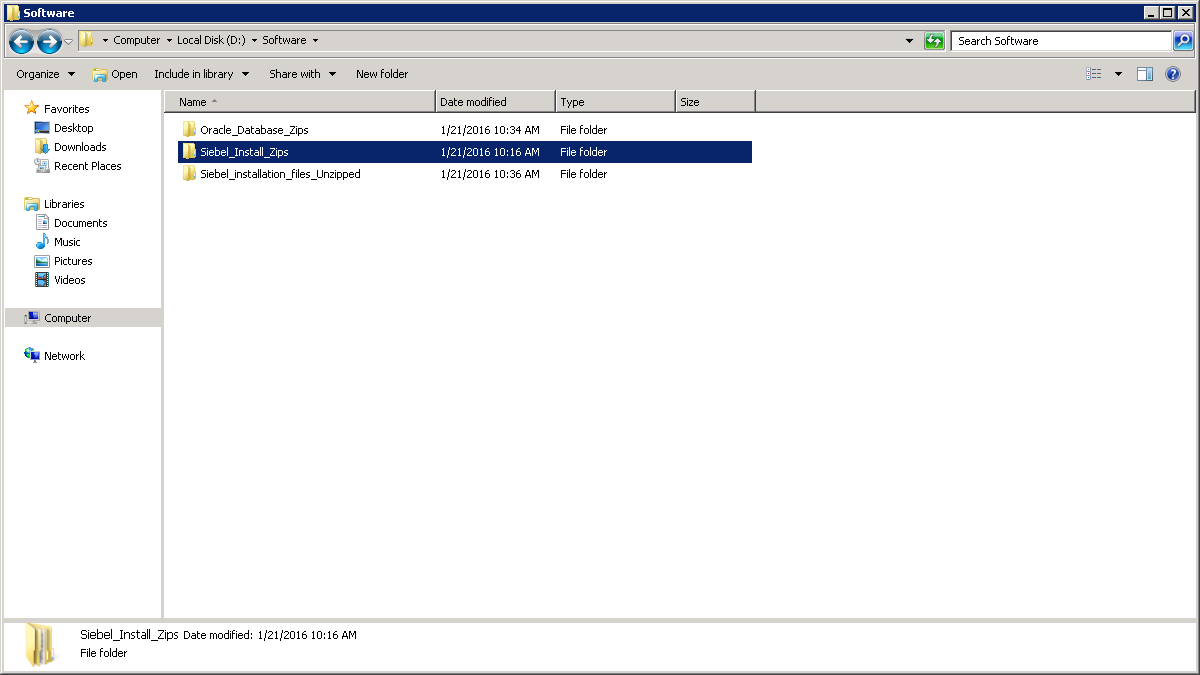
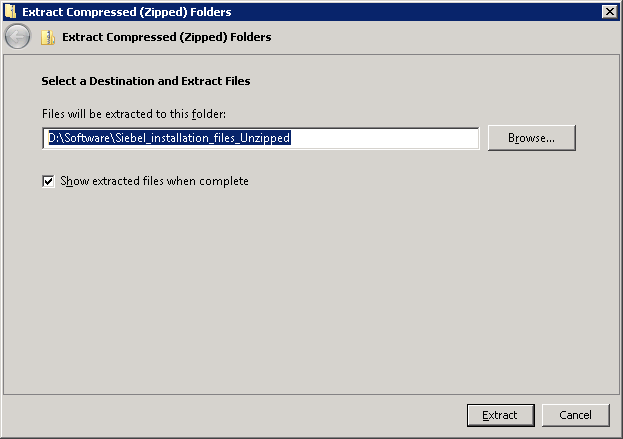
Create a new folder called Siebel_Installation_files_Unzipped as shown below.
Extract all of the zip files from the Siebel_Install_Zips folder except the following:
- V75394-01.zip: Siebel Industry Applications Version 15.0 Ancestor Repositories
- V39079-01_1of4.zip: Oracle Secure Enterprise Search 11g Release 2 (11.2.2.2.0) for Windows (x64)
- V39079-01_2of4.zip: Oracle Secure Enterprise Search 11g Release 2 (11.2.2.2.0) for Windows (x64)
- V39079-01_3of4.zip: Oracle Secure Enterprise Search 11g Release 2 (11.2.2.2.0) for Windows (x64)
- V39079-01_4of4.zip: Oracle Secure Enterprise Search 11g Release 2 (11.2.2.2.0) for Windows (x64)
- V77957-01.zip: Siebel Industry Applications Version 15.0 Bookshelf
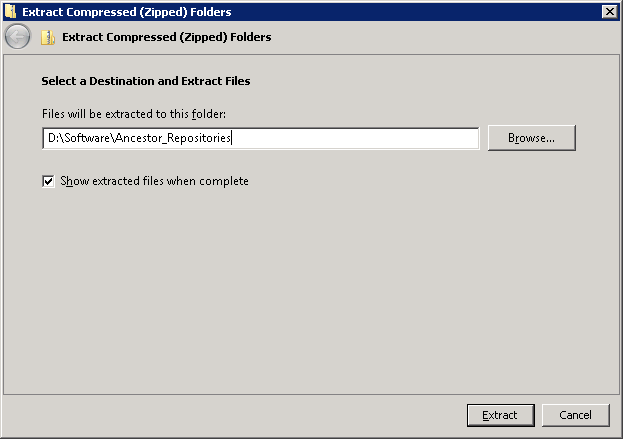
Once these are done we need to extract the Ancestor Repositories file:
Extract V75394-01.zip to D:\Software\Ancestor_Repositories
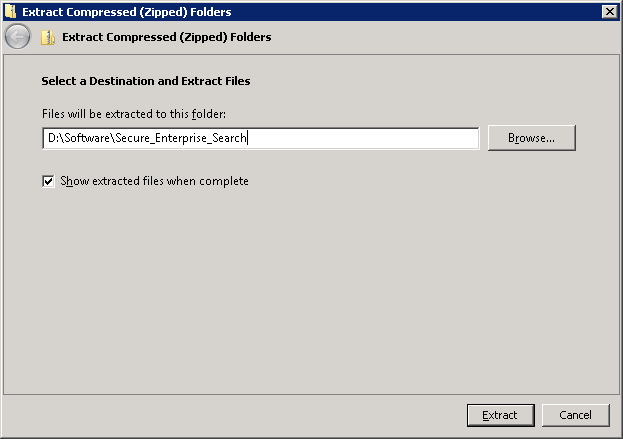
Extract the following Zip files to D:\Software\Secure_Enterprise_Search:
- V39079-01_1of4.zip: Oracle Secure Enterprise Search 11g Release 2 (11.2.2.2.0) for Windows (x64)
- V39079-01_2of4.zip: Oracle Secure Enterprise Search 11g Release 2 (11.2.2.2.0) for Windows (x64)
- V39079-01_3of4.zip: Oracle Secure Enterprise Search 11g Release 2 (11.2.2.2.0) for Windows (x64)
- V39079-01_4of4.zip: Oracle Secure Enterprise Search 11g Release 2 (11.2.2.2.0) for Windows (x64)
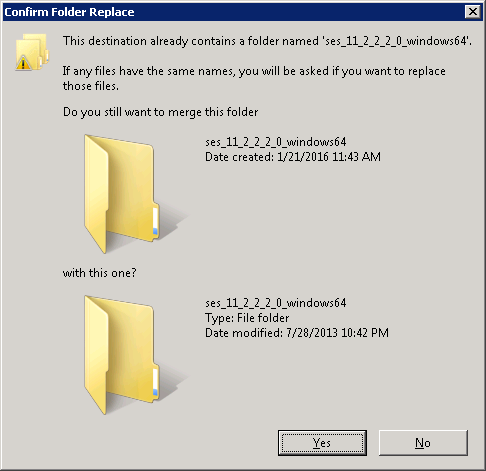
Merge the folders when prompted, as shown below:
Extract V77957-01.zip: Siebel Industry Applications Version 15.0 Bookshelf to D:\Software\Bookshelf.

Following the same steps as above, extract the zip files from D:\Oracle_Database_Zips to D:\Software\Oracle_Database_Server.
Once these steps are completed, the zip files we will require for the creation of the Siebel Network image and the installation of the Oracle Database Server will be available to us.
Creation of the Siebel Network Image
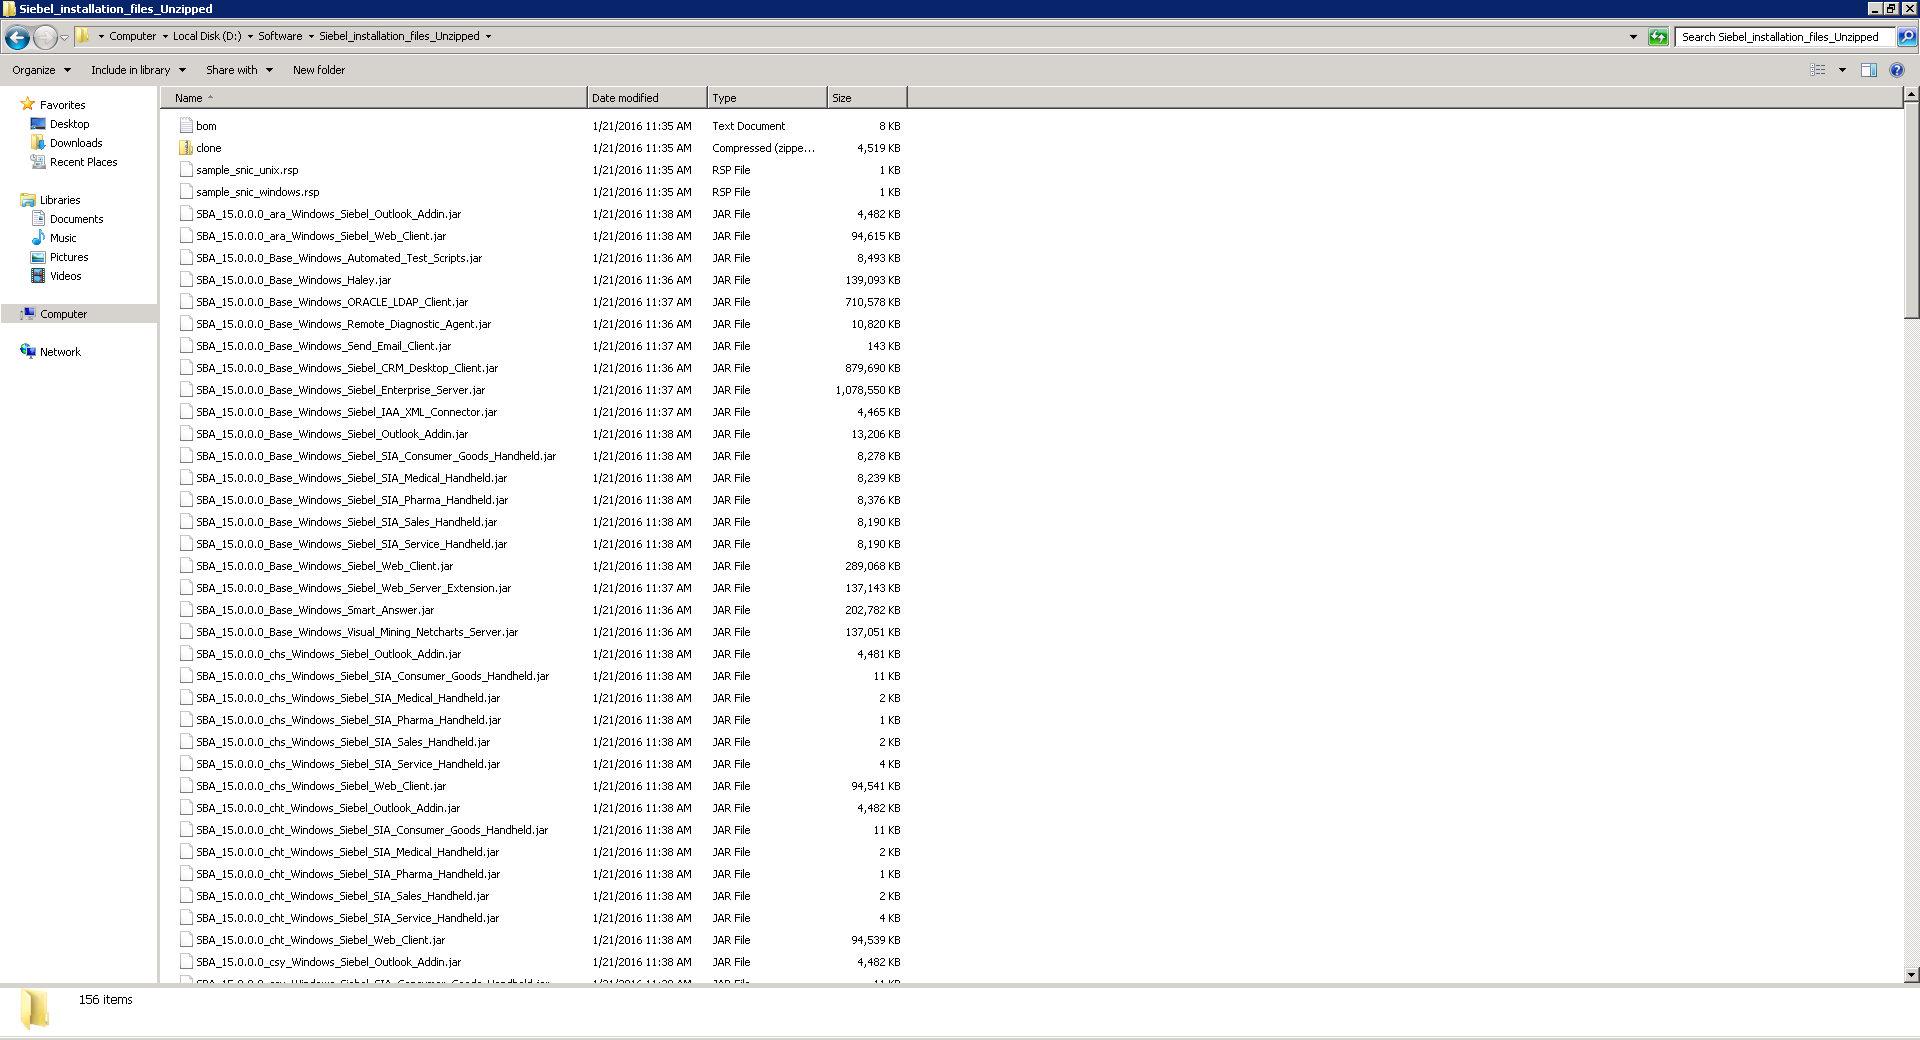
Navigate to D:\Software\Siebel_Installation_Files_Unzipped. It will look like the image below.
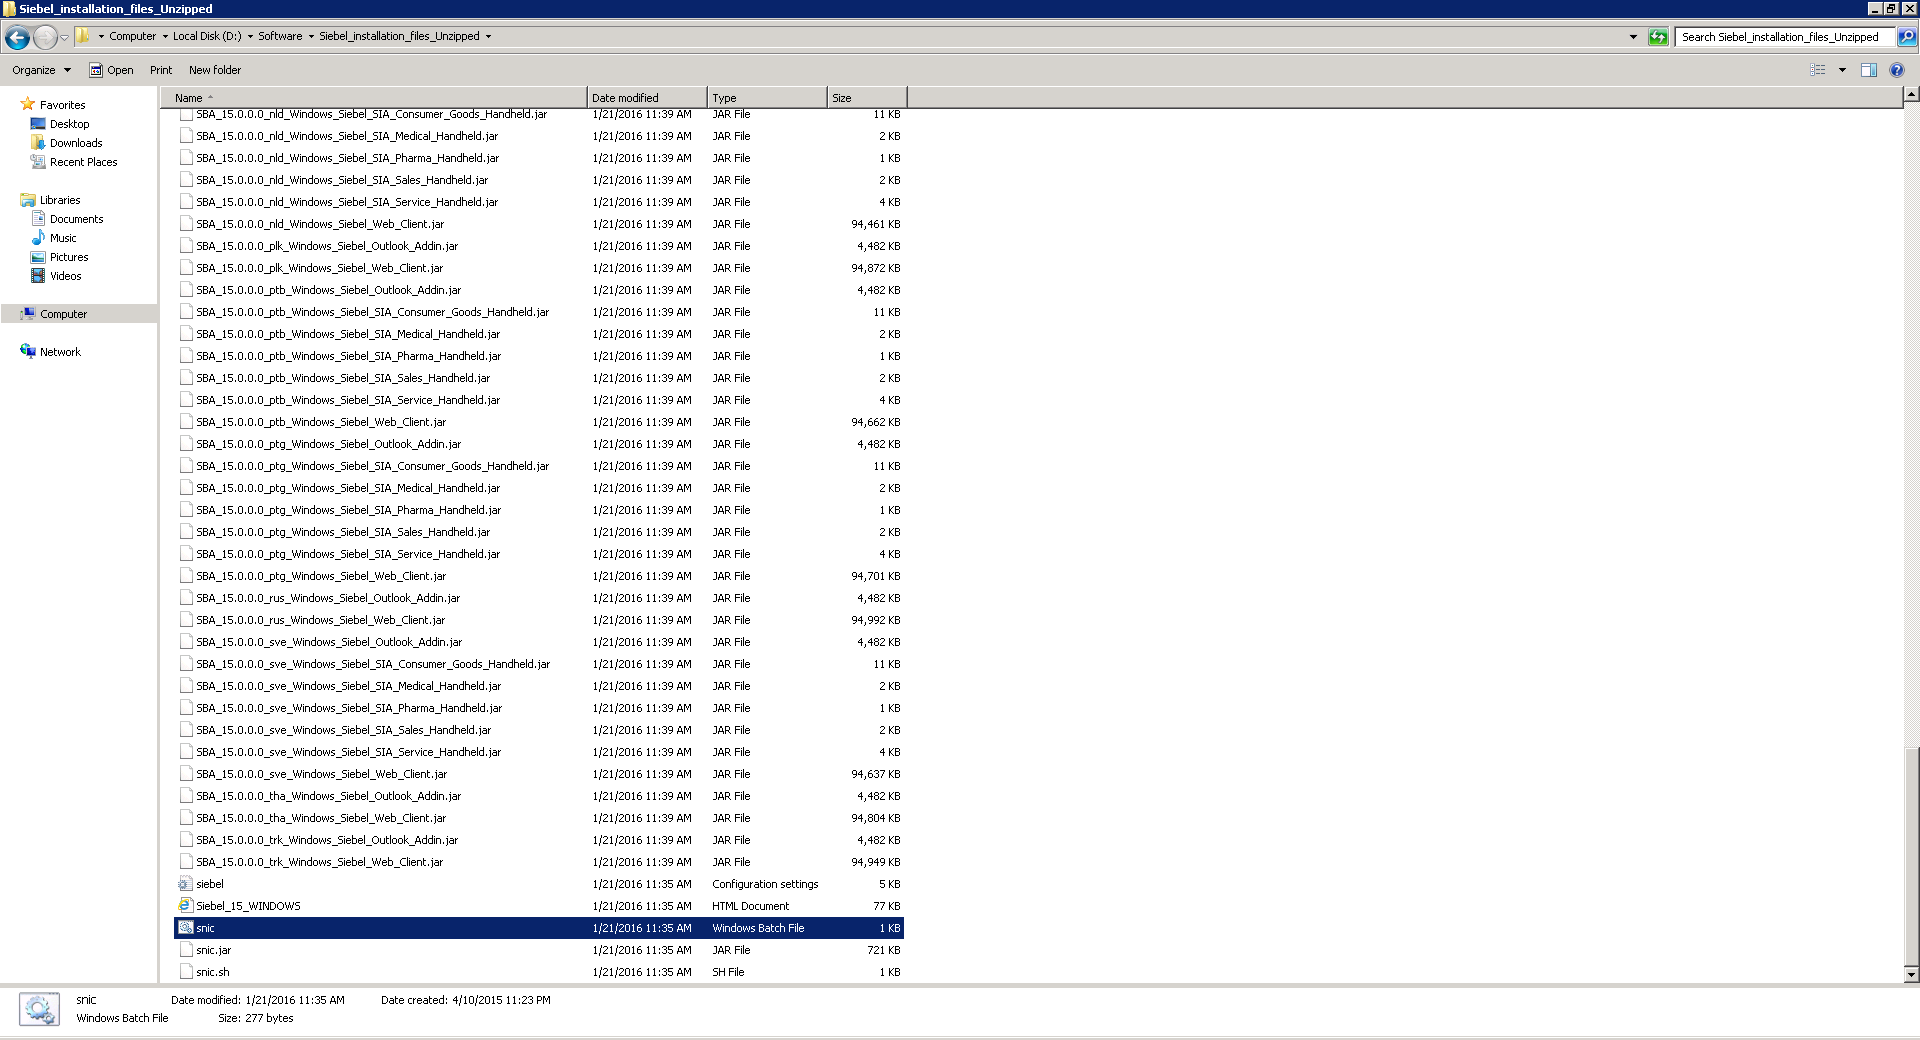
Execute SNIC.BAT (this requires Java to be installed and will not work without it).
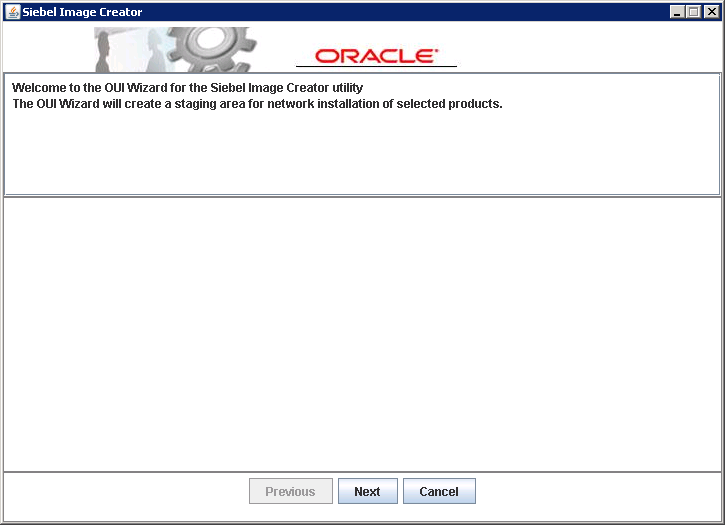
Click on Next.
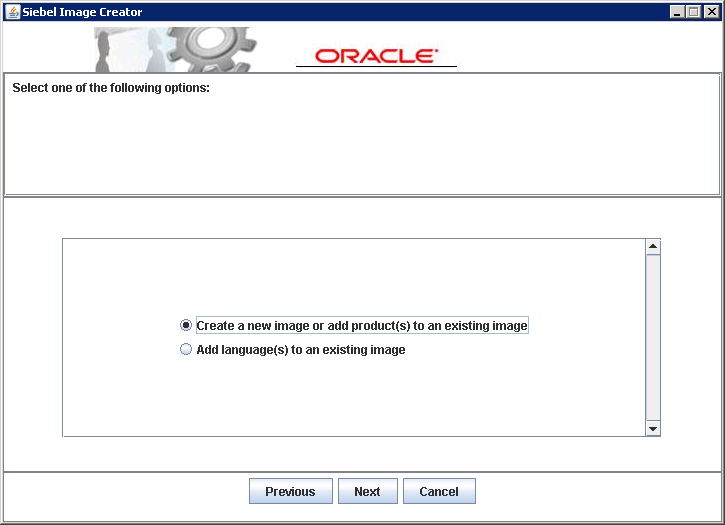
Select Create a New image and click on Next.
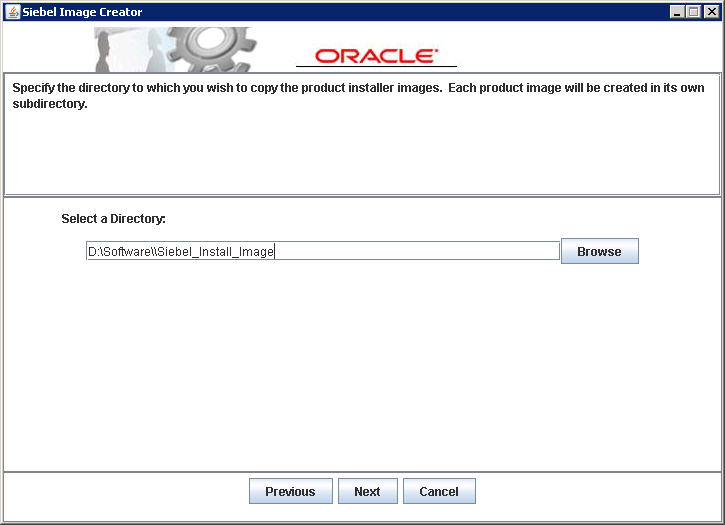
We are creating the image in D:\Software\Siebel_Install_Image. This can be put into any folder, however please note that there CANNOT be any spaces in the folder name.
Click on Next.
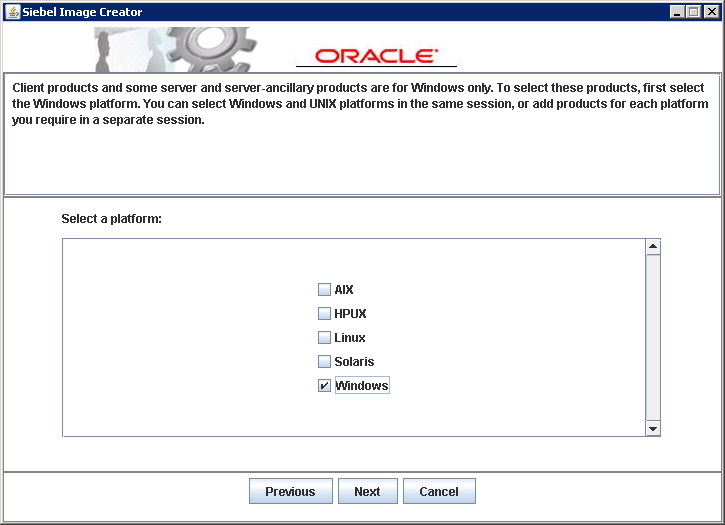
Choose Windows and Click on Next.
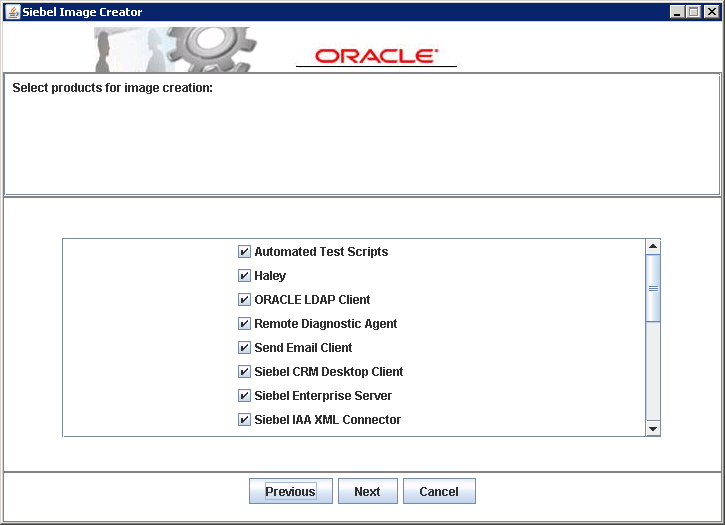
Choose all the options except the Siebel Sample Database as it is not available. Click Next once this is done.
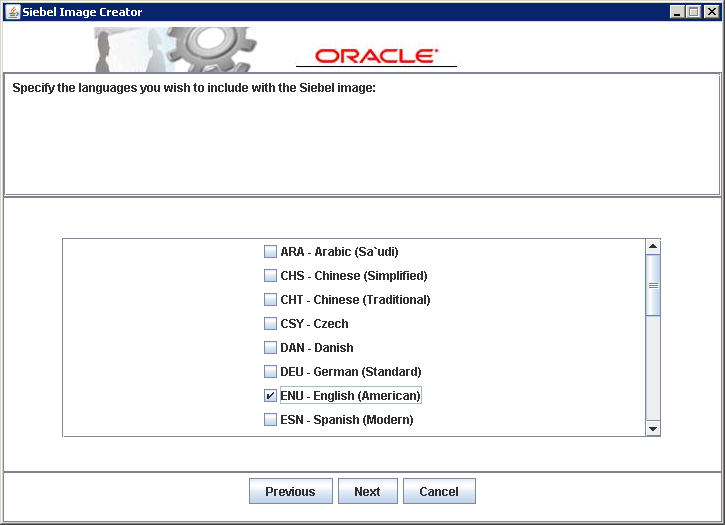
Choose ENU as the language for the network image and click on Next.
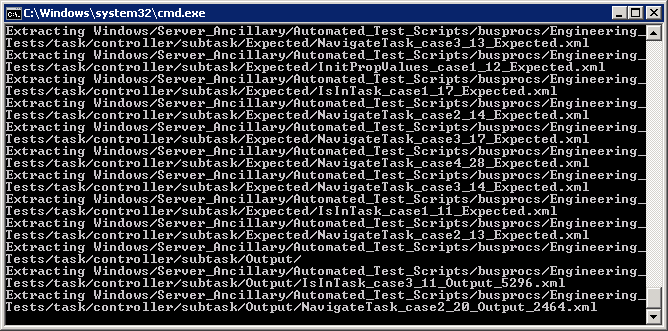
This will start the extraction of the Siebel installation files.
This concludes the creation of the Siebel Network Image. The next article in the series covers the installation of the ancillary software, which includes setting up the IIS Server, creation of the Siebel File System Share and the installation of the Database server.
Load comments