Before we can start installing the Siebel Application software we have a few more steps to complete. Just to recap the steps we have completed so far, we have:
- Set up a 3-server instance using Amazon AWS.
- We have downloaded all the installation software.
- We have extracted the software for the Database Server and the Siebel application.
- We have created the network image for Siebel CRM.
The first of the activities which needs to be completed before we start the application is to create a Siebel Filesystem share.
Creation of the Siebel Filesystem Share
The Siebel filesystem is a fileshare containing a set of folders which store any object which does not need to be, or is too big to be, stored in the database. For example, web templates and attachments for activities are stored in the file system. It is imperative that this share is accessible for read/write from all Siebel servers by all users.
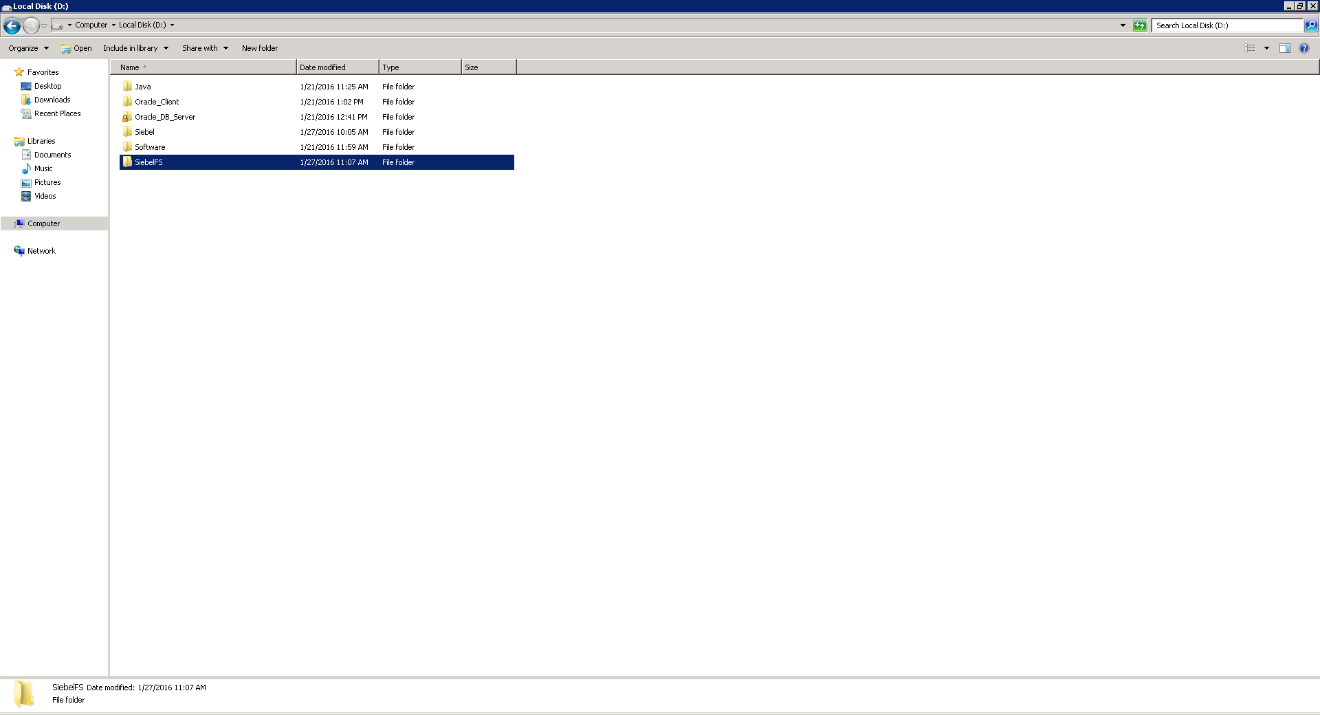
In the D: Drive of our server which we named the “Siebel Database Server”, create a folder called SiebelFS:
Right Click on the folder and choose Properties.
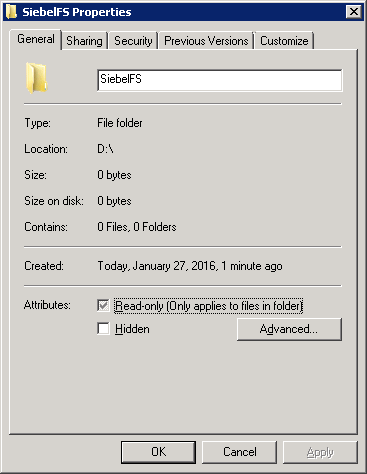
Click on Sharing.

Click on Share.
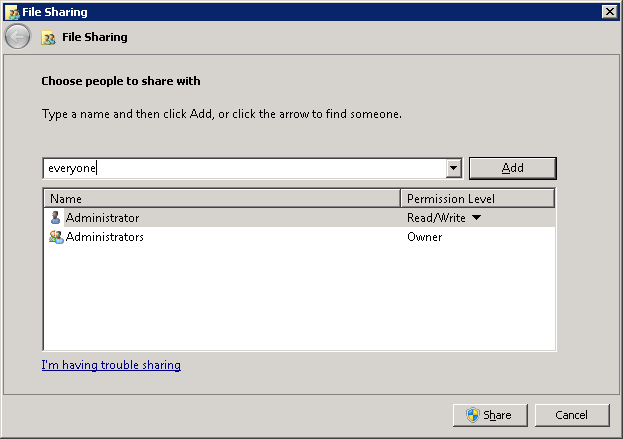
As shown in the image above, type “Everyone” and click Add.
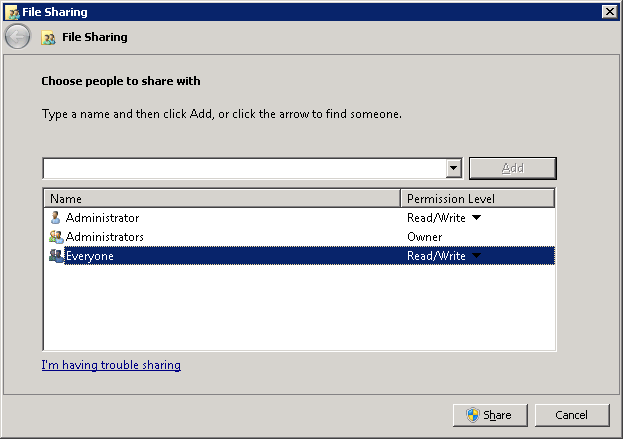
Once added, change the permissions to Read/Write.

Specifically on the Amazon instance, we need to turn on discovery and file sharing for all public networks. This is required since servers on Amazon frequently end up in different subnets and hence different networks.
This completes the creation of the fileshare.
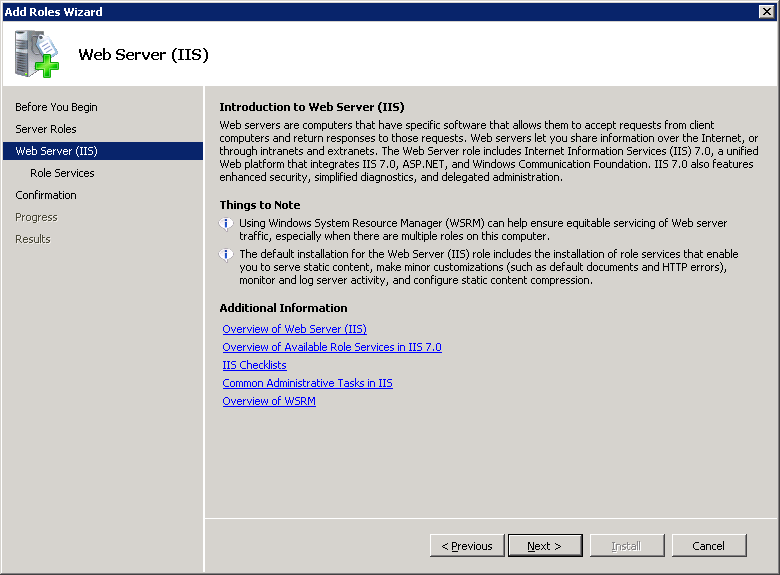
Installation of the IIS Webserver
Amazon instances do not come preinstalled with IIS, which is required for the Siebel webserver to function. While Siebel supports most major webservers, as we’re on a Windows platform in our scenario, it just makes sense to use IIS. The installation of IIS is pretty straightforward as described below:
Log on to the server which we labelled “Siebel Web_Gateway_Server” in the first article and bring up the server manager.
Click on Roles and choose Add Roles.

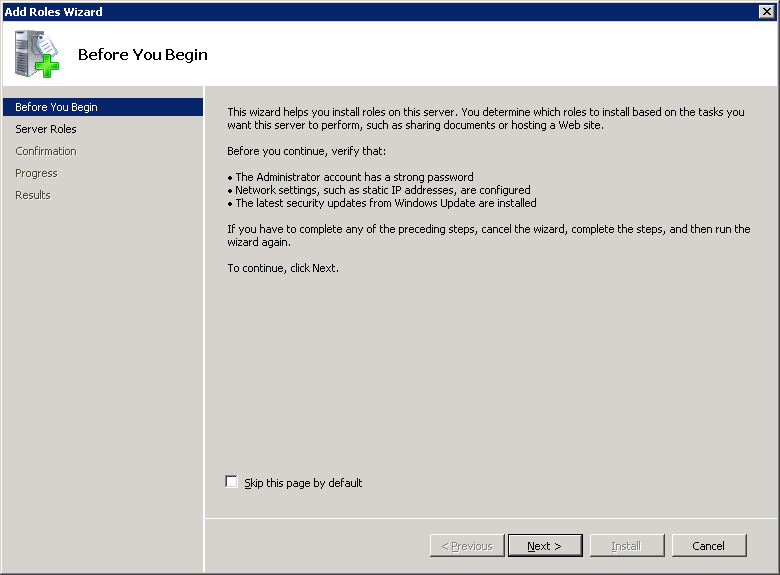
Click on Next on the welcome screen.
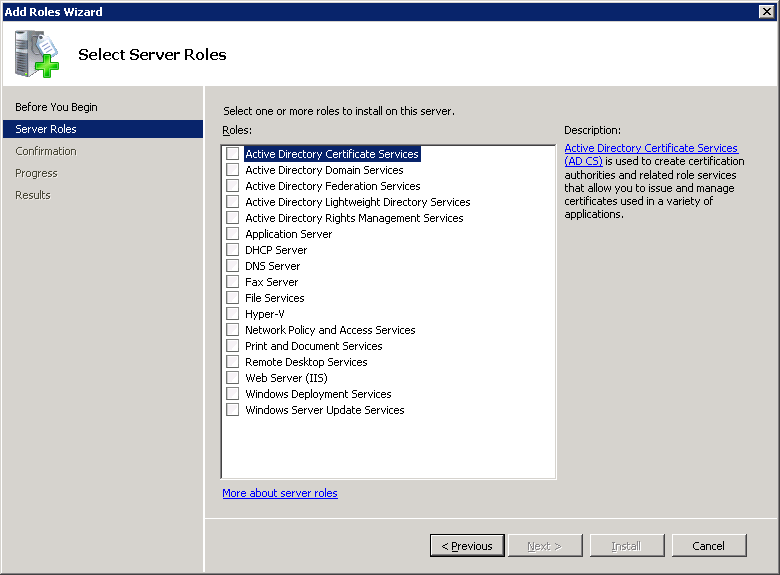
In the “Select Server Roles” screen, select “Web Server (IIS)“.
Click on Next.
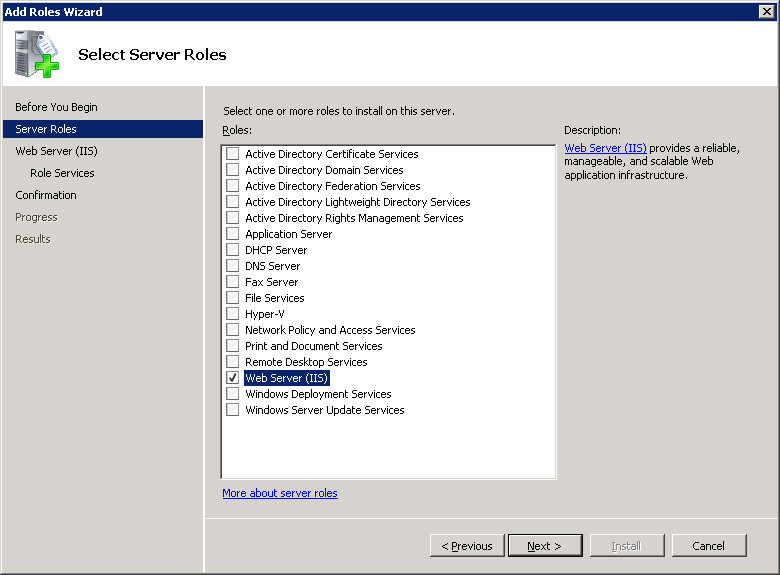
Click on Next on the Welcome Screen.
Choose all of the options with the exception of the FTP Server as shown in the next three images. Please keep in mind that the following options are required for Siebel ActiveX to work:
- Server Side Includes.
- IIS 6 Management Compatibility.
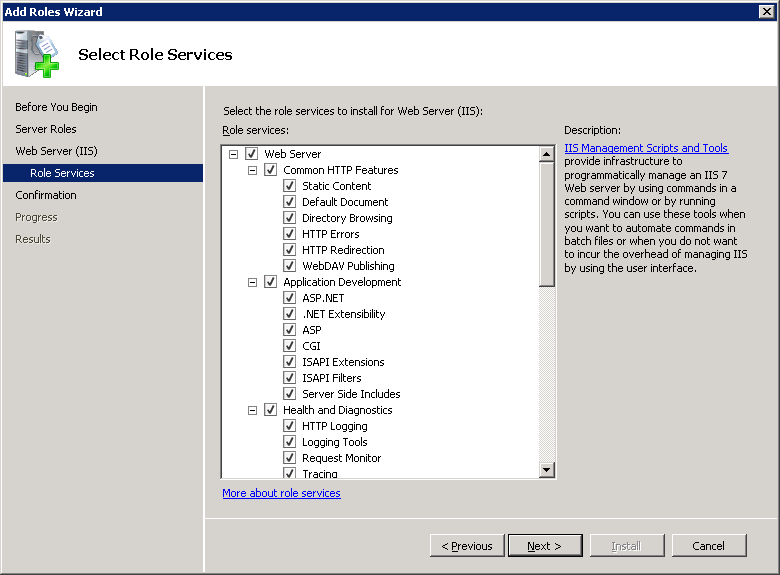
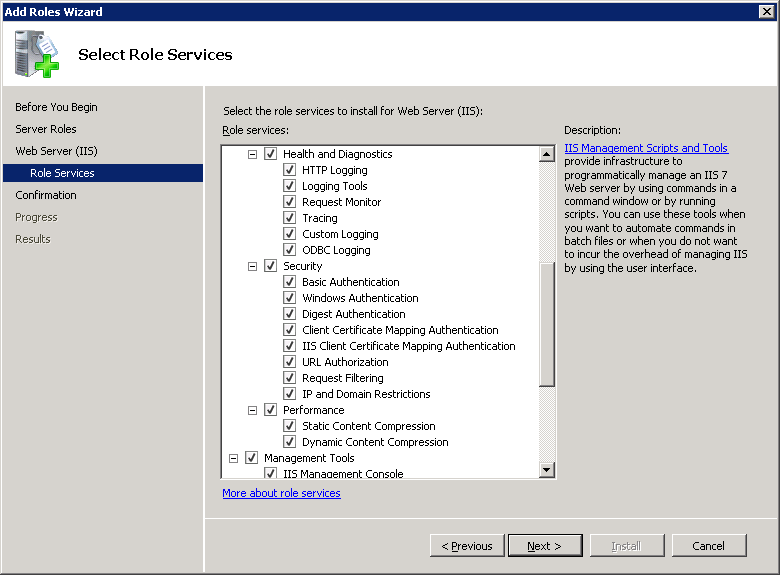
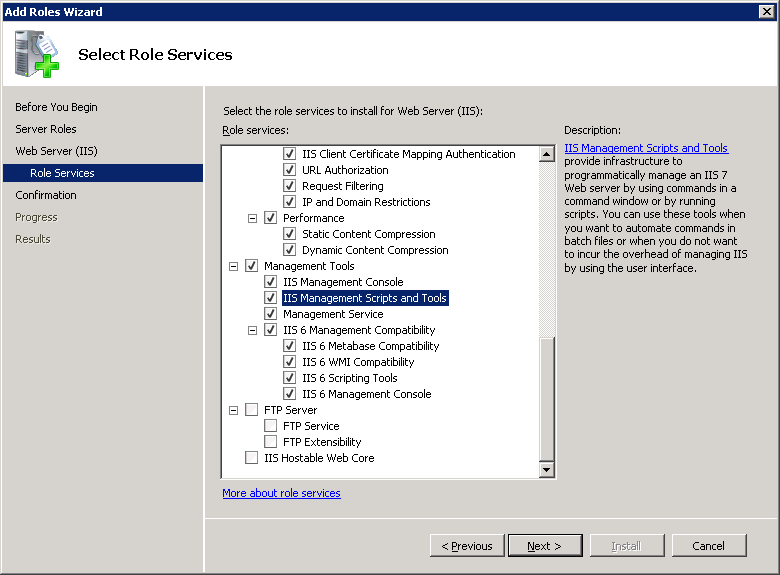
Click on Next once the options are selected.
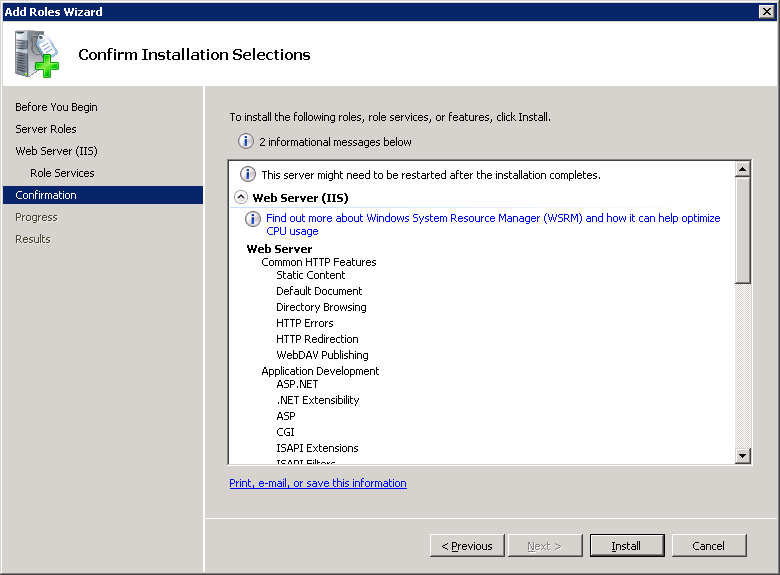
Click on Install.
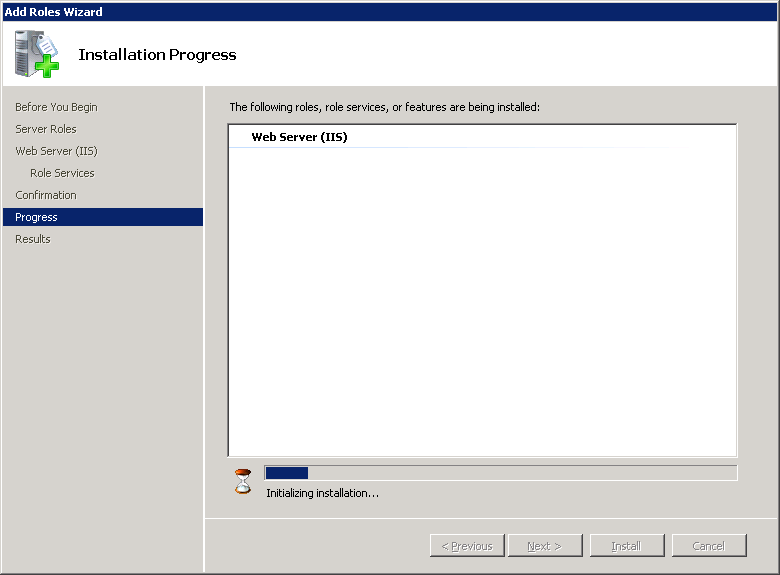

Once done, click on Close.
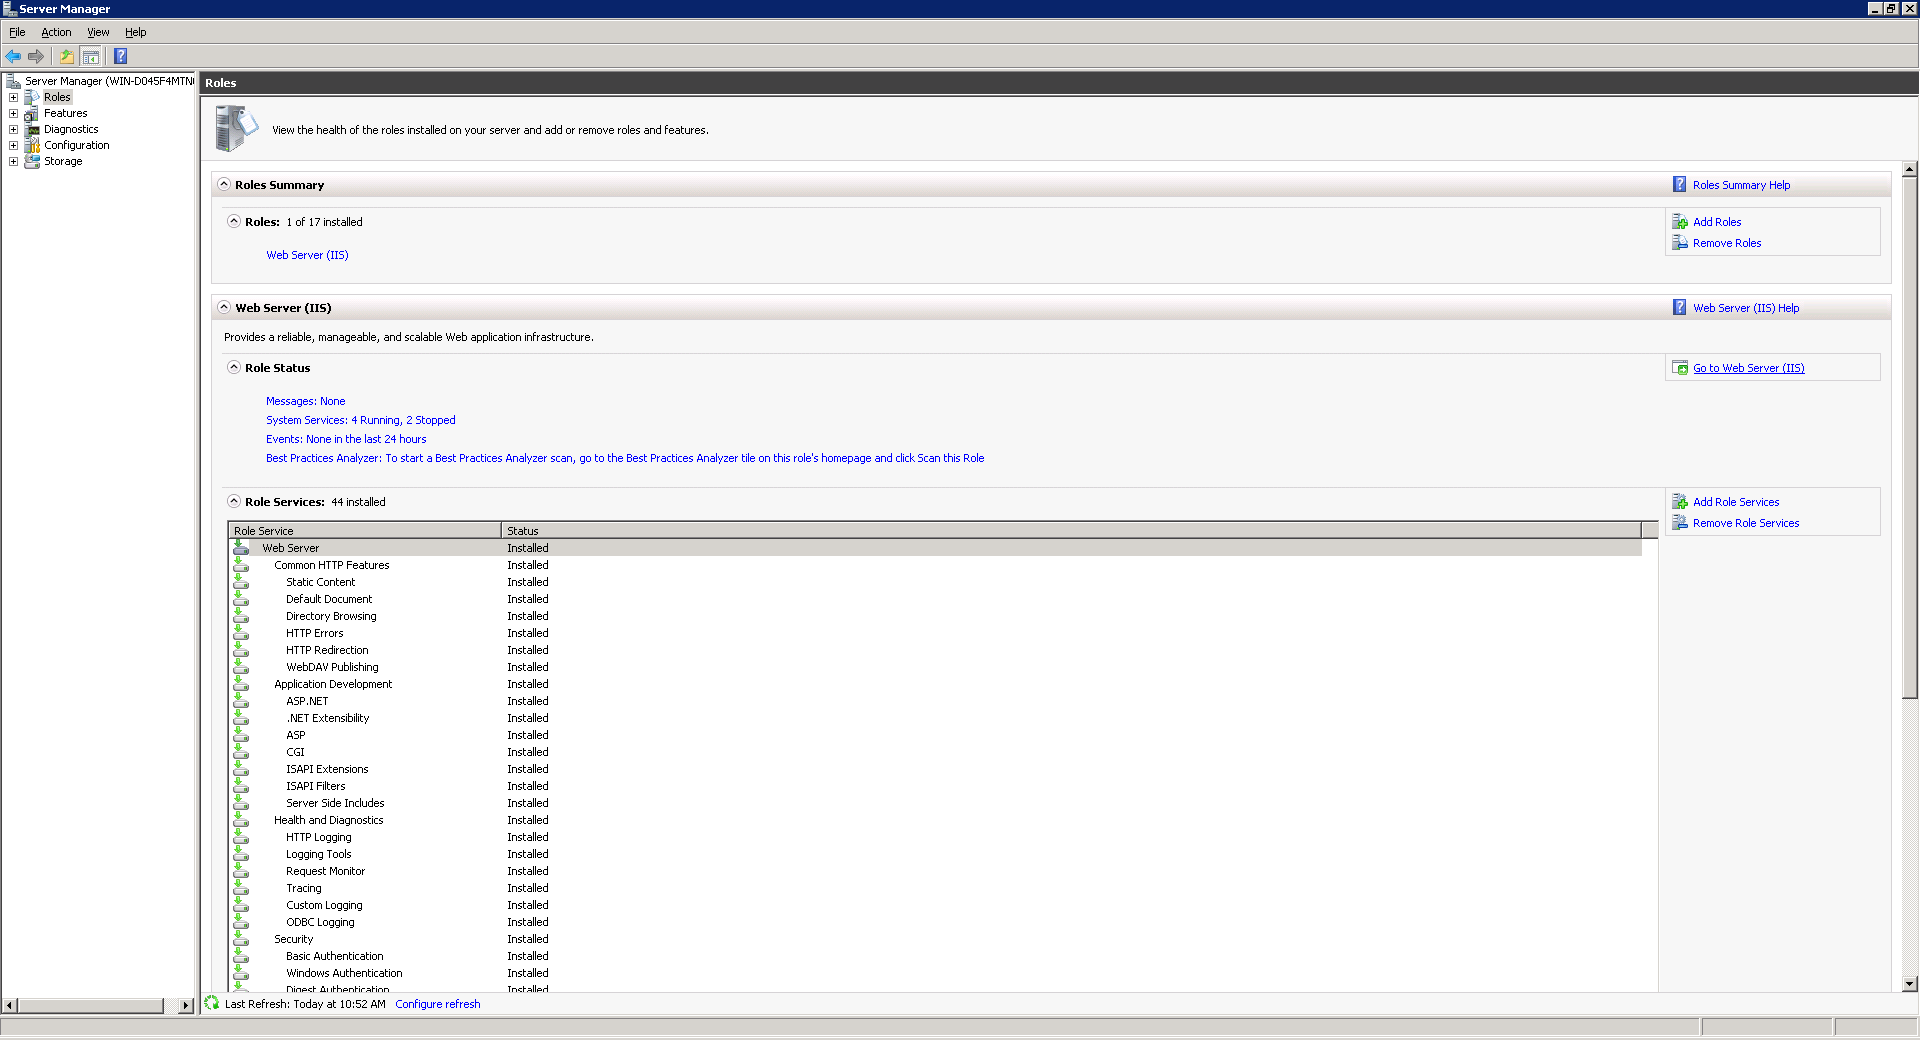
The server manager can be closed after this.
This completes the IIS Server installation.
Installation of the Oracle Database Server and Client
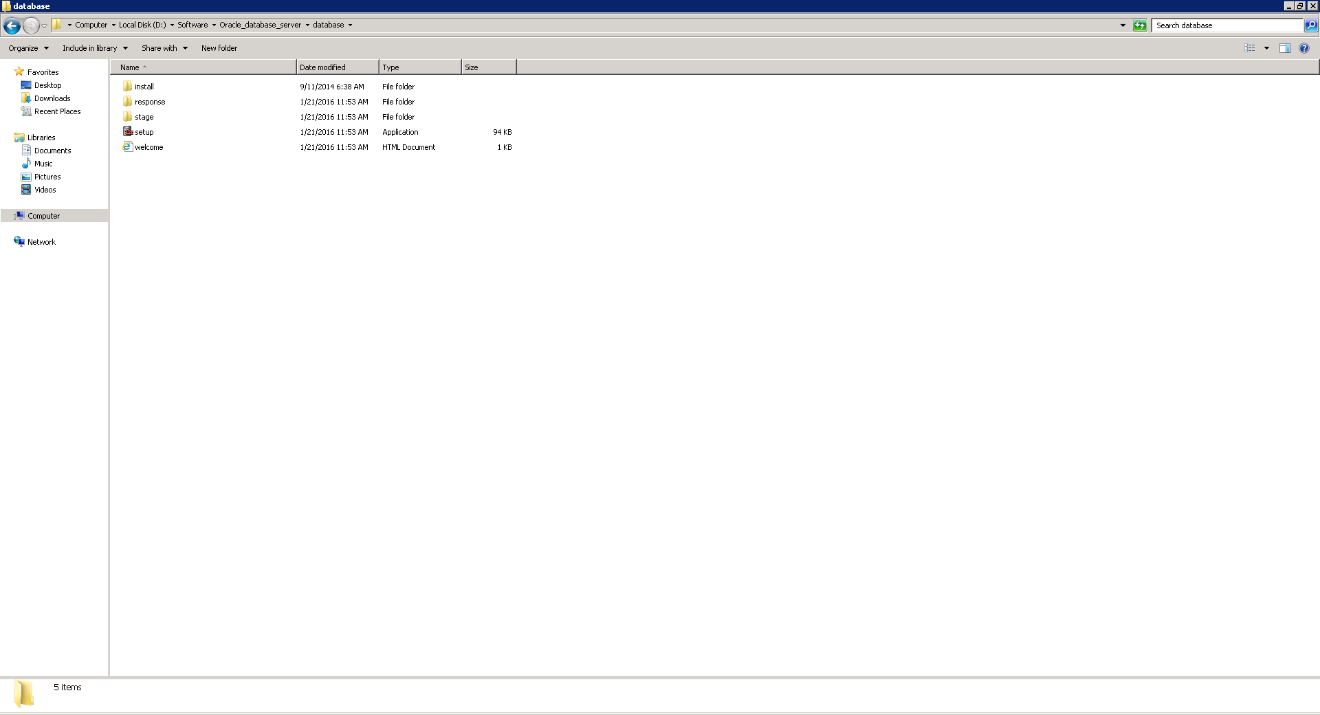
Log on to the Amazon Server we named “Siebel Database Server”. Open Windows Explorer and navigate to
“D:\Software\Oracle_Database_Server\Database” and execute the setup file.
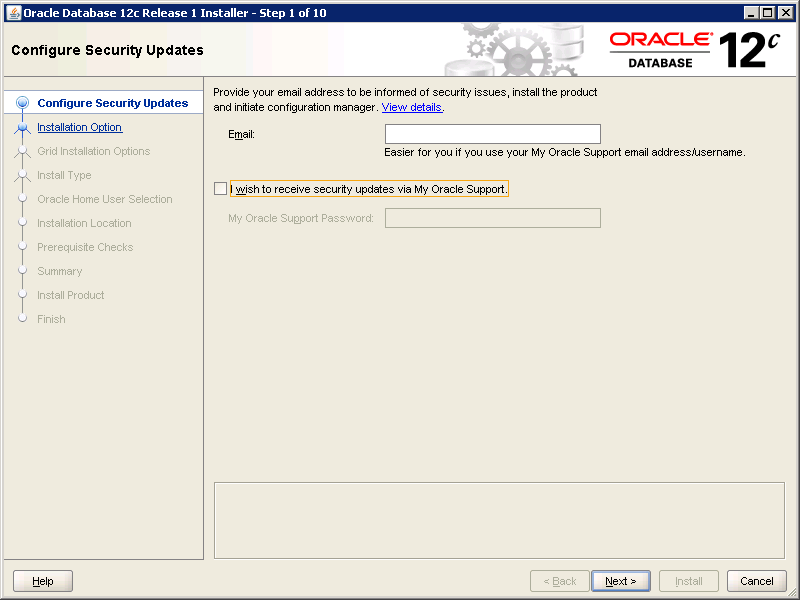
In the welcome screen, choose the options which suit you and click Bext. The step can also be ignored if you choose not to receive any security alerts.
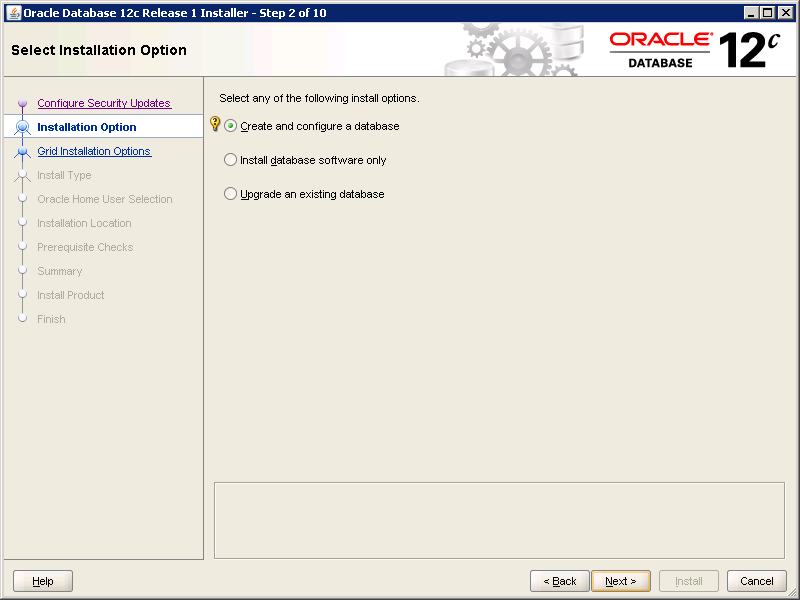
Choose “Create and Configure a database” and click on Next.
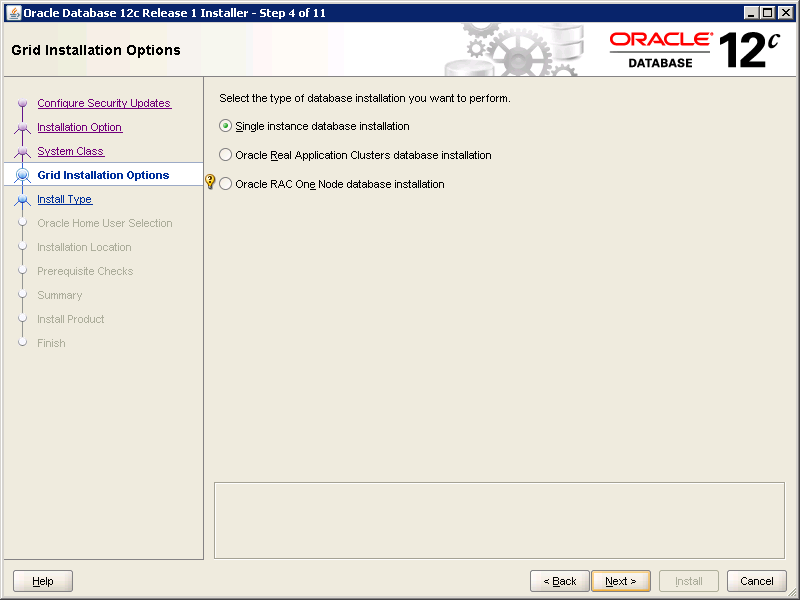
Being a sandbox, this is a Single Instance Database Installation. Click on Next.
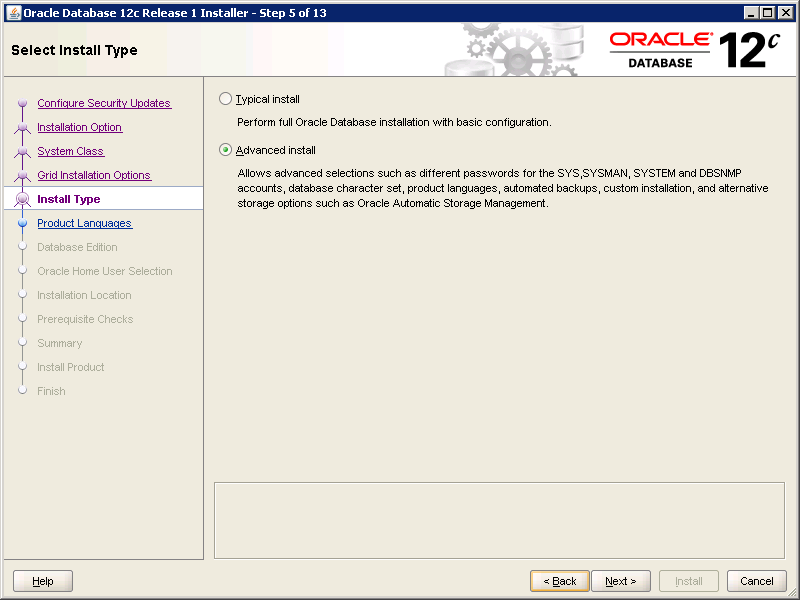
While a typical install can be chosen, the Advanced Install gives more flexibility. Choose this option and click on Next.
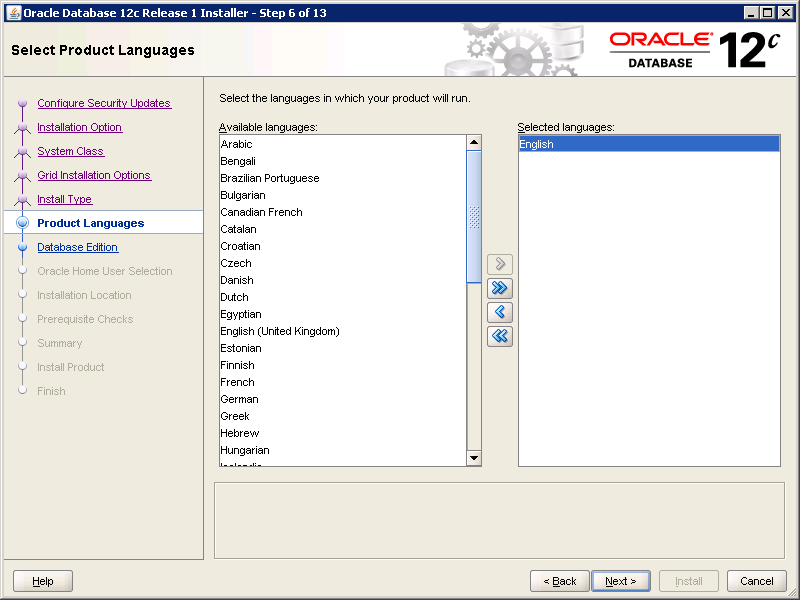
English is already chosen in the product languages screen. Unless some other language needs to be chosen, click Next.
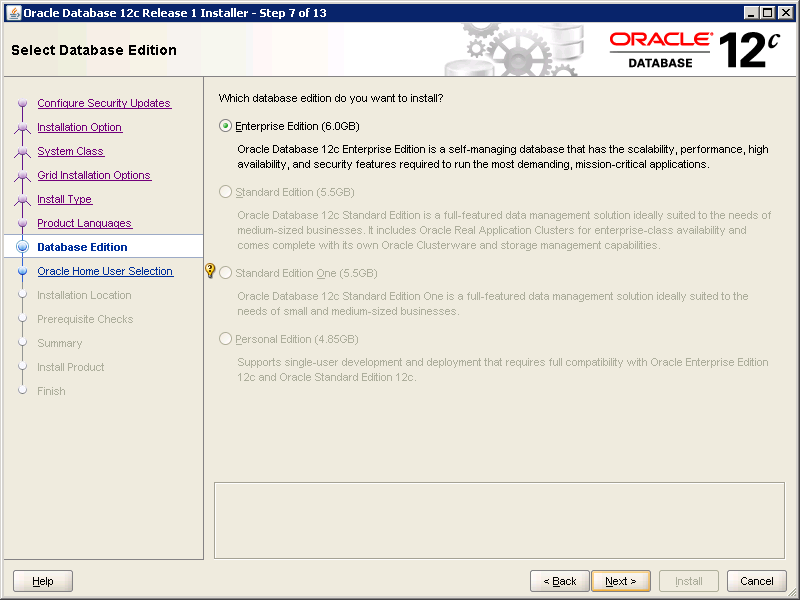
Click Next after choosing the Enterprise Edition option.
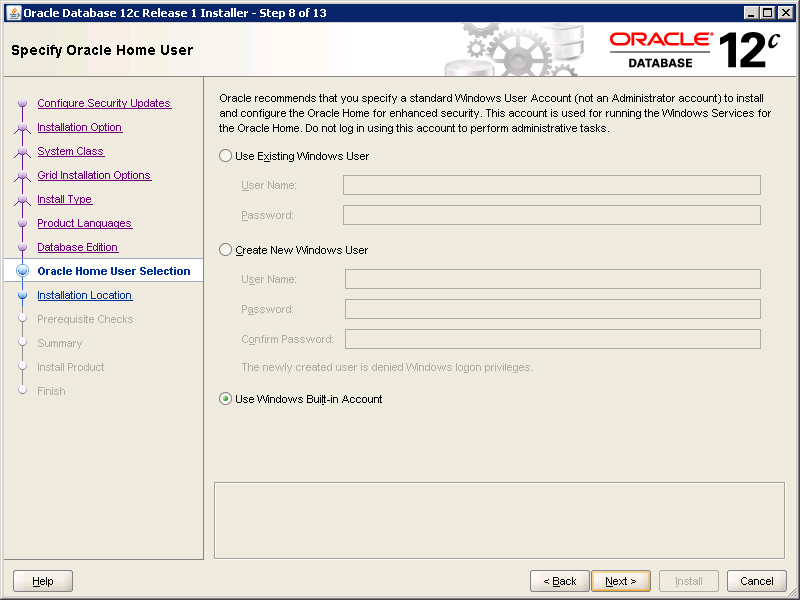
A new Windows user can be created for starting the Oracle DB server services, however, for the sake of simplicity we can just choose the Windows Built-in Account (Localsystem).

Choose Yes on the warning message.
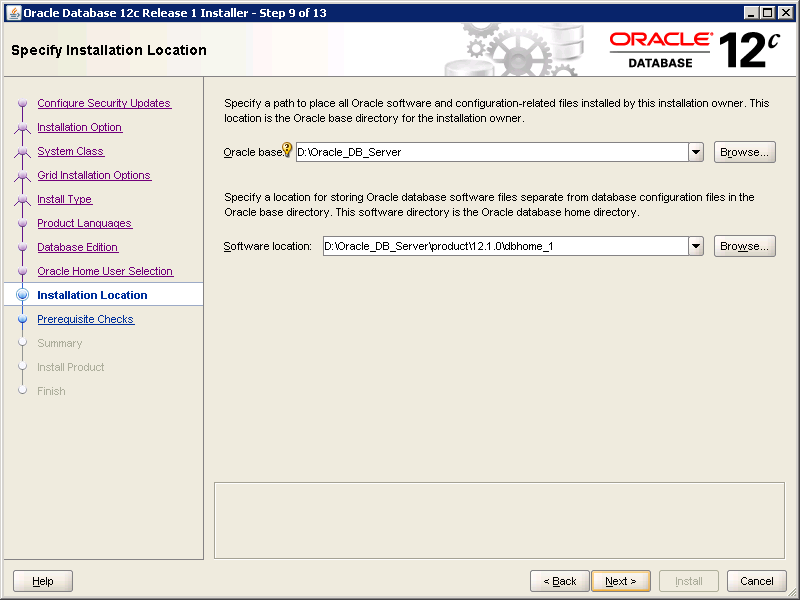
For the Installation Path, choose D:\Oracle_DB_Server. The installer will set the Software location on its own.
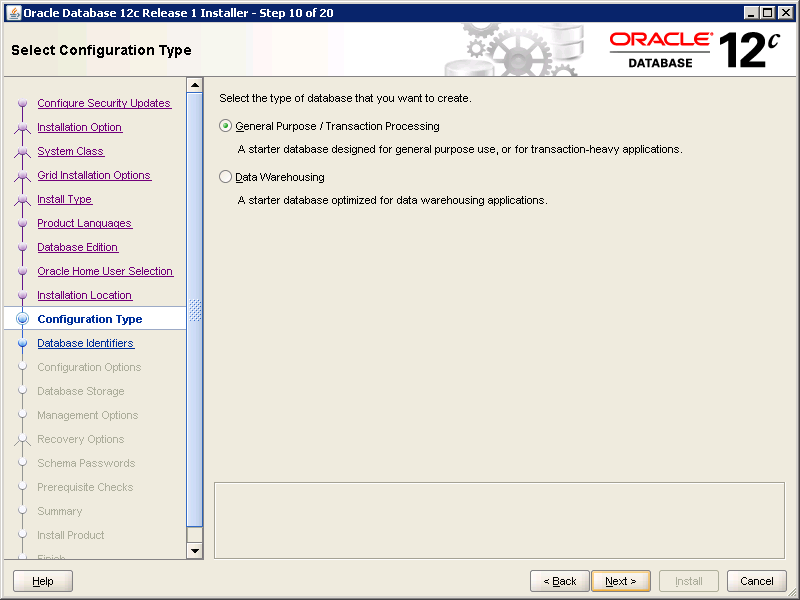
We need an OLTP database for the Siebel application, hence we choose General Purpose/Transaction Processing and click Next.
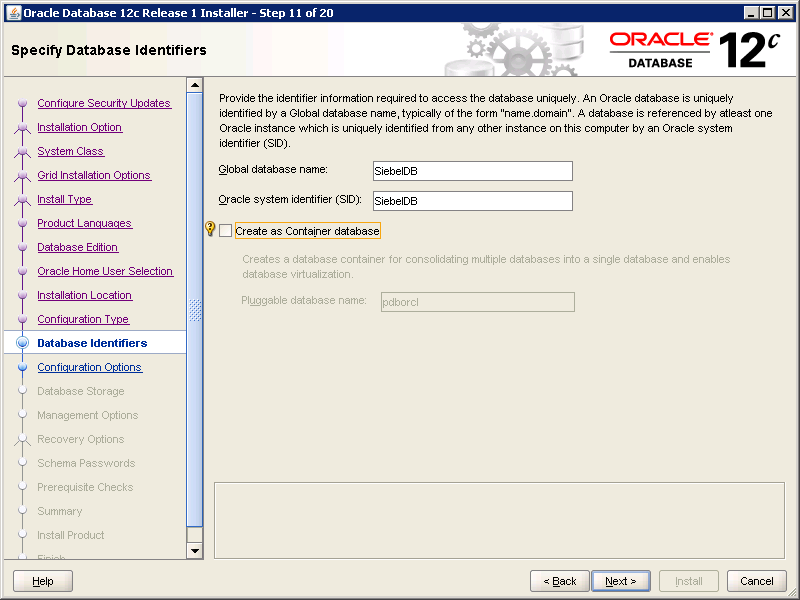
Put in the Global Database Name and the SID and click Next. For the purpose of our sandbox, we will set these both as SiebelDB.
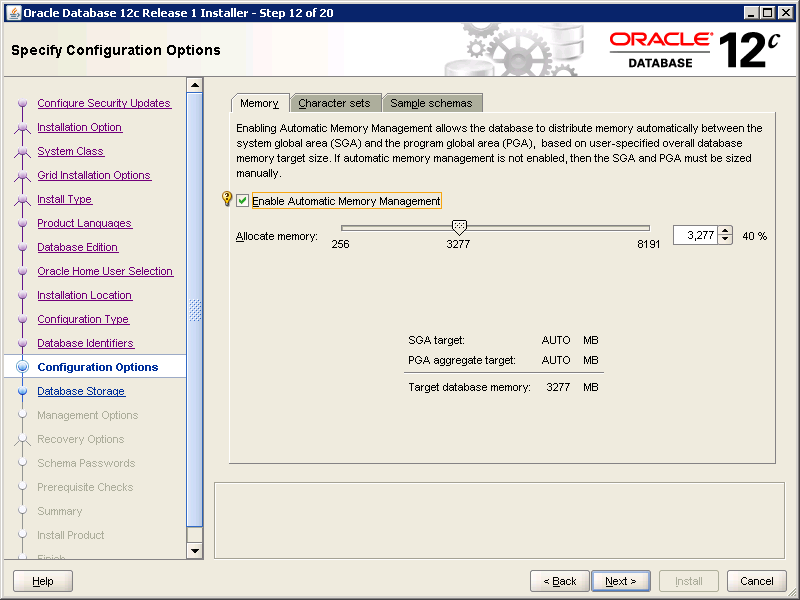
Keep the defaults for memory management.
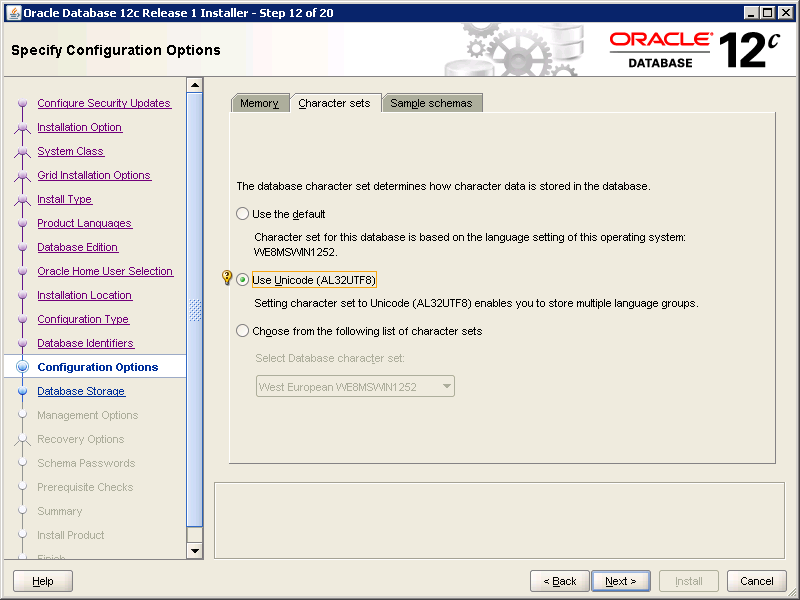
Select Character Sets and choose Unicode. Click on Next.
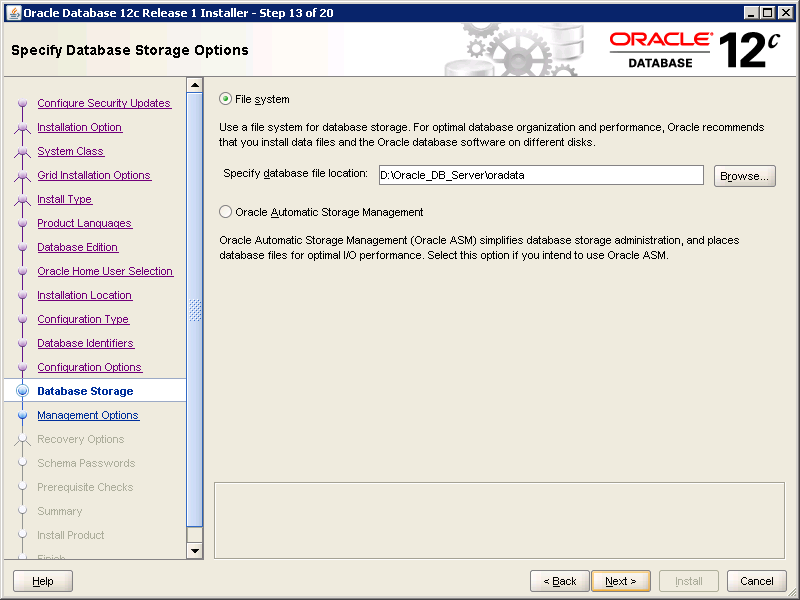
For the filesystem, we can keep the default or choose an alternate location. Click Next once done.
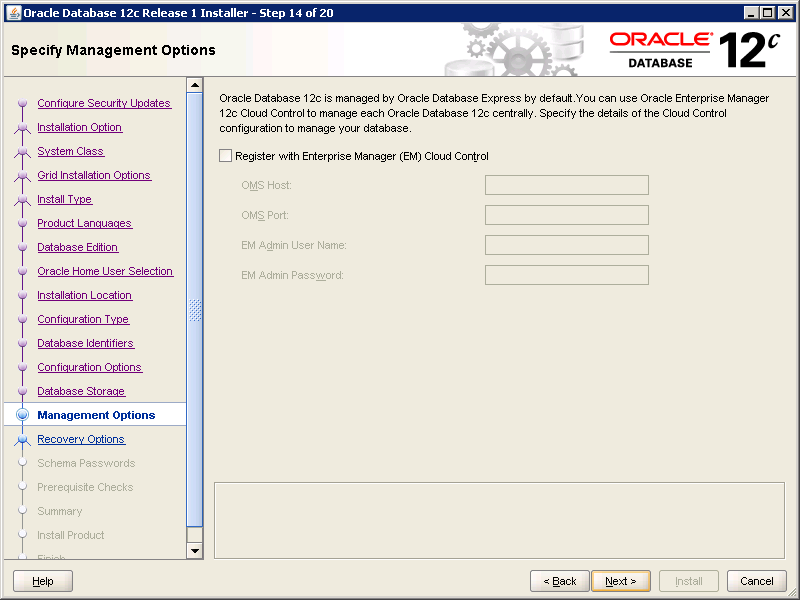
Keep the defaults and click on Next.
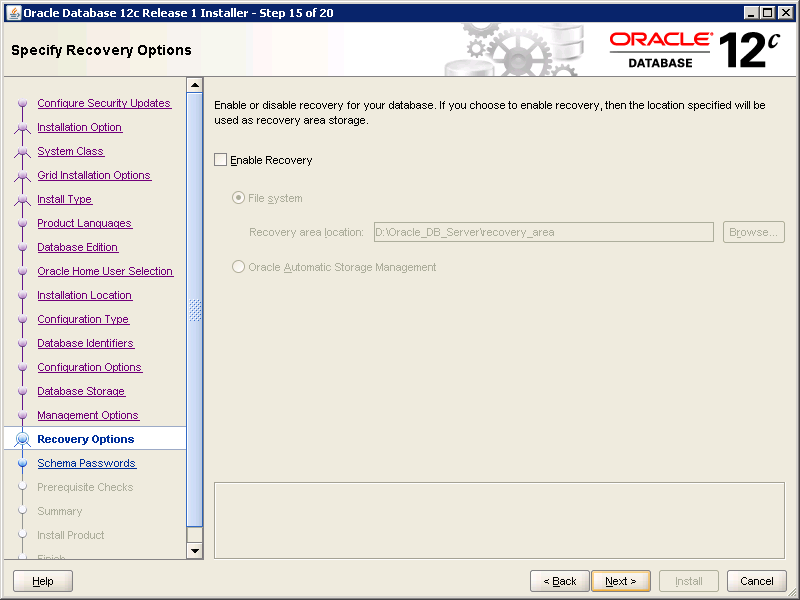
We can keep the default for the recovery option, primarily for 2 reasons:
- In the event that this instance is used as a sandbox, we can always recreate the database.
- In the event that we copy over the existing Development database, we can always copy it again.
Click Next once done.
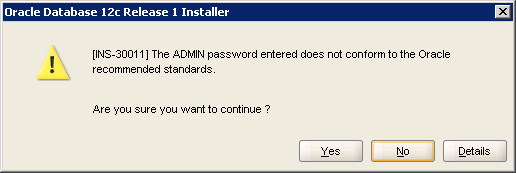
In the schema passwords, put in the passwords for system accounts as desired. You may get a warning about the passwords not matching the Oracle standards, this can be ignored.
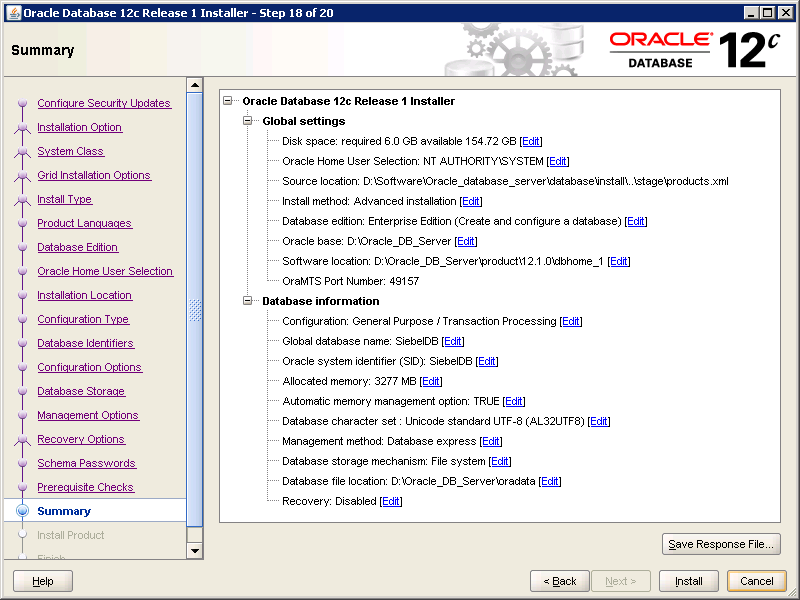
Click Install on the Summary Screen.

Click OK to confirm the EM URL.
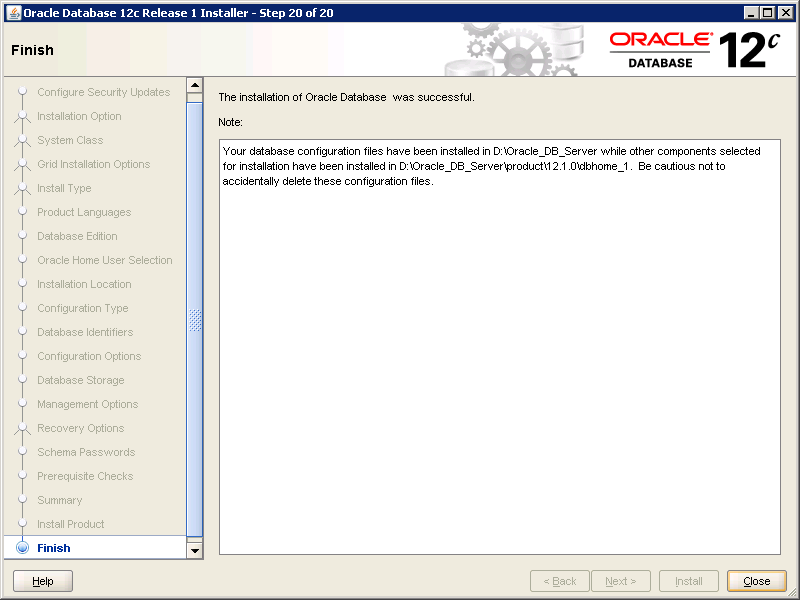
Click Close on the Finish screen.
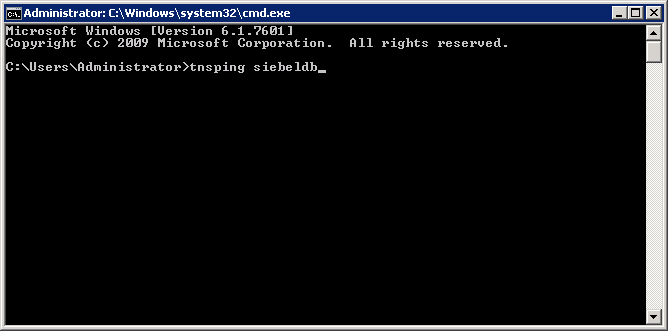
To check our newly-created database, open a command prompt and type TNSPING SiebelDB.
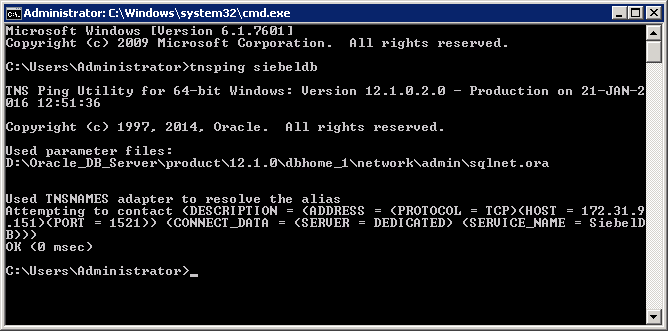
This should give a response back. If we get a proper response, the database is ready and working.
This completes the Oracle DB server installation.
Database Client Installation
In the third article in this series, we mentioned that we do not need to download the Oracle Database Client. This is because the Oracle Client is a part of the Siebel network image. While the client, which is a part of the network image, is version 11 G, it makes sense to use this for 2 reasons:
- The LDAP security adapter for the Siebel web authentication is only certified against this version. Irrespective of which Oracle client you use, if you want to enable LDAP authentication, this specific version will need to be downloaded.
- Since it is Oracle bundling this with the network image, we do not need to worry about the production certification with the relevant Siebel version.
To install the database client on the Amazon Server named the Siebel Database Server, navigate to:
D:\Software\Siebel_Install_Image\15.0.0.0\Windows\Server\Siebel_Enterprise_Server\Disk1\stage\ORACLE_LDAP_Client\enu\client
Execute the setup file.
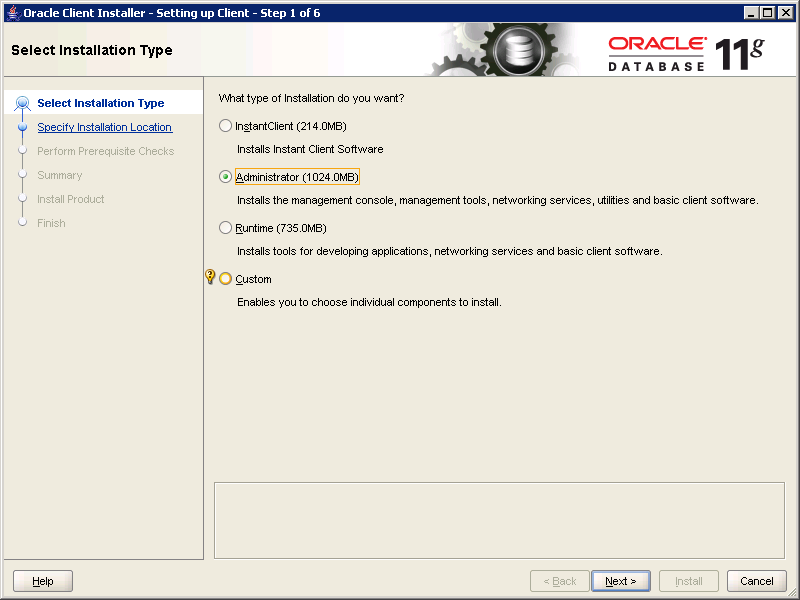
Choose Administrator and Click on Next.
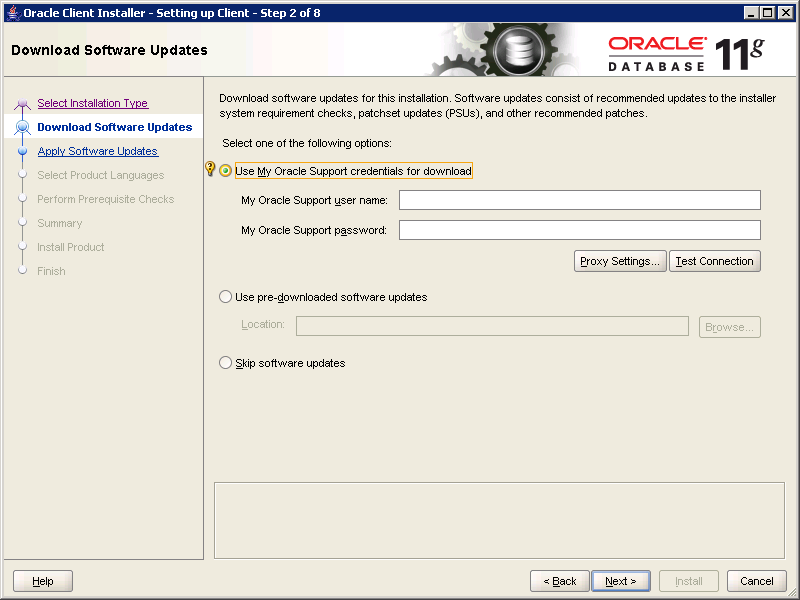
You can choose the option which suits you, or Skip the software updates and click on Next.
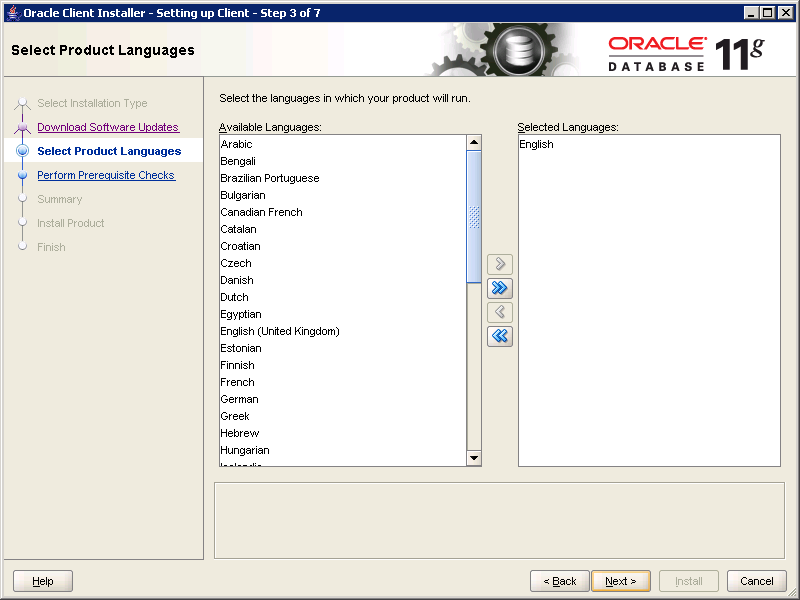
Choose any additional languages which are required for the installation (English will be set as default), and click on Next.
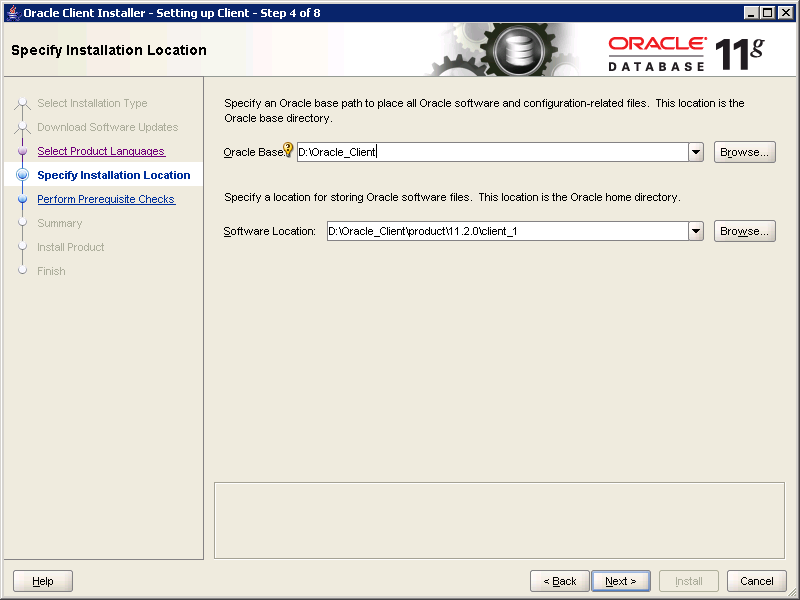
Enter D:\Oracle_Client as the install location and click on Next.
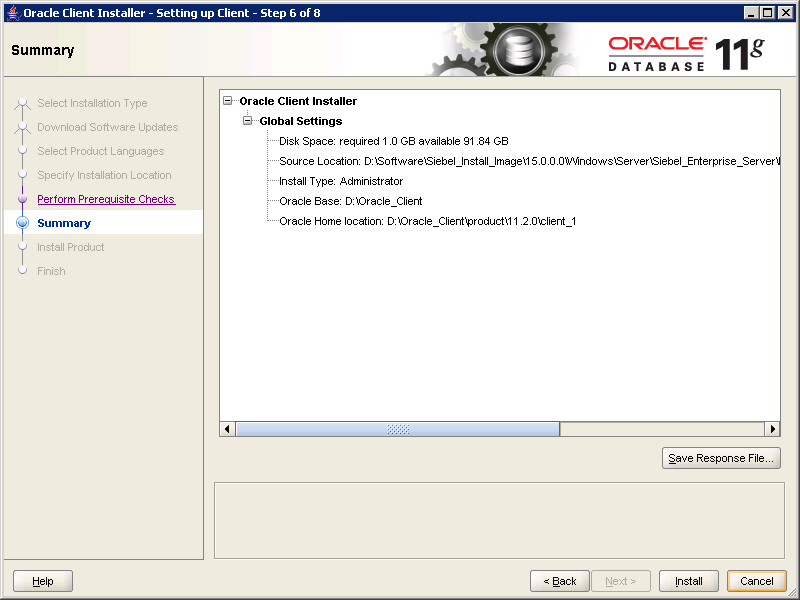
Click on Install after reviewing the summary. This will complete the Oracle Client installation.
Copy the folder “D:\Software\Siebel_Install_Image\” to all servers in the Amazon instance. The Oracle Client needs to be installed on all the servers as described above.
This concludes the installation of the Ancillary software for the Siebel Application installation. The next article in the series describes the configuration of the Oracle database server to make it ready for the Siebel installation.
Load comments