In the last article in this series, we completed the installation of all of the Siebel components for our sandbox. In this article we will configure all those components so that we can start the Siebel application up.
Siebel has to be configured in a specific sequence:
- Create a Gateway Name Server.
- Configure an enterprise in the Gateway Name Server.
- Check the ODBC connection strings.
- Run the DB Configuration utilities to install the Siebel Database.
- Configure the Siebel Application Server.
- Create a web server logical profile.
- Apply the logical profile to the Siebel Web Server.
Based on the sequence above, we now need to start the configuration.
Create a Gateway Name Server
Log on to the Amazon server named Siebel Web_Gateway_Server.
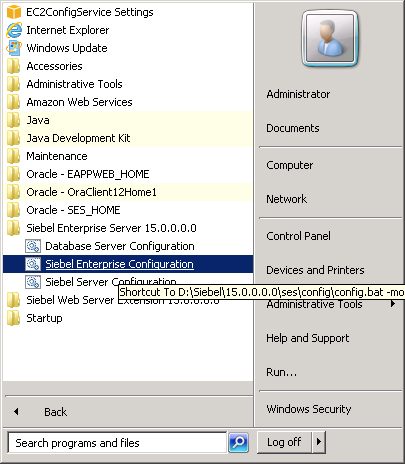
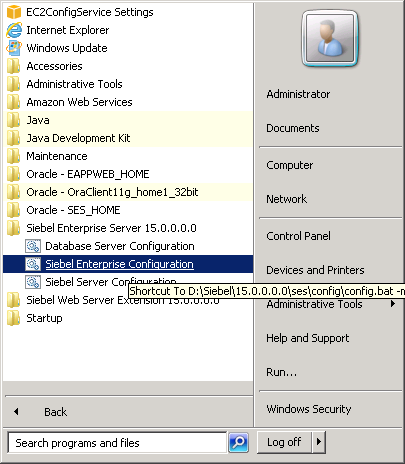
Click on Start -> Programs -> Siebel Enterprise Server 15.0.0.0.0 and choose Siebel Enterprise Configuration as shown below:


Select “Create New Configuration” and Click on Next.
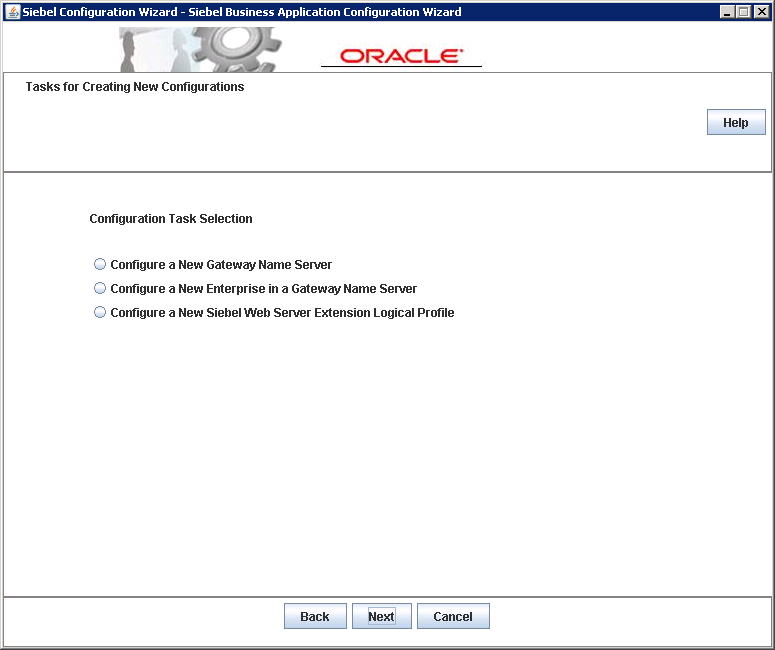
Select “Configure and New Gateway Name Server” and click on Next.
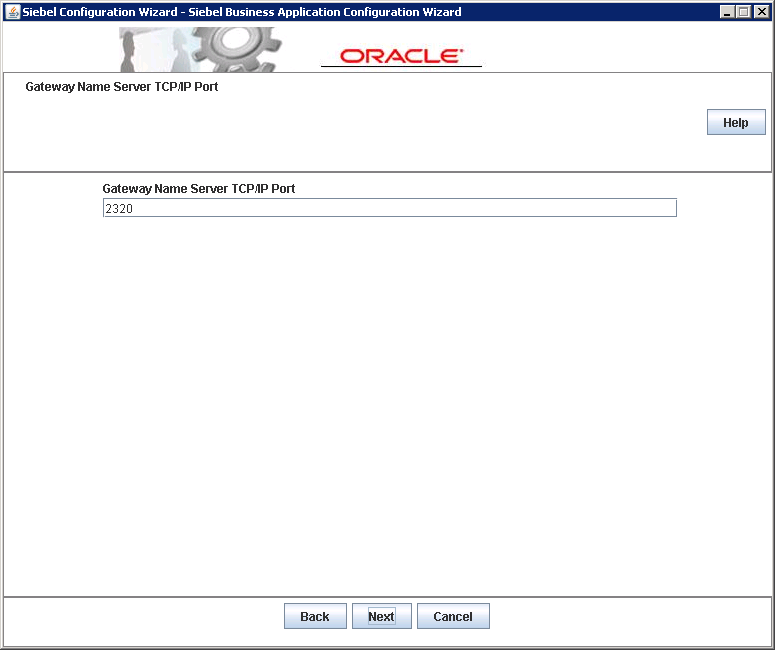
Keep the default port of 2320 and click on Next.
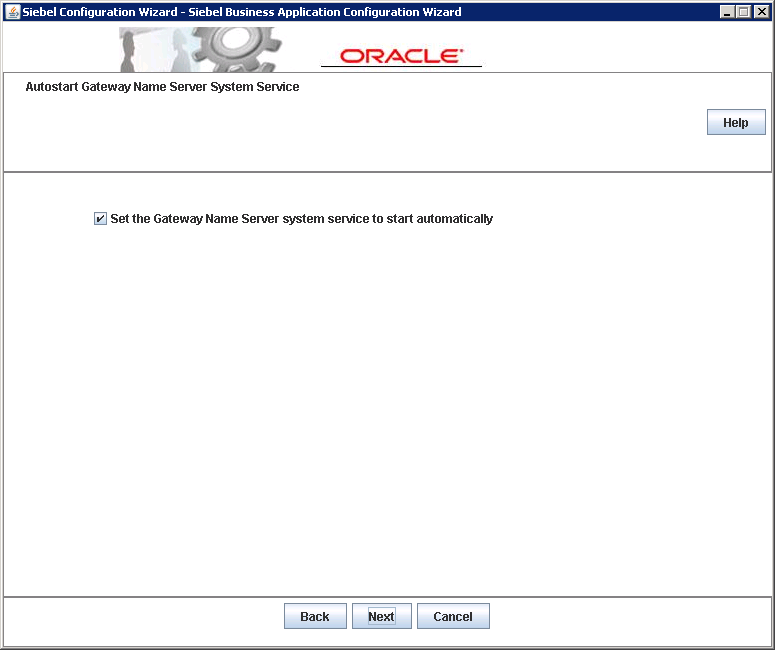
Keep the option selected and Click on Next.
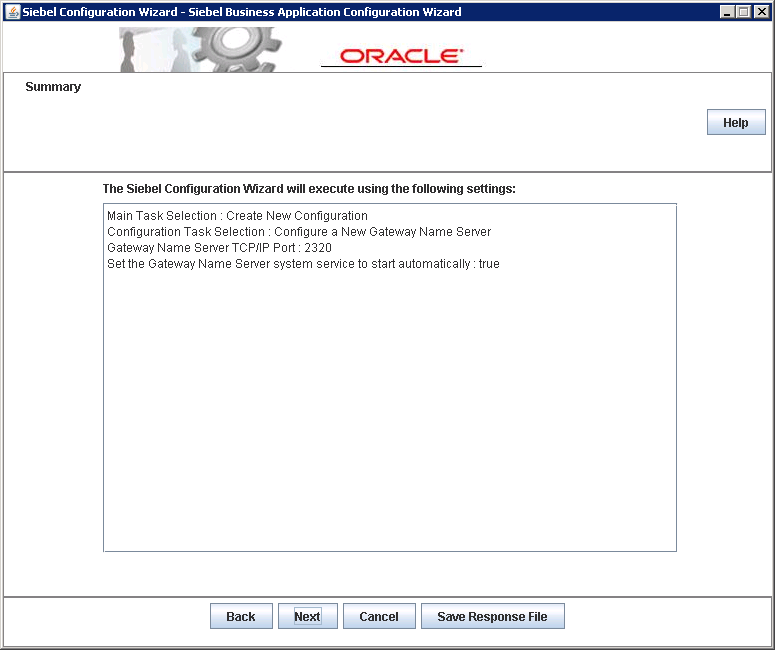
Click on Next on the summary screen and wait for the execution to finish. This takes only a couple of seconds.

Click on OK on the Success window.
This completes the creation of the Siebel Gateway Name Server. The Gateway Name Server is a new Windows service which is created by performing the above steps.
Configure an Enterprise in the Siebel Gateway Name Server
The next step is to configure an enterprise in our newly-created Siebel Gateway Name Server. Bring up the Enterprise configuration wizard again:

Click on “Create New Configuration” and click on Next.

Select “Configure a New Enterprise in a Gateway Name Server” and click on Next.

For the Gateway Name server Authentication, enter SADMIN for the user name. Use the password which was created while running the Grantusr Script from the 6th article in the series (Configuring the Siebel Database). Once this is done, click on Next.
Keep the defaults and click on Next.
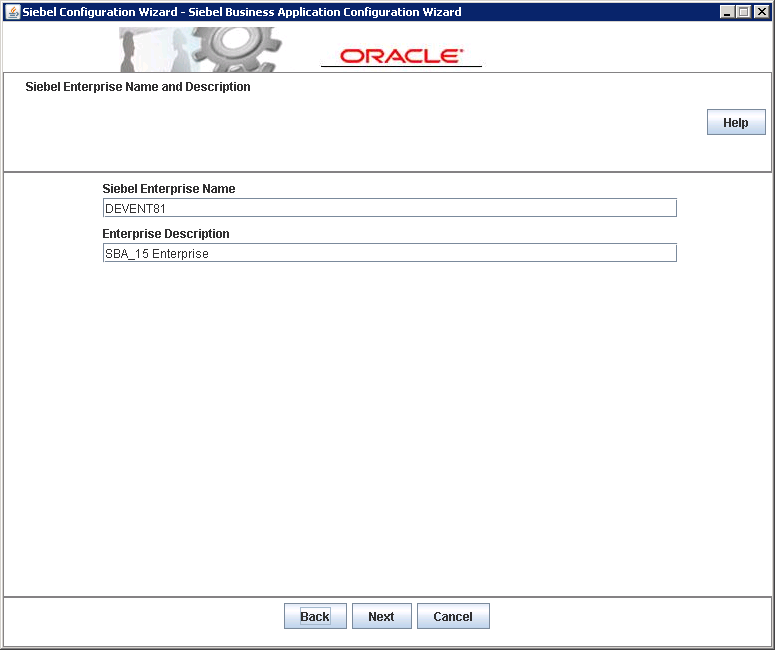
Type in the name for the Enterprise and the Description and click on Next. Make sure that the enterprise name is stored somewhere. We will require this when configuring the Siebel Application Servers.
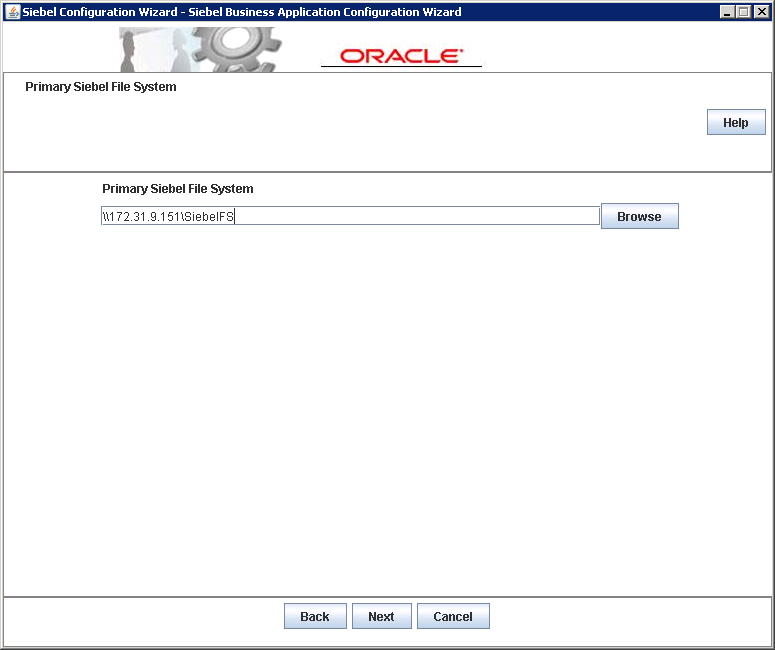
In the article “Ancillary Software Installation” we had created the Siebel File system share on the Amazon server named Siebel Database Server. Enter the UNC path (\\<IP_Address>\<Share_Name>\). Click Next.
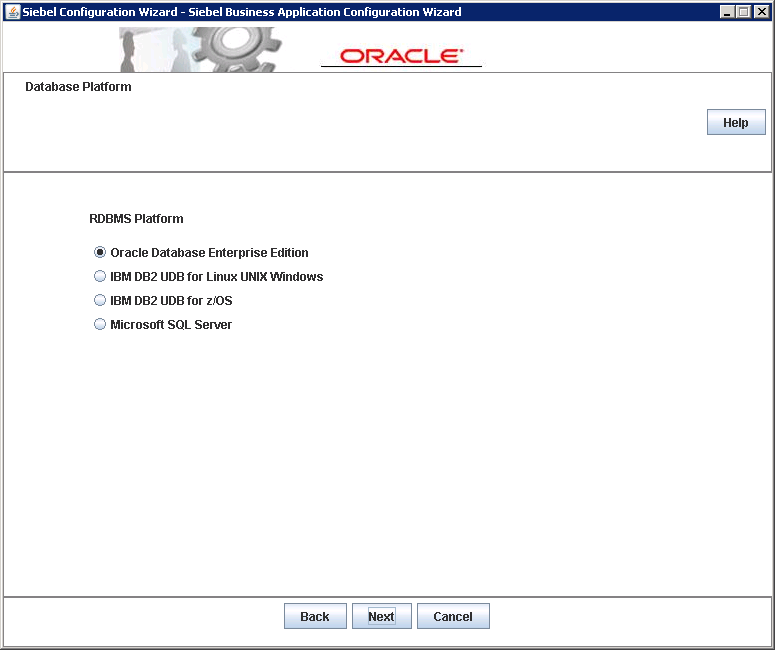
Select “Oracle Database Enterprise Edition” and Click on Next.
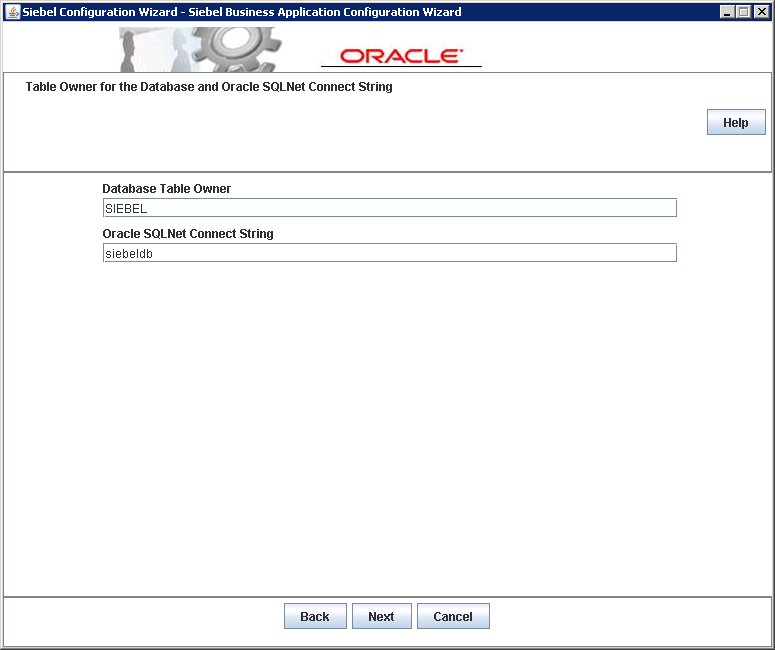
Enter SIEBEL as the Database Table Owner Name and the TNS string for the Oracle Database. Click Next once done.
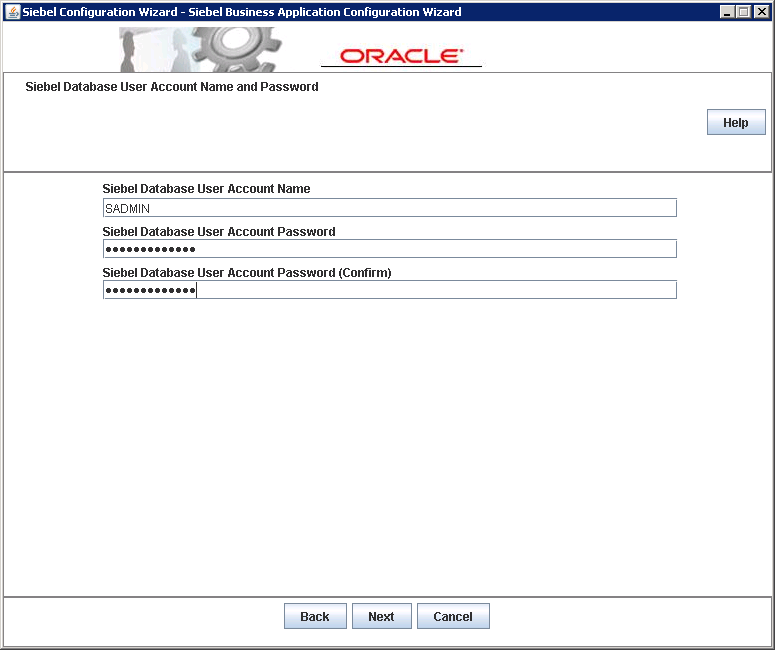
In the Siebel Database User Account Name type SADMIN. Enter the password for the SADMIN user and click on Next.
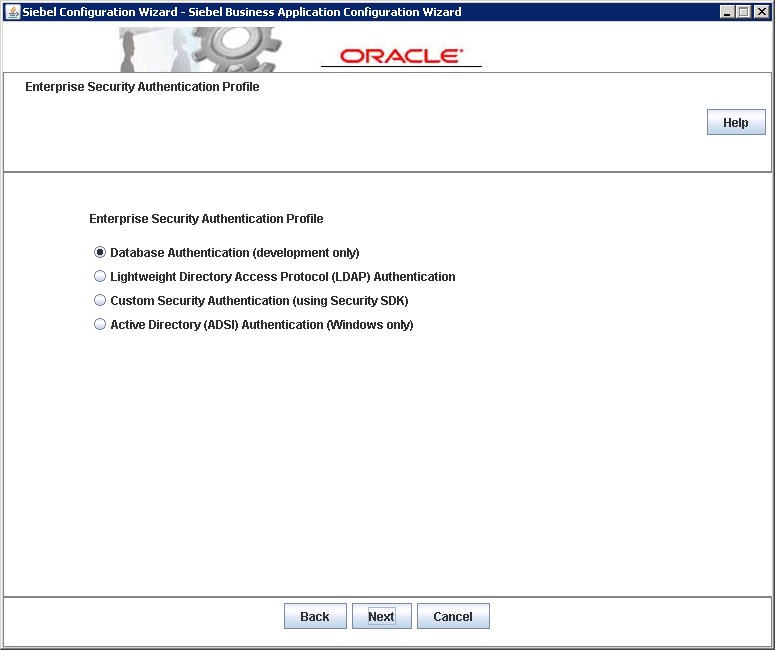
Select the “Database Authentication” and click on Next.
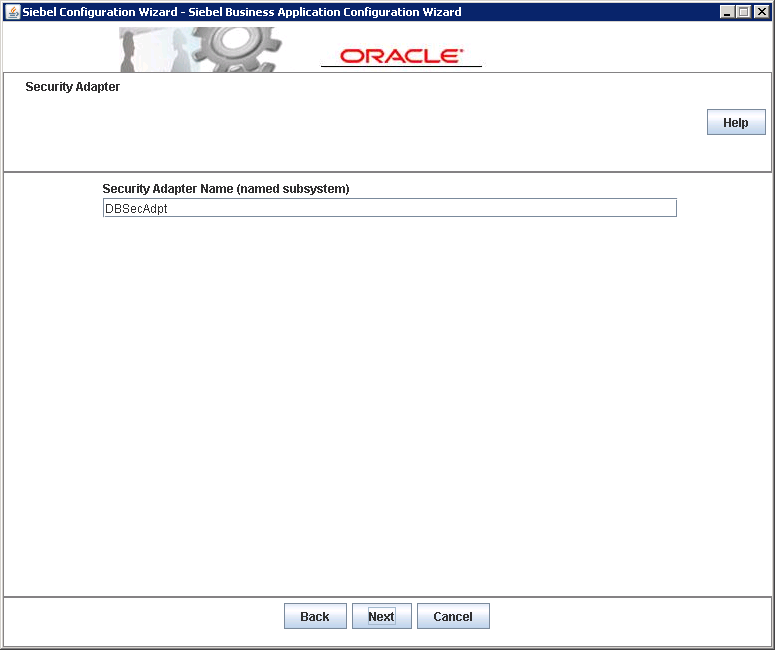
Keep the default for the Security Adapter name and click on Next.

Click on Next and allow the changes to go to the Gateway Name Server.
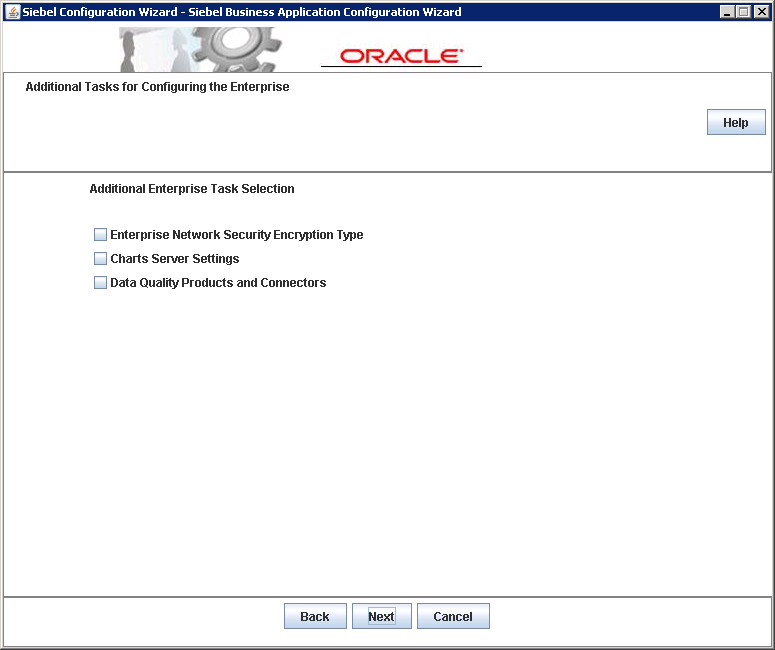
Since this is a sandbox instance, we do not need to configure any additional enterprise tasks. Click on Next.
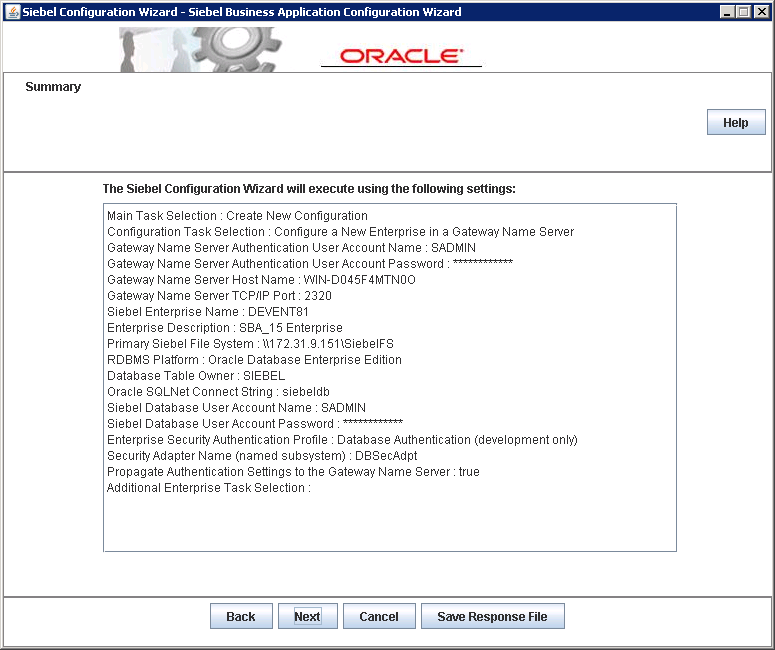
Click on Next in the summary screen and wait for the execution to finish.

Click on OK on the success screen. This concludes the creation of the Siebel Enterprise.
Checking the ODBC connection Strings
Configuring a Siebel Enterprise also creates the corresponding ODBC connections for the Siebel Application to use on the Windows server. Before we go any further, we need to ensure that the ODBC connection we created is working properly. We also need to keep in mind that while Siebel works only on 64-bit architecture, the application on its own is still 32 bit and uses the 32-bit ODBC drivers. To check the connection, open Windows Explorer and navigate to C:\Windows\SysWOW64.
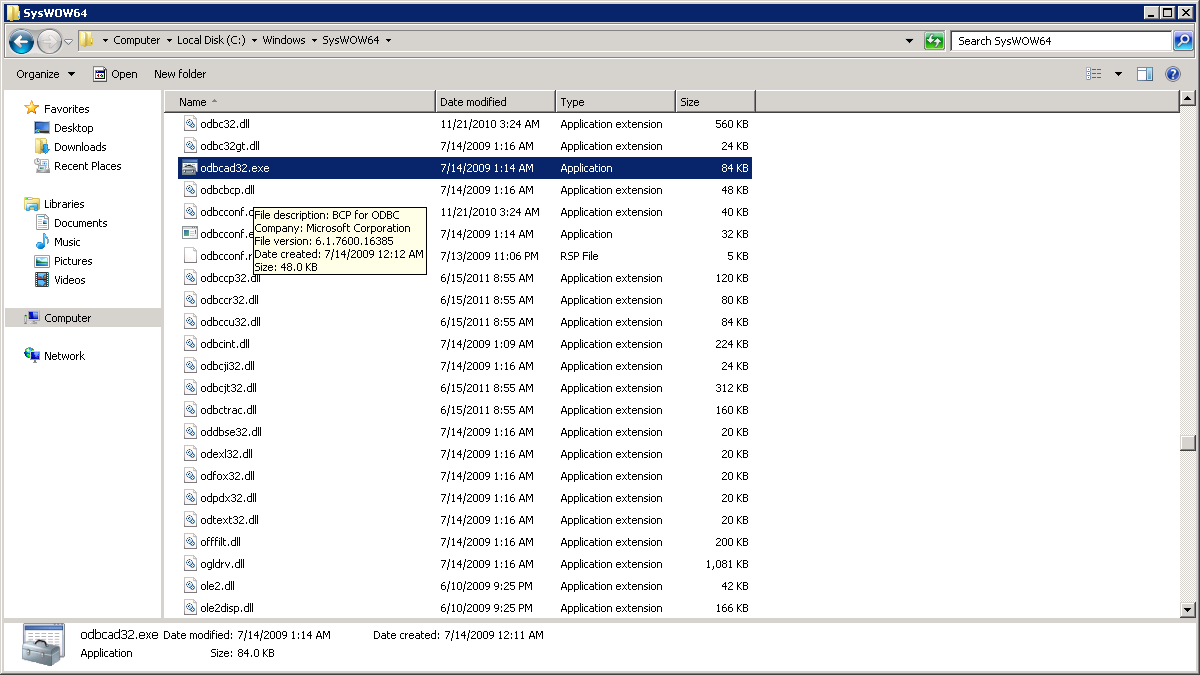
Execute ODBCAD32.EXE.
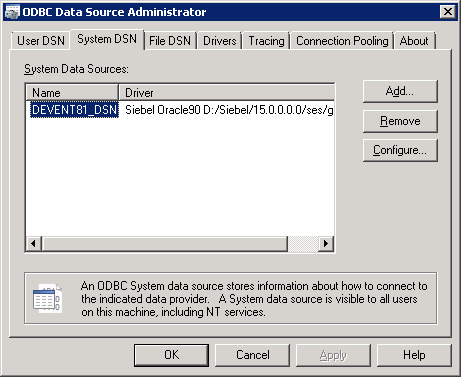
Choose the System DSN Tab and click on Configure.
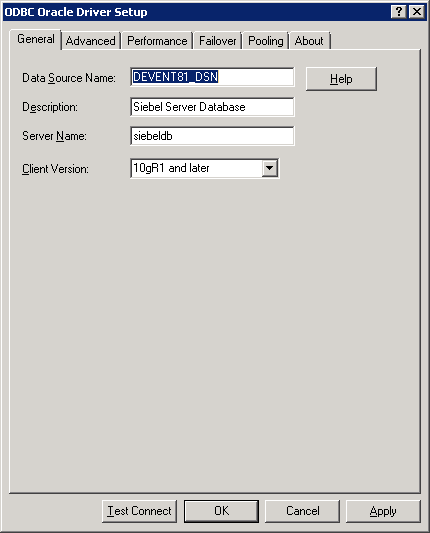
Make sure that the ODBC Oracle Driver Setup is as shown above. The Client version must be selected to 10GR1 and later. Click on Test Connect. Make a note of the Data Source Name as it is required when we install the Siebel Database.
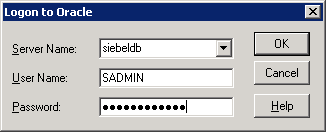
Type in the SADMIN Username and Password and click on OK.
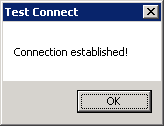
Click on OK once the connection is established. Repeat the same steps for the SIEBEL user as well. Once successfully completed, the ODBC connection has been tested and is ready for our next configuration steps.
Installing the Siebel Database
Click on Start -> Programs -> Siebel Enterprise Server 15.0.0.0.0, and choose Database Server Configuration as shown below:
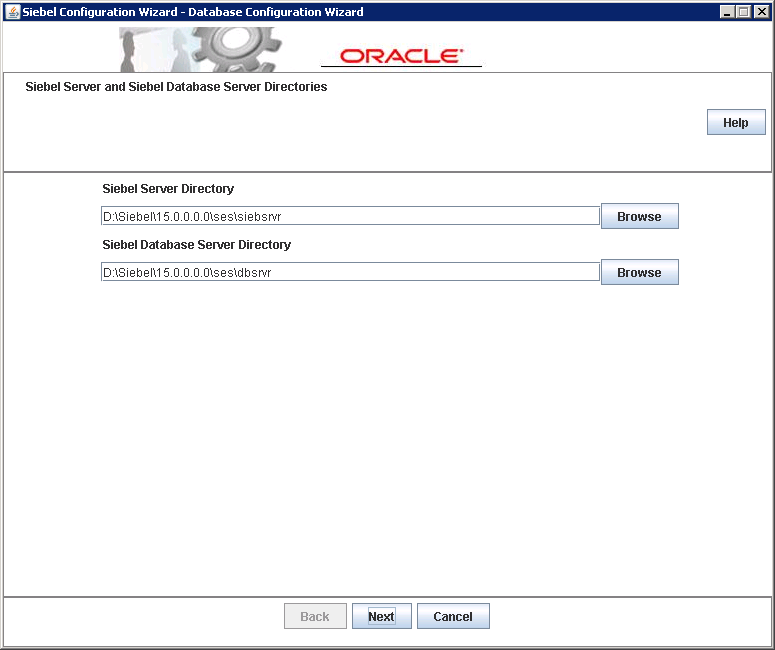
Accept the defaults and click on Next.
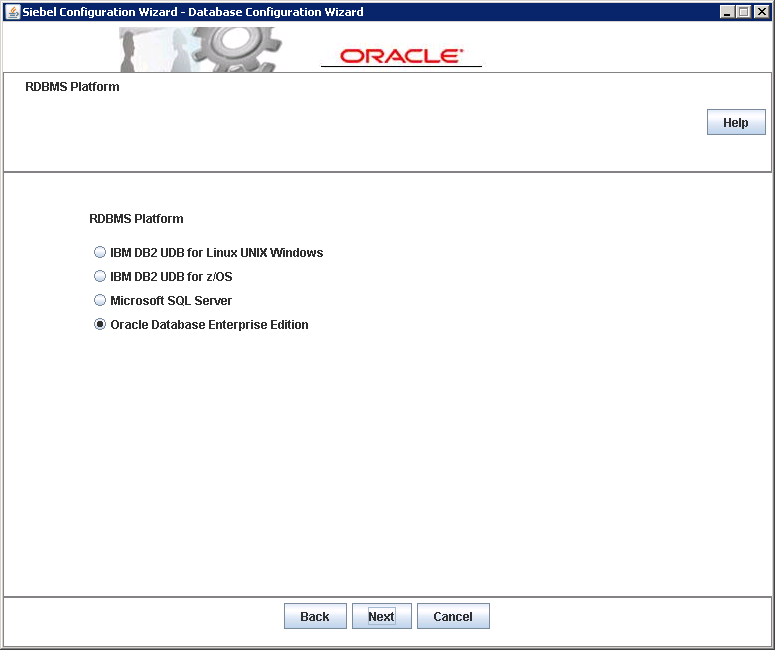
Choose “Oracle Database Enterprise Edition” and click on Next.
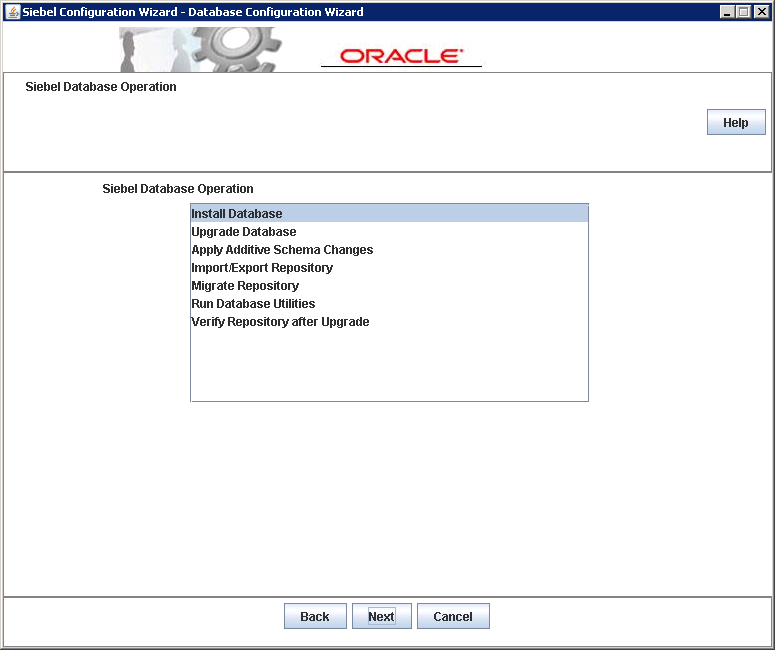
Select “Install Database” and click on Next.
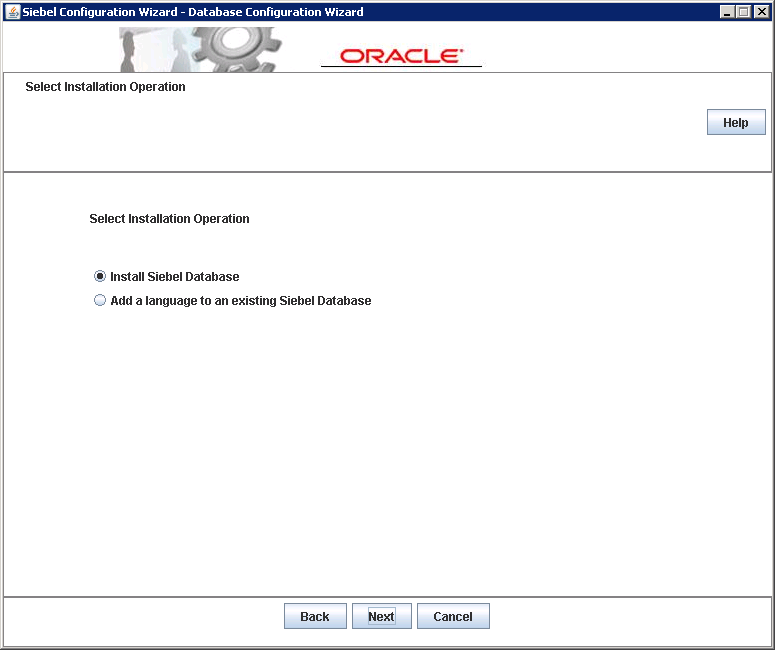
Select “Install Siebel Database” and click on Next.
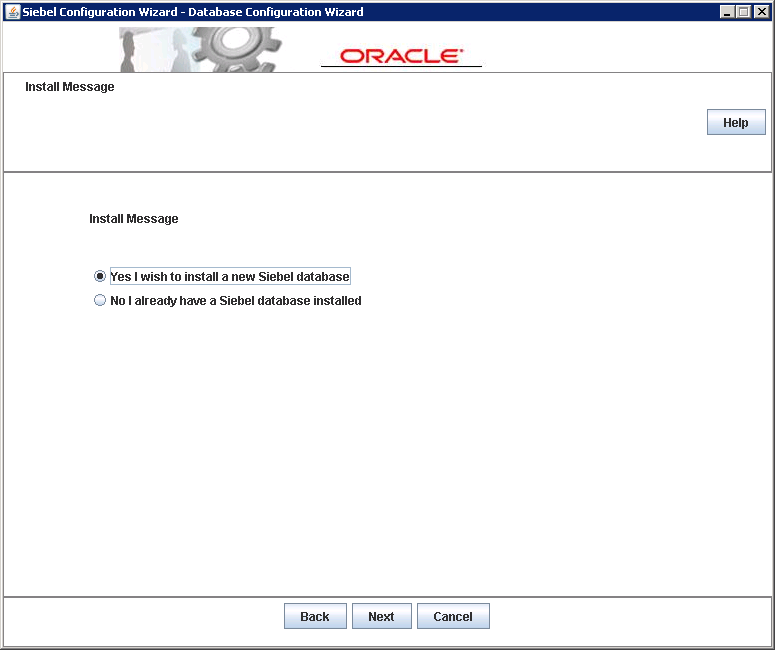
Choose “Yes I wish to install a new Siebel Database” and click on Next.
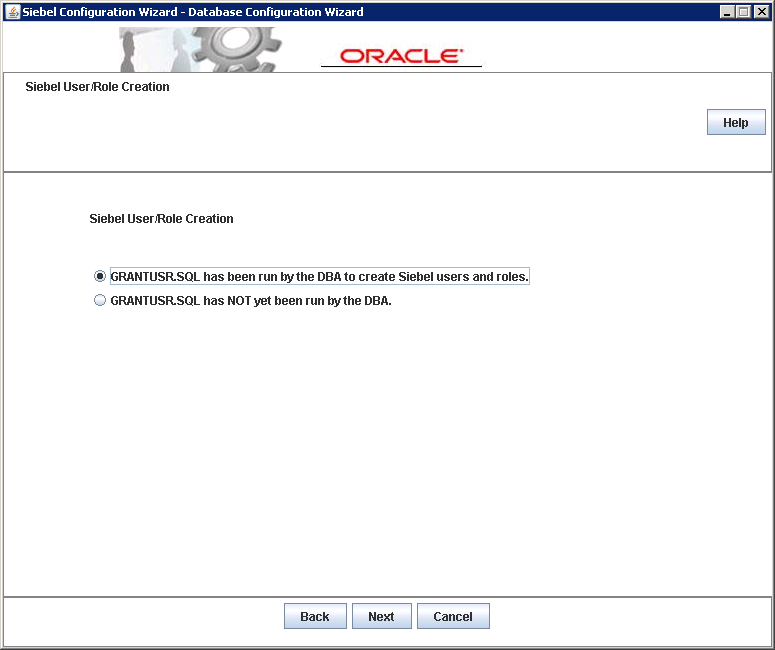
Since we have already run the grantusr script, choose “GRANTUSR.SQL has been run by the DBA to create Siebel users and roles” and click on Next.
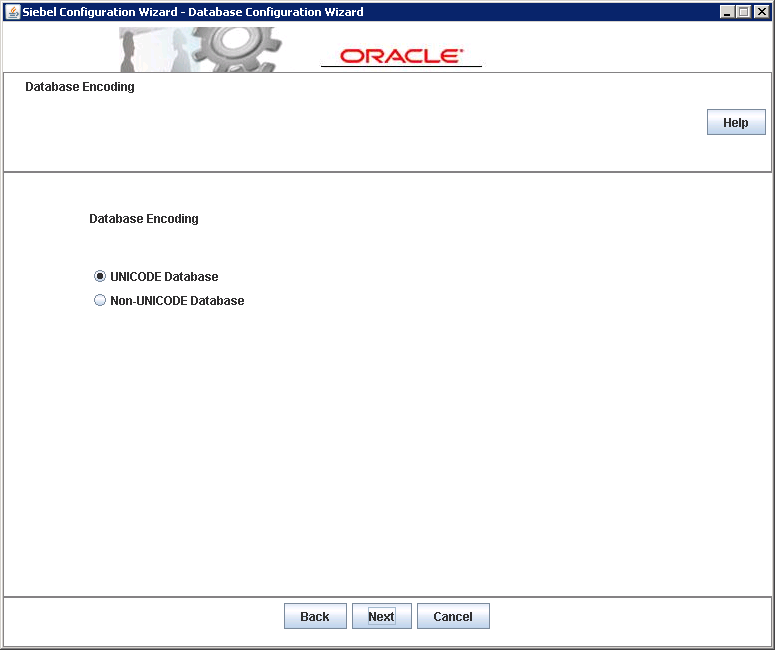
Choose UNICODE database and click on Next.
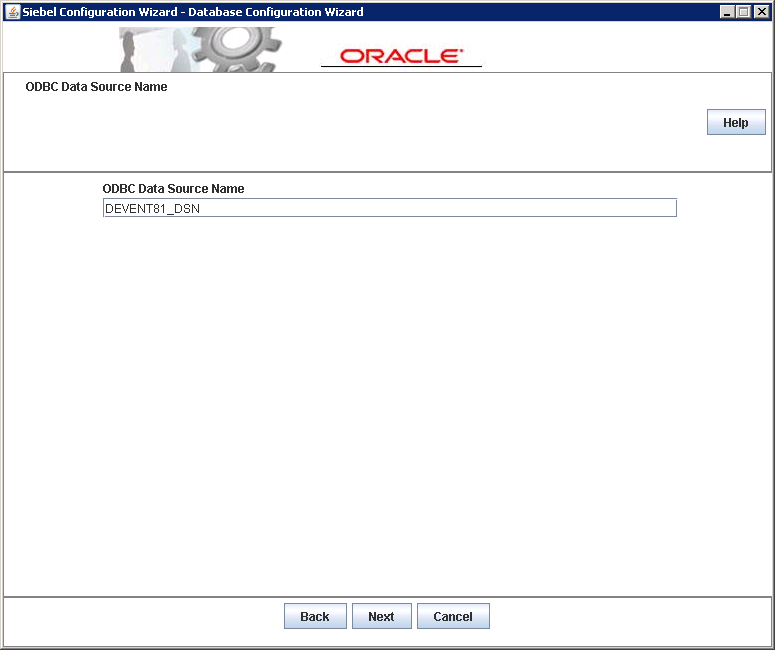
While checking the ODBC Connection strings, we made a note of the Datasource name. Enter this value in the ODBC Data Source Name field and click on Next.
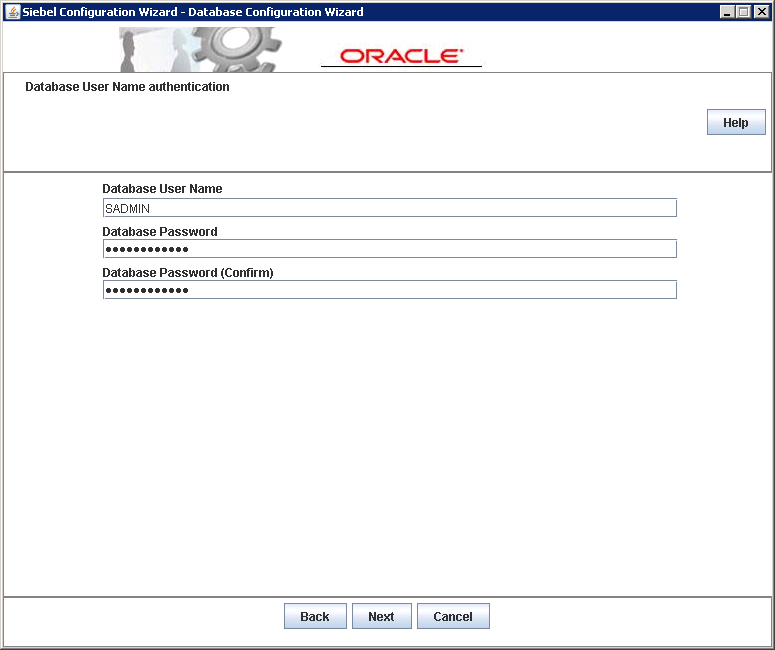
For the Database User Name Authentication, type in the SADMIN user and the corresponding passwords and click on Next.
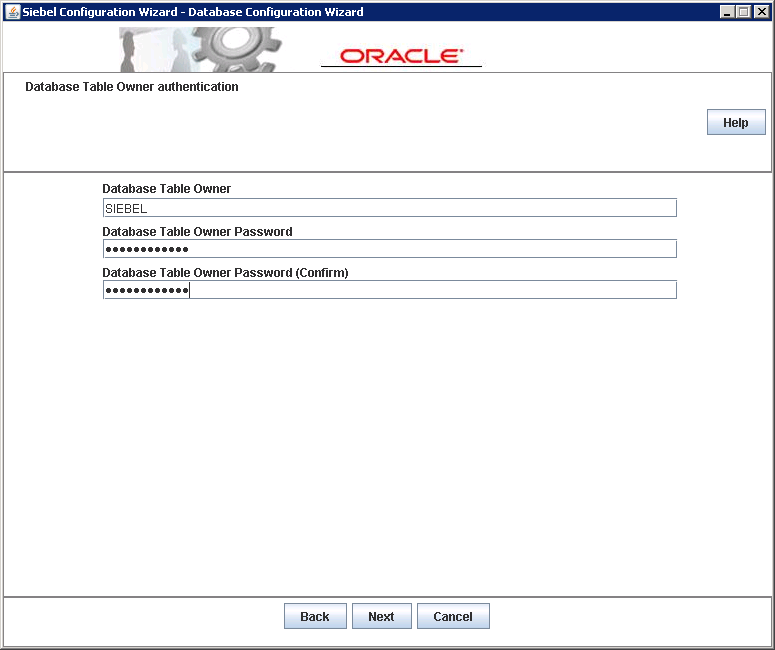
For the Database Table Owner, type in the SIEBEL User and the corresponding passwords. Click on Next once done.
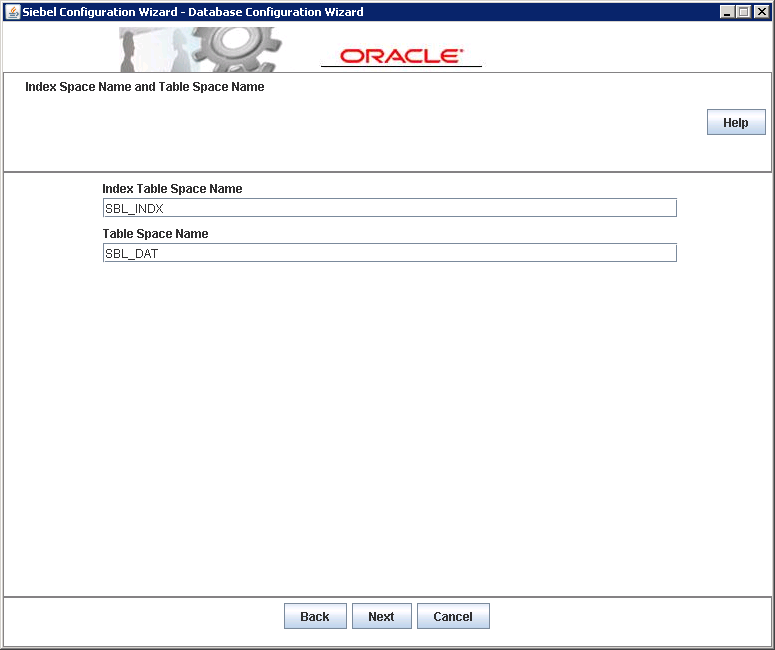
In the article “Configuring the Siebel Database” we had created two table spaces, one each for the indexes and tables. Type in the corresponding values and click on Next.
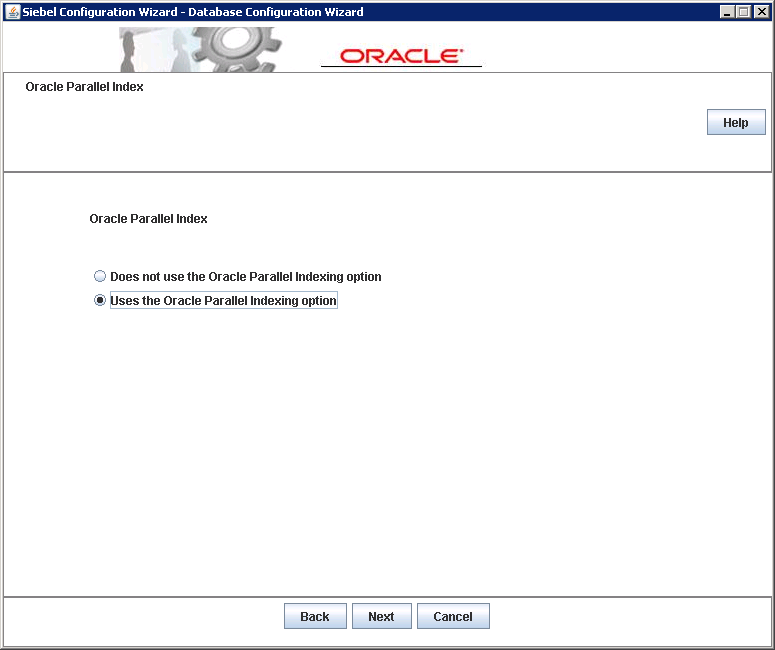
Select “Uses the Oracle Parallel Indexing option” and click on Next.

Keep the default and click on Next. The SSE_ROLE is a role created when we run the grantusr script.

Keep the default for the log output directory and click on Next.
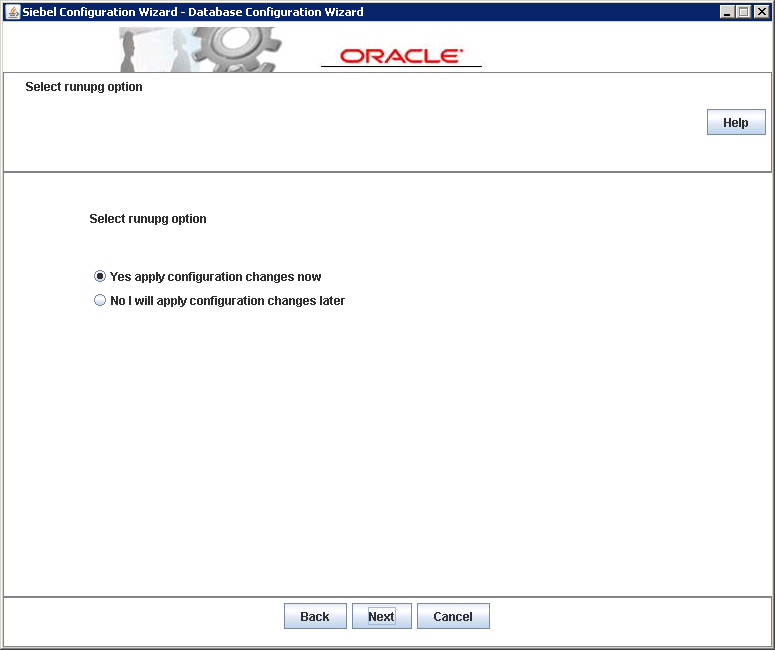
Select “Yes apply configuration changes now” and click on Next.
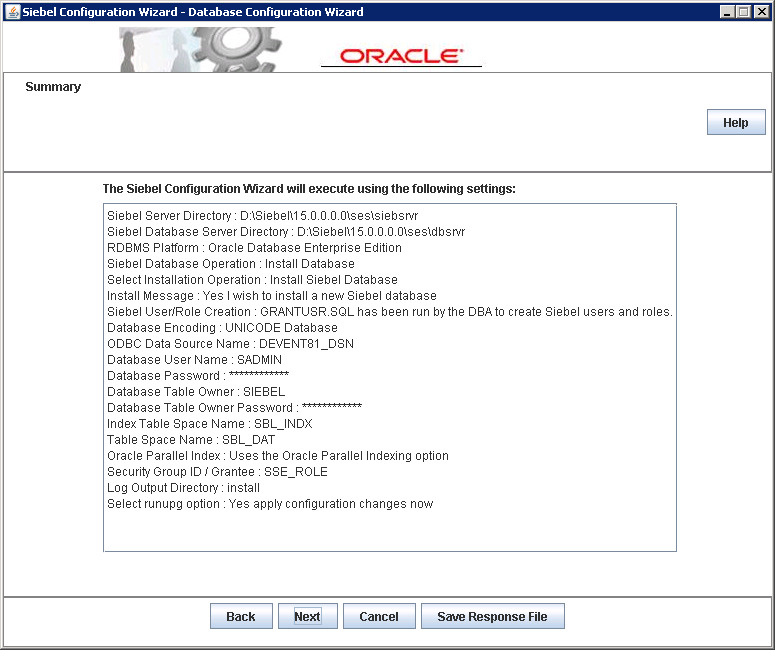
Click Next on the summary screen to start the wizard.

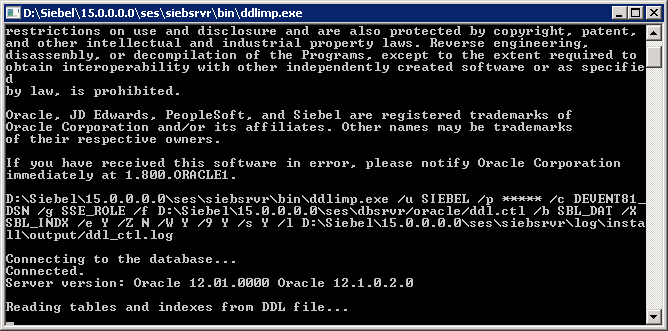
Click OK to start the installation. Please note that this process takes a while.
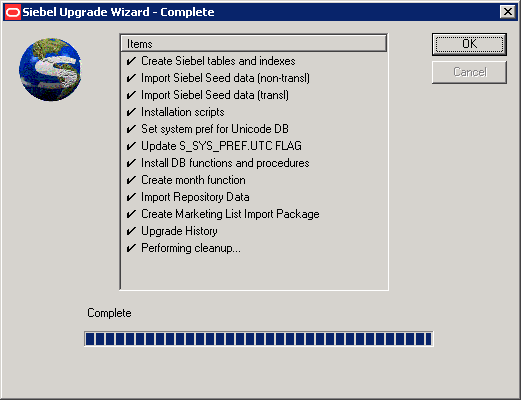
Wait for the wizard to finish. Click on OK once all the steps are completed. This concludes the installation of the Siebel Database.
Configure the Siebel Application Server
Up to this point we have completed the following steps:
- Created the Siebel Gateway Name Server.
- Configured the Siebel Enterprise.
- Installed the Siebel Database.
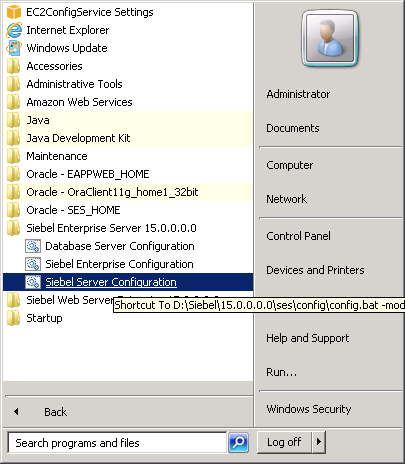
Now we need to configure the Siebel Application servers. Click on Start -> Programs -> Siebel Enterprise Server 15.0.0.0.0, and choose Siebel Server Configuration as shown below:
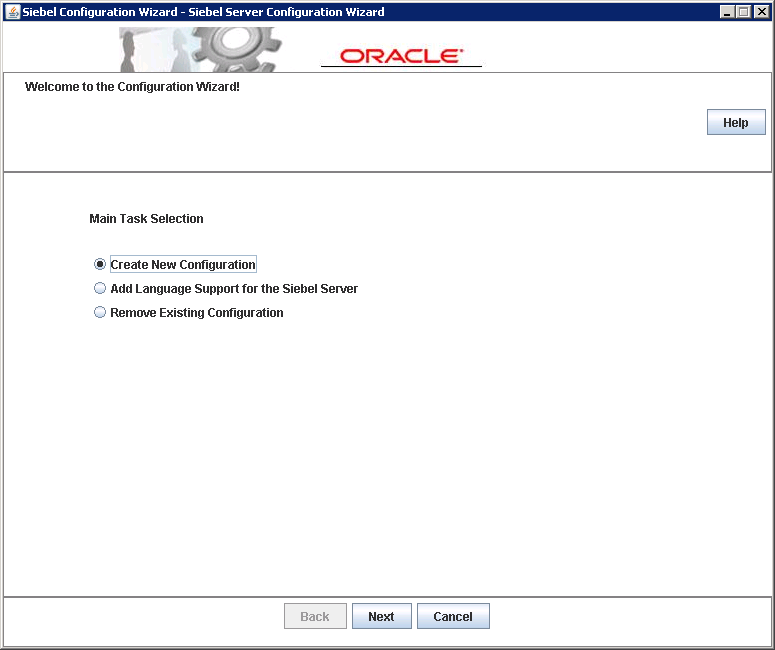
Select “Create New Configuration” and click on Next.
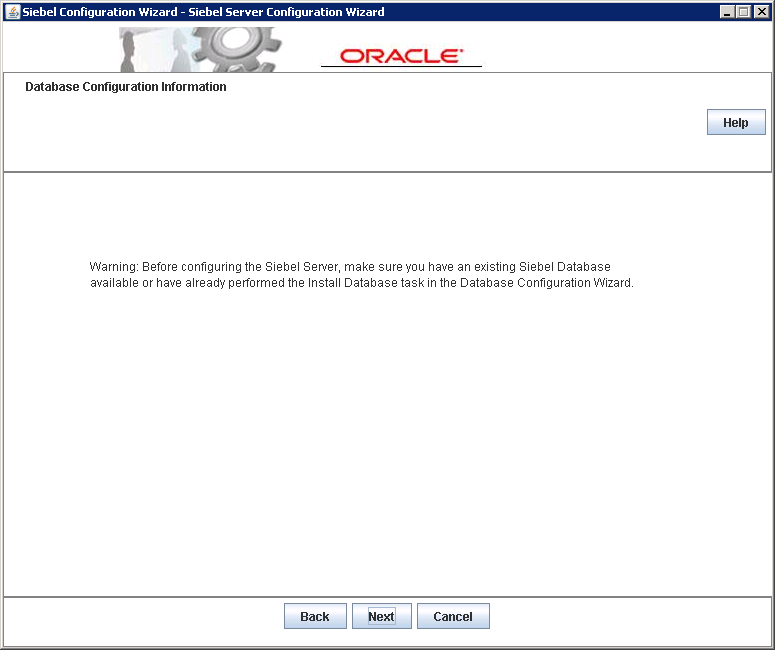
Since we have already completed the steps, click on Next.
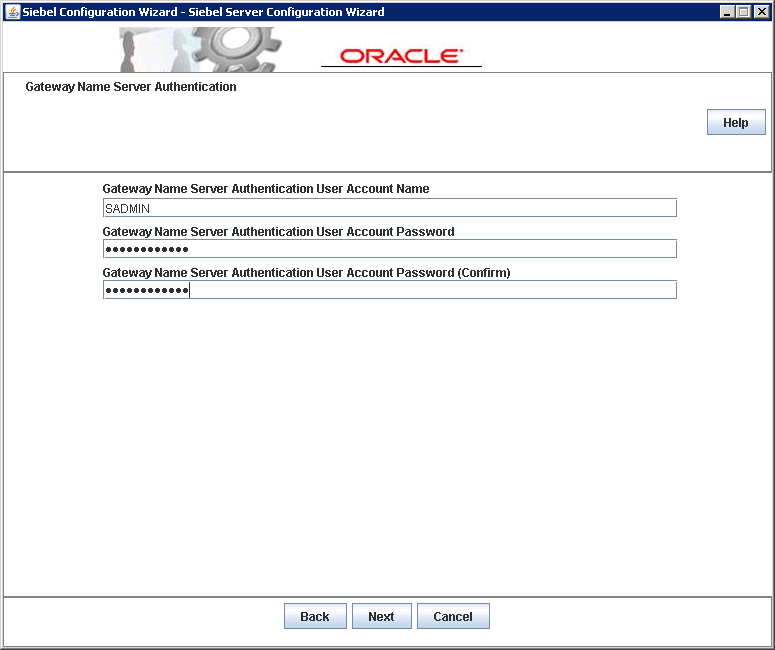
Type in the SADMIN username and password and click on Next.
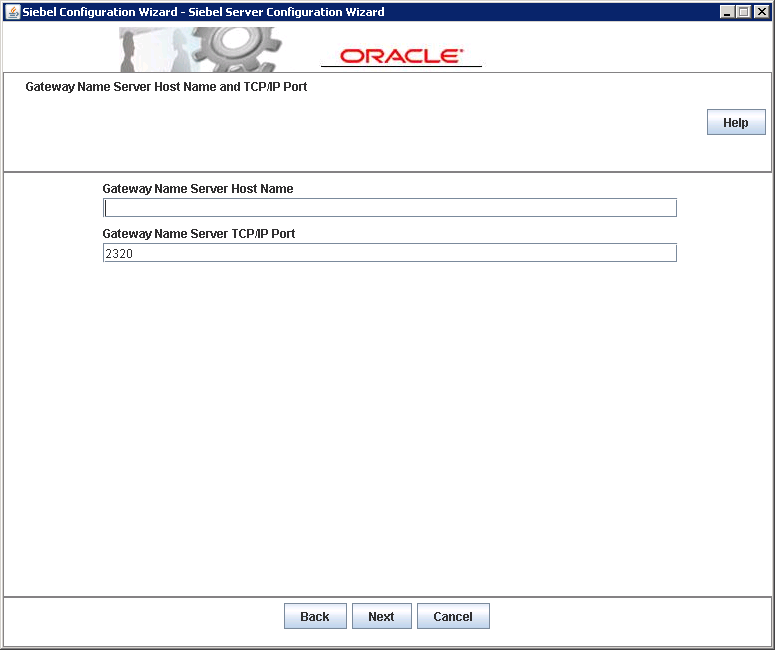
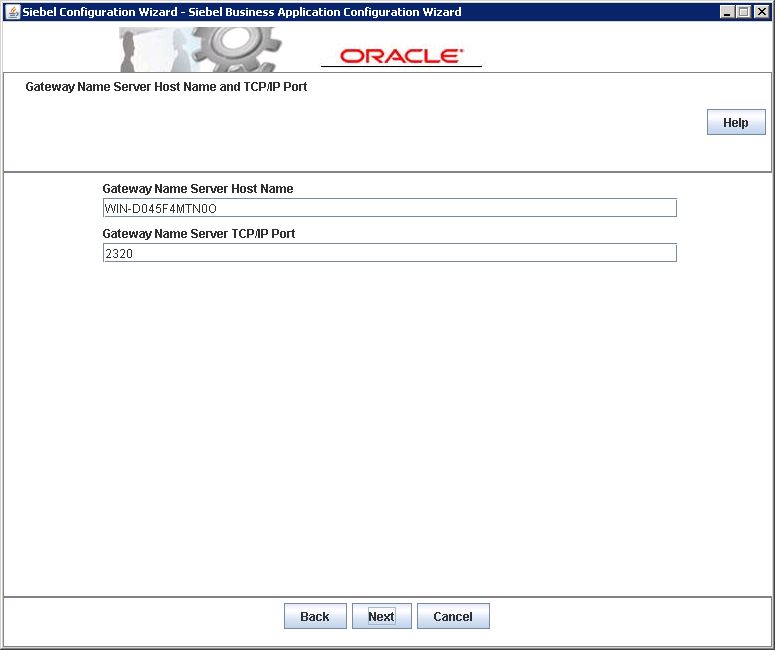
We made a note of the Gateway Name Server name when we were configuring the Gateway Name Server. Enter the value in the Gateway Name Server Host Name field. Accept the default port and click on Next. Please note that the Gateway Server Service MUST be running for this to work.
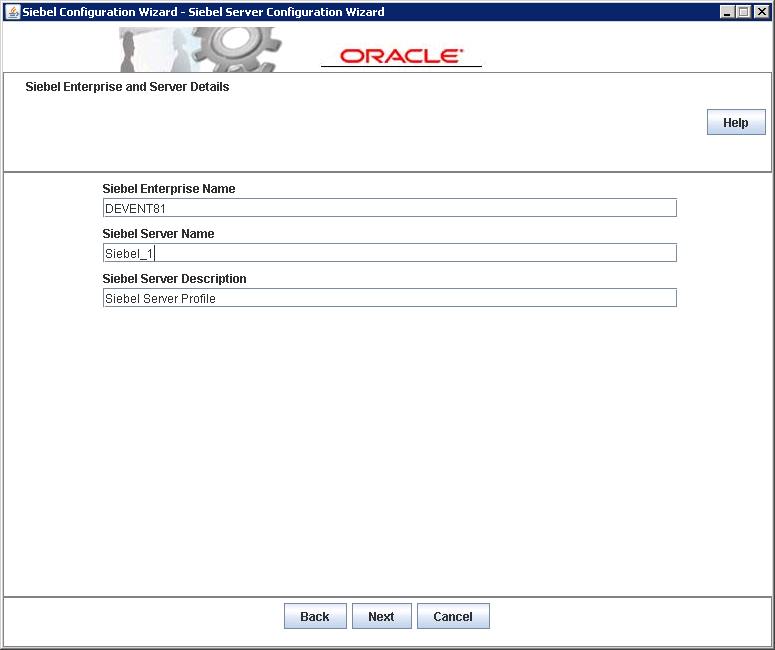
While configuring the Siebel Enterprise, we made a note of the Enterprise name. Enter this value in the Siebel Enterprise Name field. Give meaningful names for the Siebel Server name and the description. Click on Next once done.
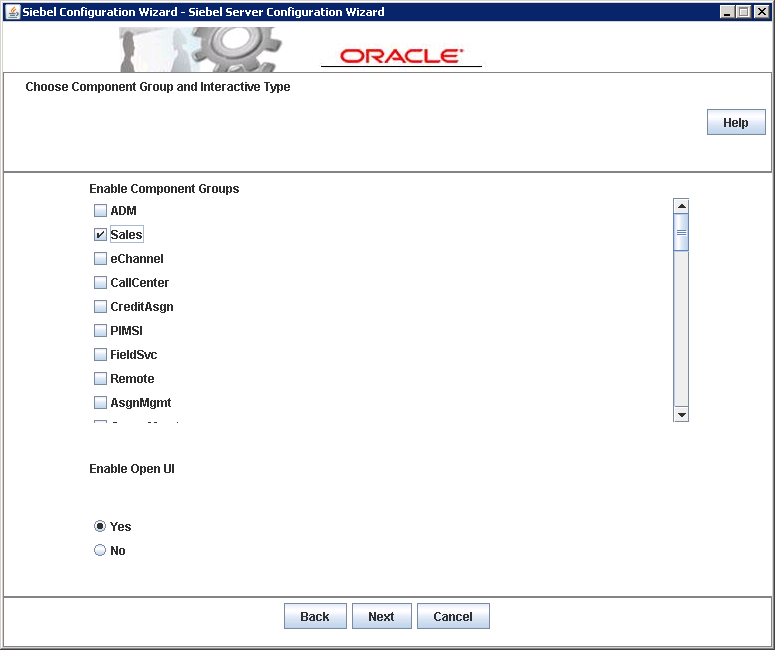
Select the Sales Component group and click on Next. We can enable and disable component groups once the instance is up and running. We need to enable one of the object managers so that we can log onto the instance once the configuration is finished.
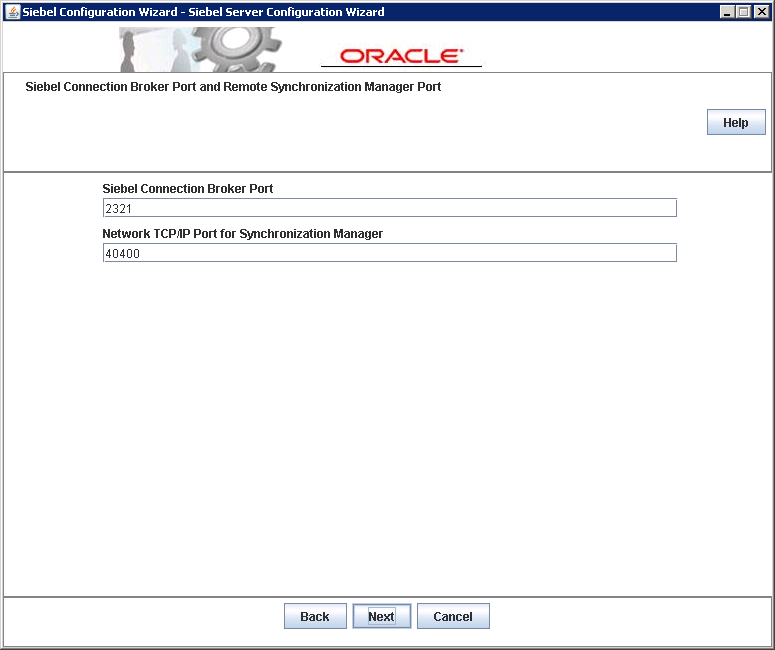
Keep the defaults and click on Next.
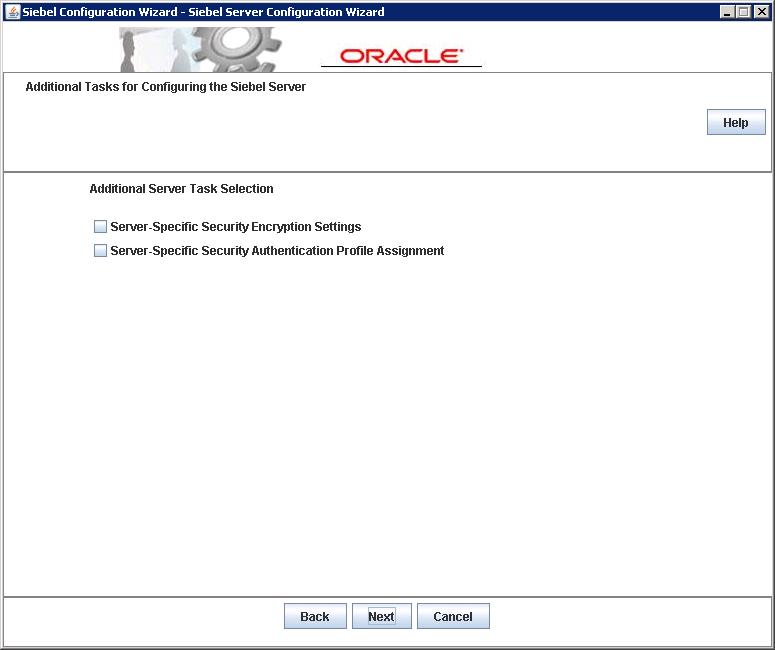
We do not need to choose any specific tasks for the additional tasks. Click Next.
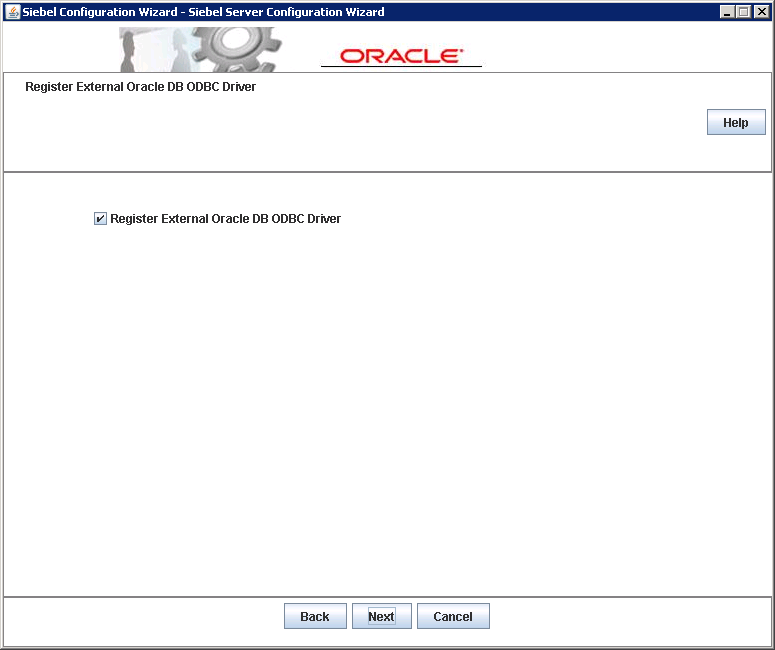
Select “Register External Oracle DB ODBC Driver” and click on Next.
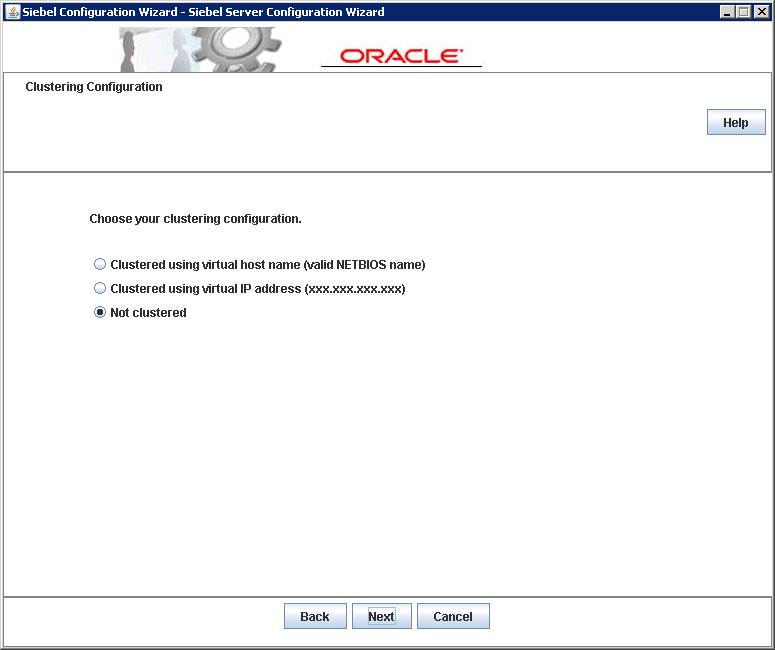
Since our instance is not clustered, Choose “Not Clustered” and click on Next.

Do not autostart the Siebel Server Services. This is done so that we have control over the sequence in which the services are started. Click Next after de-selecting the option.
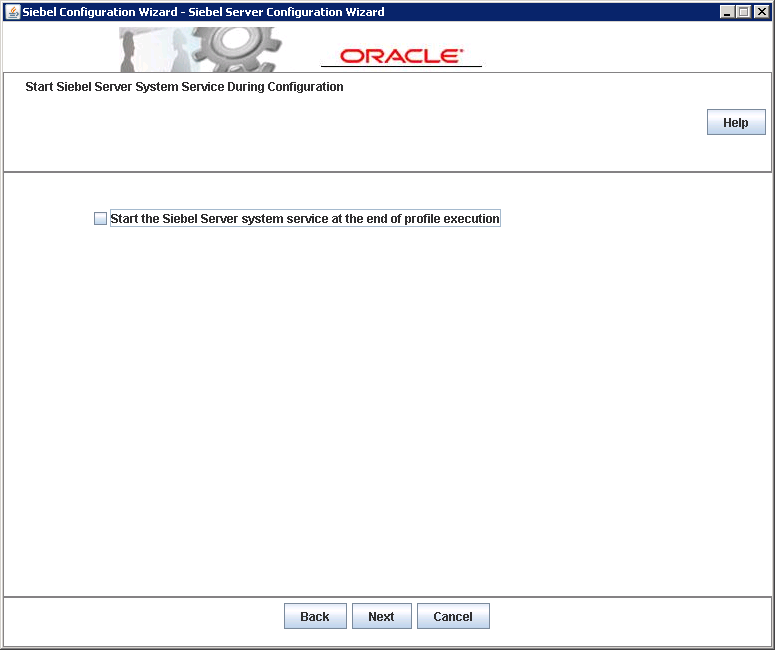
As before, do not start the Siebel Server Service. Click on Next after de-selecting the option.
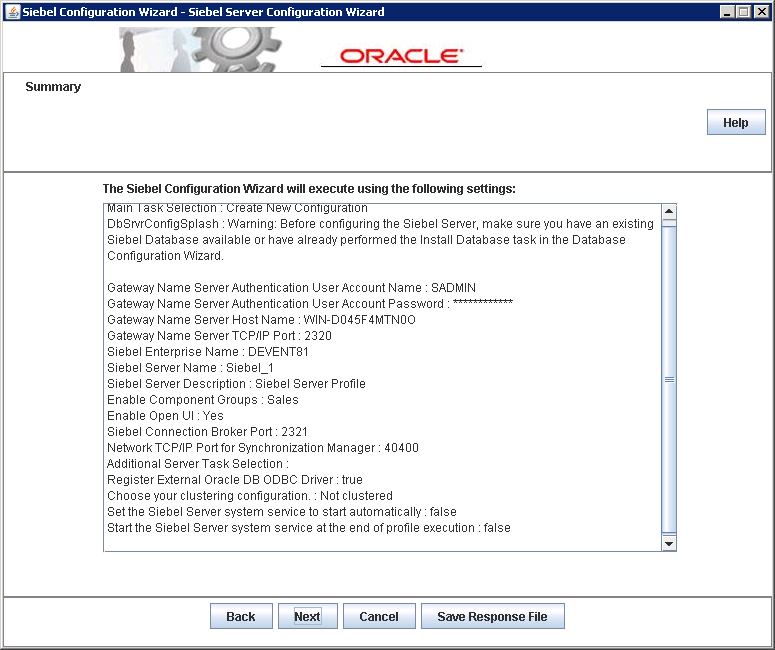
Click on Next on the summary screen and wait for the execution to complete. Until now we have been connected to the Amazon Server named Siebel Web_Gateway_Server. We now need to connect to the other two servers (Siebel Database Server and Siebel_Application_Server) to configure the Siebel Application server on them.
Please note that we ONLY need to perform the Siebel Server Configuration steps on the remaining two servers. Pay extra caution while putting the name of the gateway name server.
After finishing the Siebel Server configuration on all the servers we now have a complete instance, with only the Web server configuration remaining.
Creating the Logical Profile
Log on to the Amazon server named Siebel Web_Gateway_Server.
Click on Start -> Programs -> Siebel Enterprise Server 15.0.0.0.0 and choose Siebel Enterprise Configuration as shown below:
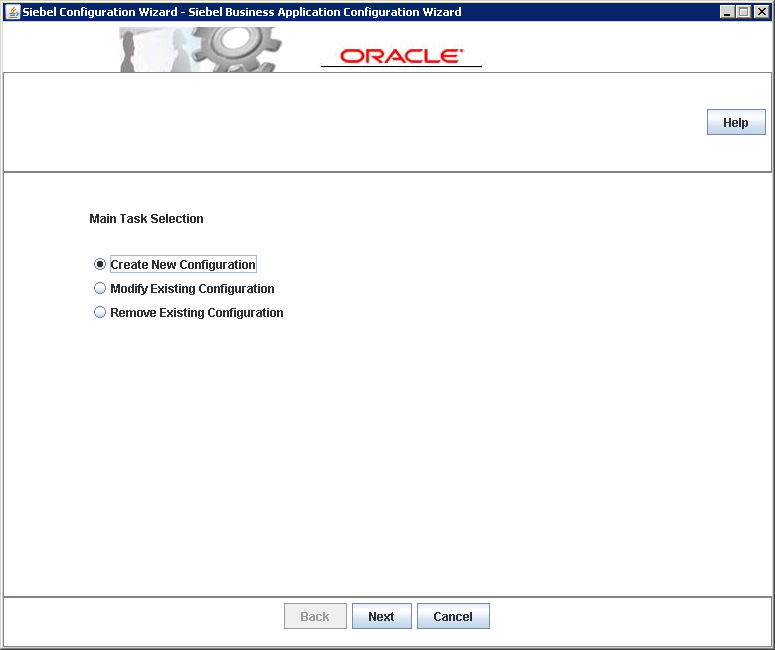
Select “Create New Configuration” and click on Next.

Select “Configure a New Siebel Web Server Extension Logical Profile” and click on Next.
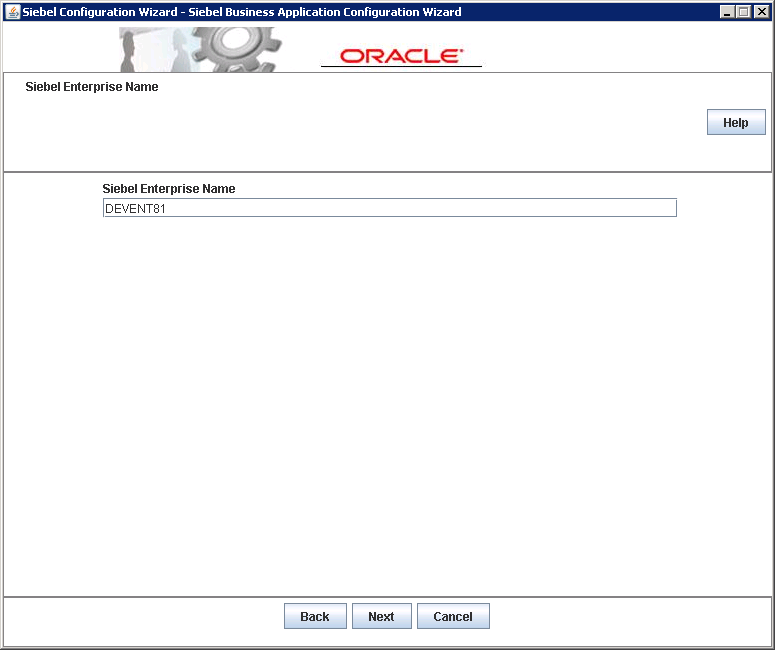
Type in the Siebel Enterprise Name as noted earlier and click on Next.
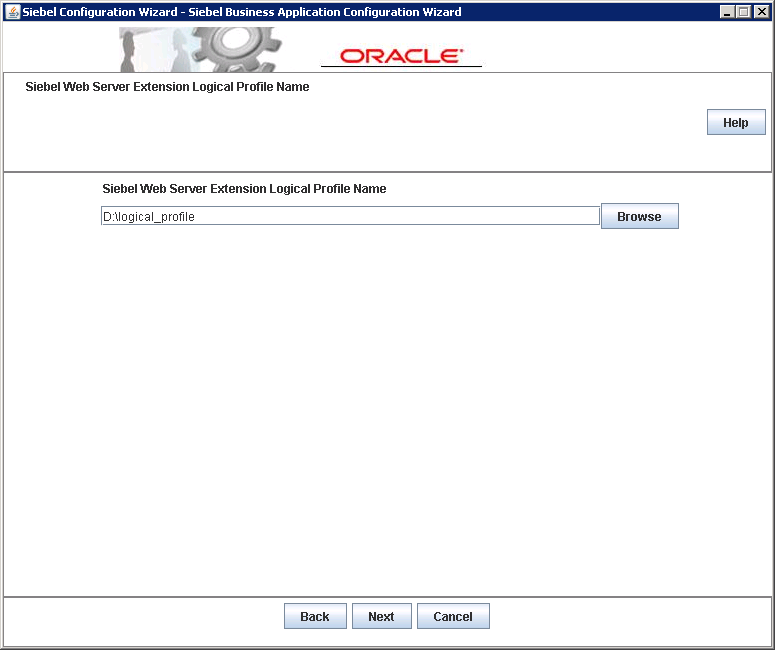
Give a path e.g. D:\Logical_Profile for the directory holding the profile and click Next.
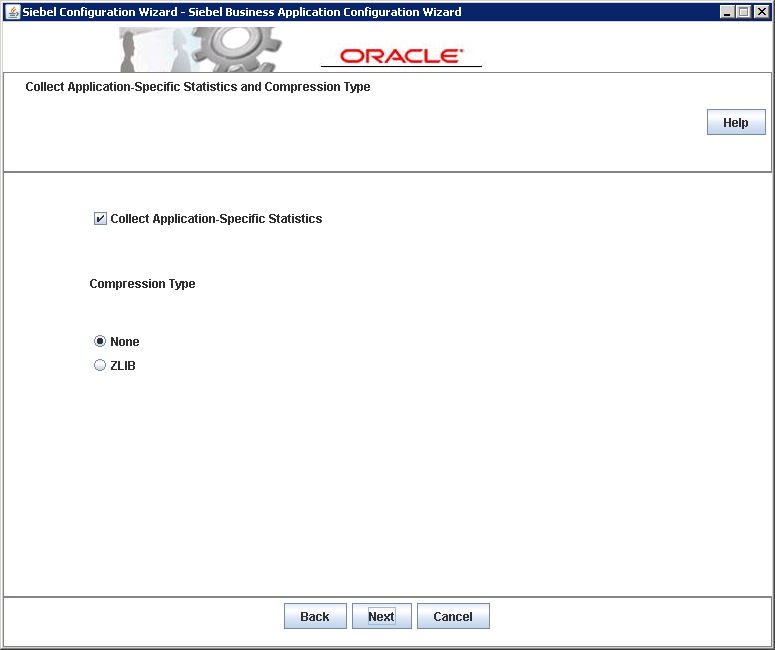
Select “Collect Application-Specific Statistics”. While this is not required, it is advisable since Siebel is capable of identifying query times and statistics relevant to tuning the performance of the application. Since we are not using any compression, choose “None” and click on Next.
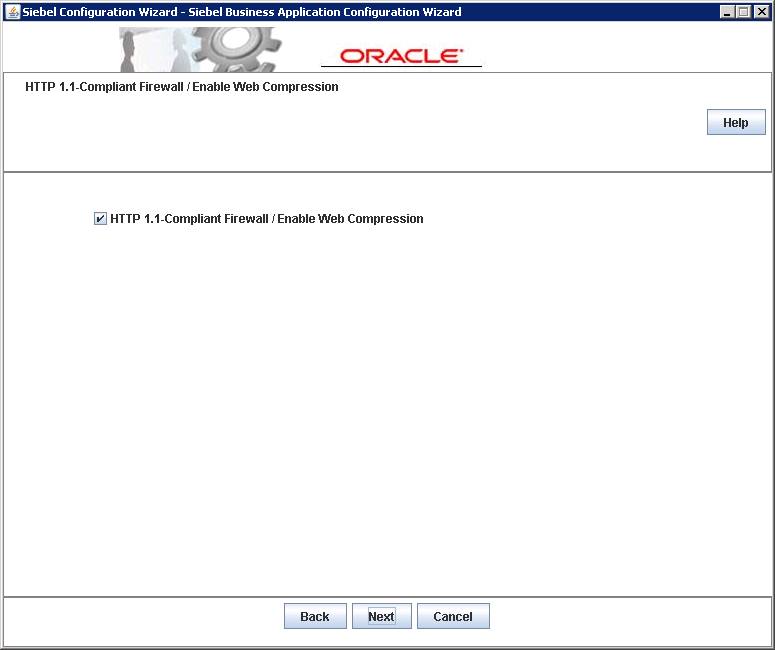
Select HTTP1.1-Compliant Firewall and click on Next.
Choose the defaults and click on Next.
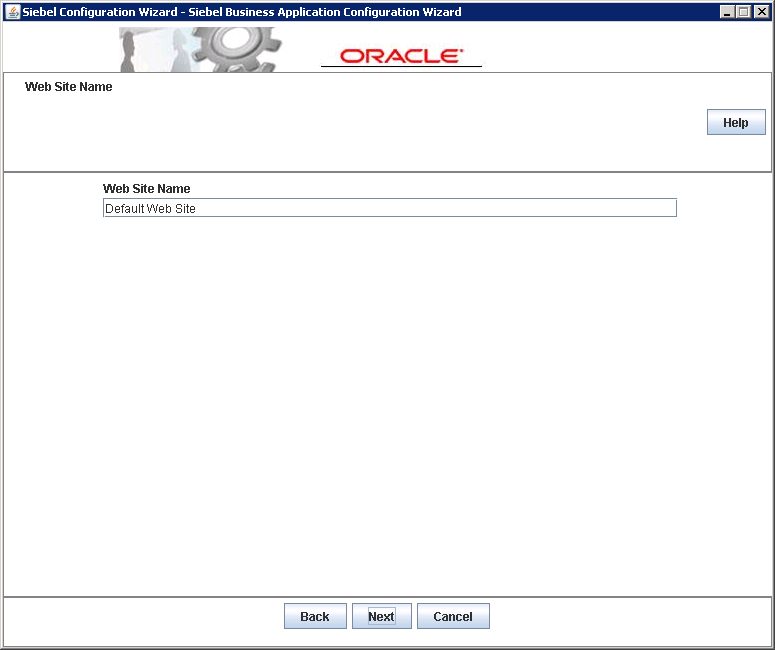
The website name refers to the website on the web server, i.e. IIS which will hold the Siebel virtual directories. Since we are using IIS, keep the default and click on Next.
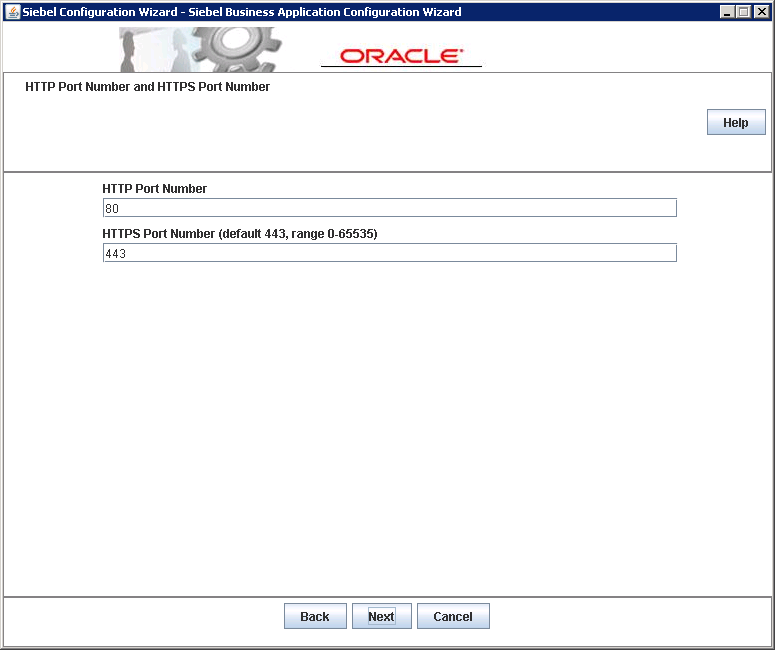
Keep the defaults for the ports and click on Next.
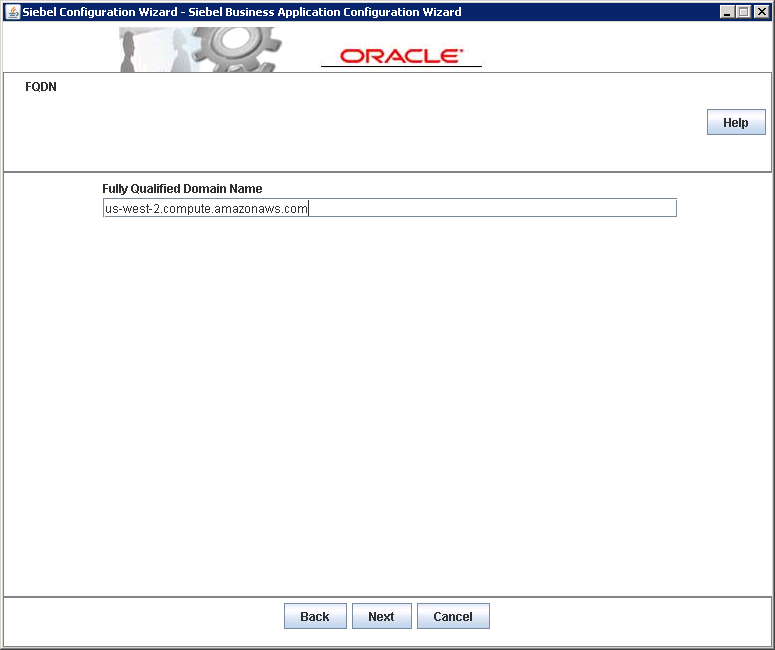
The FQDN can be left empty. We can also fill it with the Amazon FQDN as shown in the Amazon Instances screen. Click on Next once done.
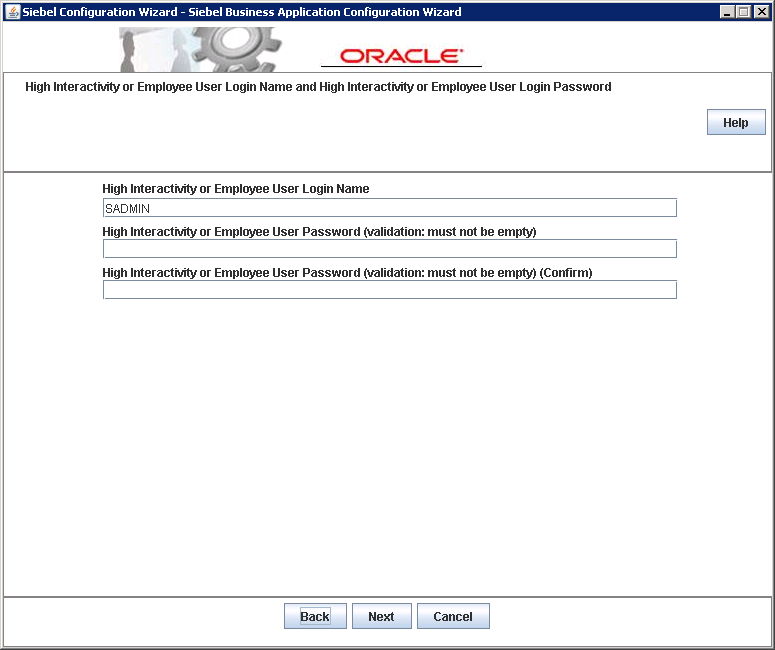
Since we created only three users, use the SADMIN user for the High Interactivity User login. Type in the username and the passwords and click on Next.
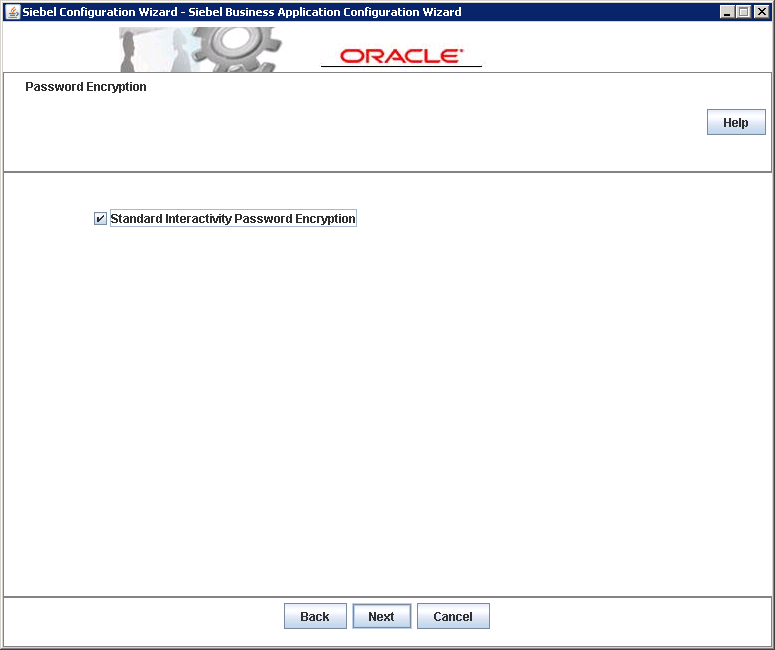
Select “Standard Interactivity Password Encryption” and click on Next.
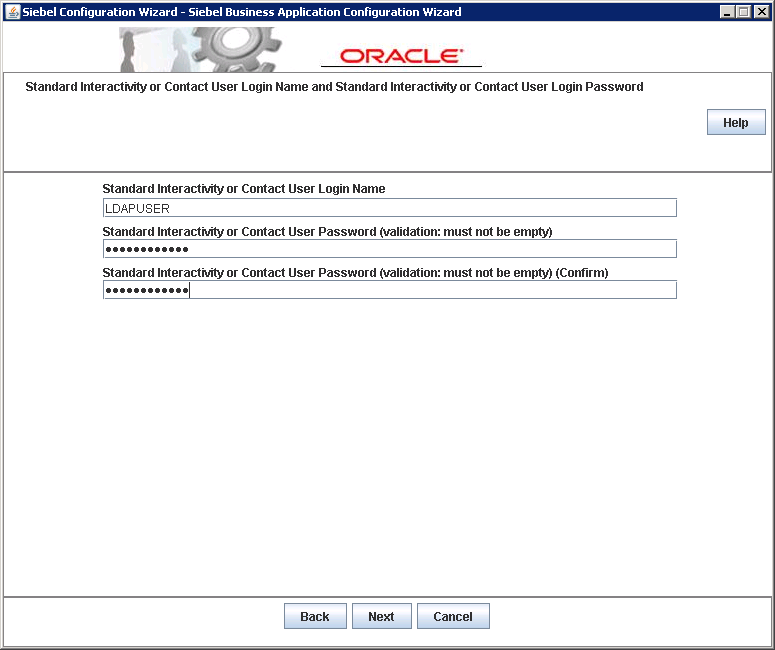
For the Standard Interactivity User Name, use the LDAPUSER account. Fill in the relevant details and click on Next.
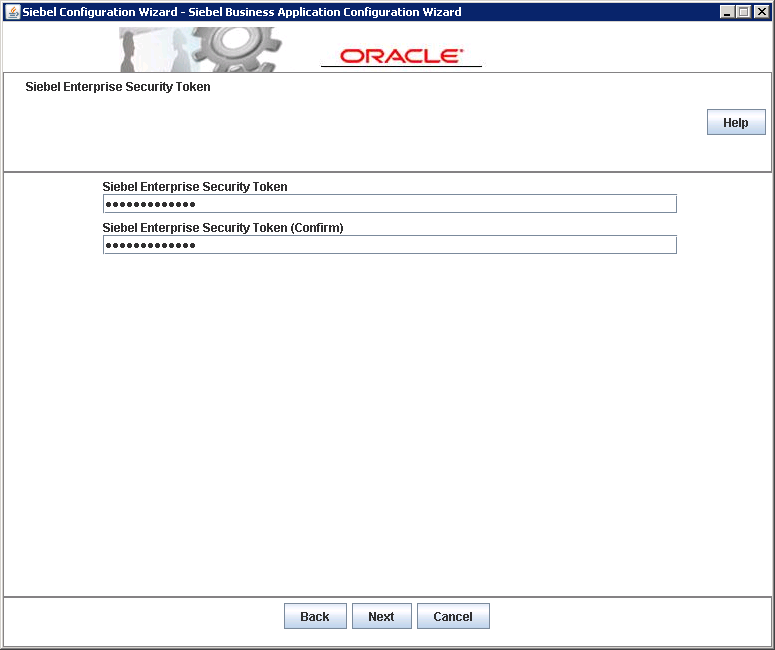
Type in a value for the Siebel Enterprise Security token. Store this value in a secure place. This is the token used for encryption and communication with the Siebel servers. Click on Next once done.

Keep the defaults and click on Next.
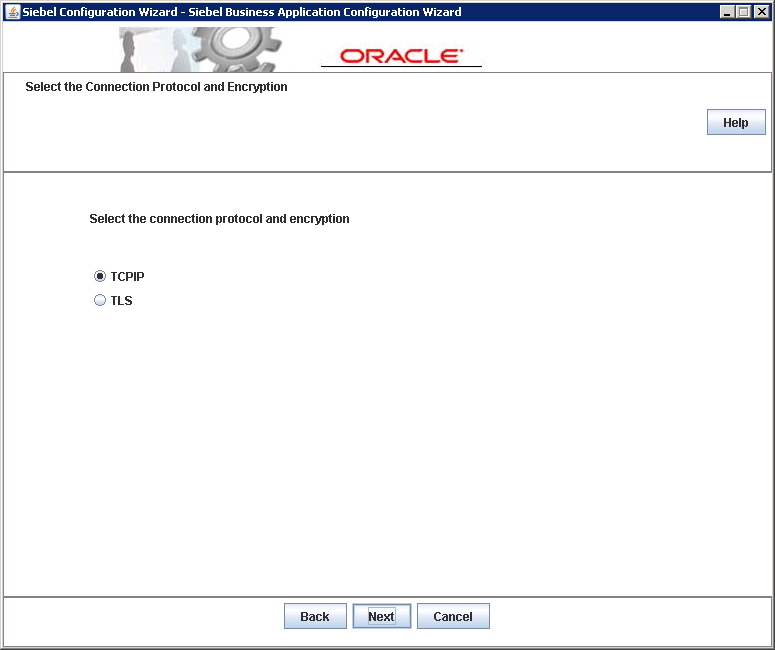
Since we are using TCPIP and not TLS, choose the value and click on Next.
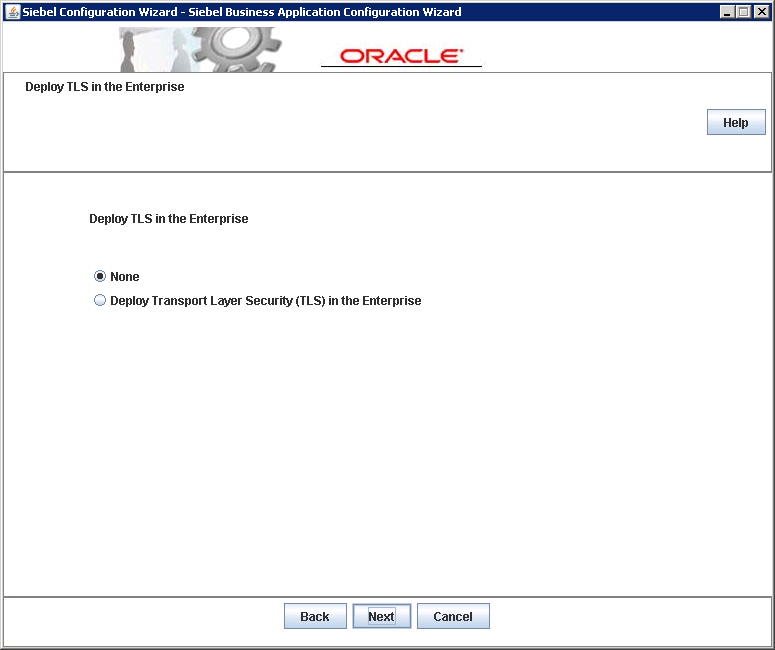
Select “None” for TLS and click Next.
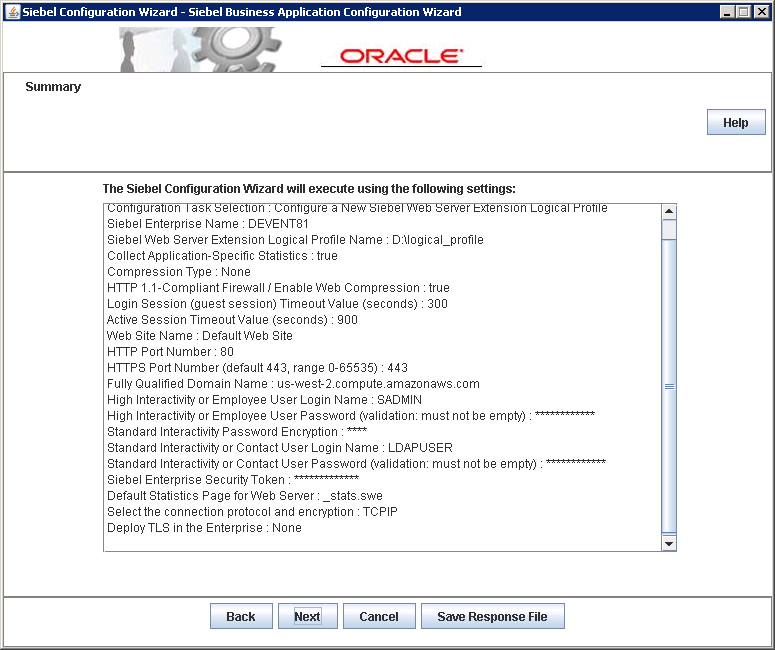
Click Next on the summary screen and wait for the execution to complete.

Click on OK on the success screen.
This completes the section on creating the logical profile.
Applying the Logical Profile
The last part in the creation of the sandbox is the application of the logical profile to complete the configuration.
Log on to the Amazon server named Siebel Web_Gateway_Server.
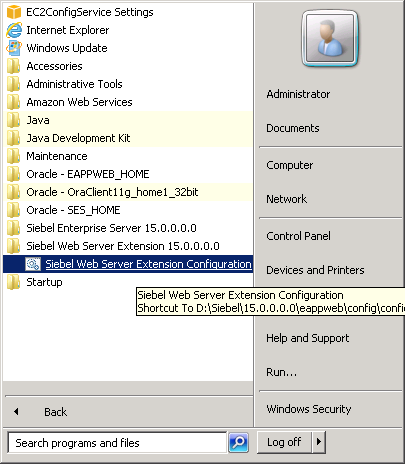
Click on Start -> Programs -> Siebel Web Server Extension 15.0.0.0.0 and choose “Siebel Web Server Extension Configuration” as shown below:
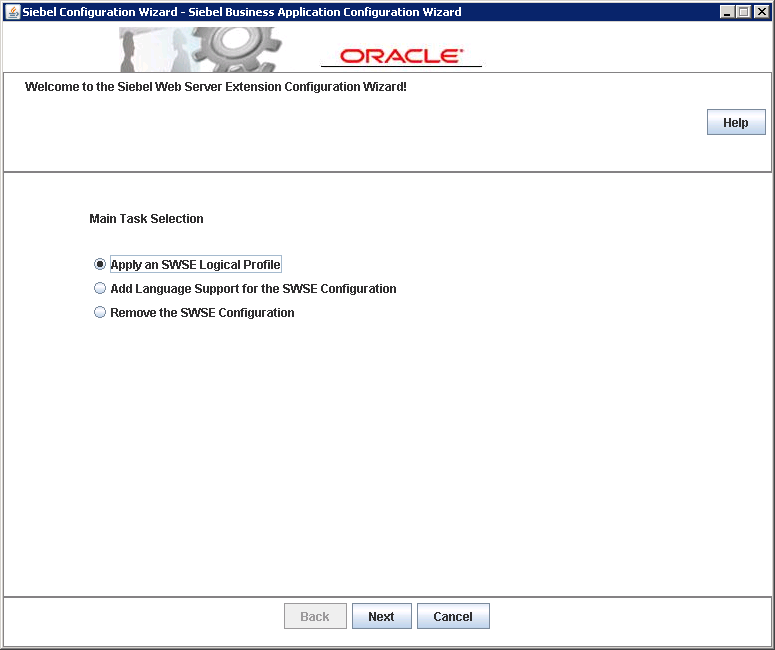
Select “Apply an SWSE Logical Profile” and click on Next.
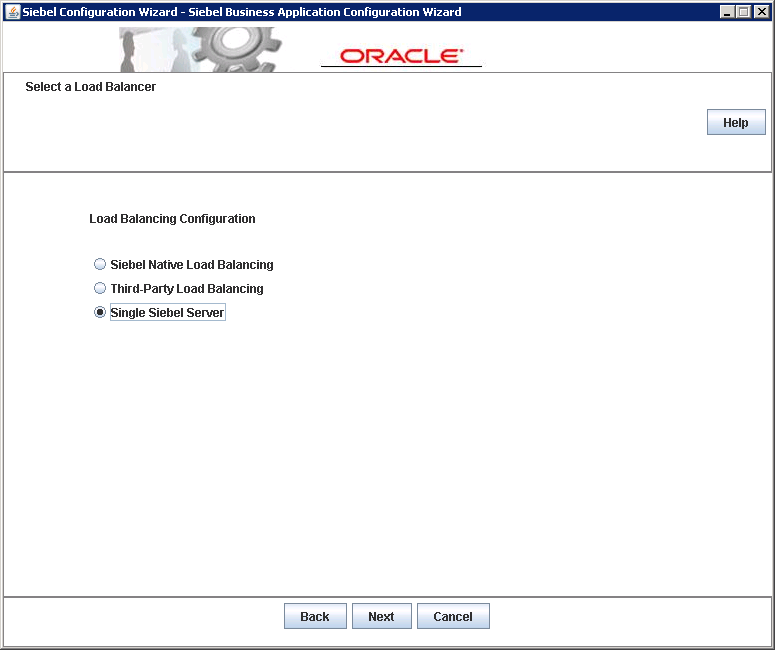
Since we only have one server hosting the object managers and are not load balancing the application, choose Single Siebel Server. This is despite the fact that we have 3 Siebel servers installed. Click on Next once done.
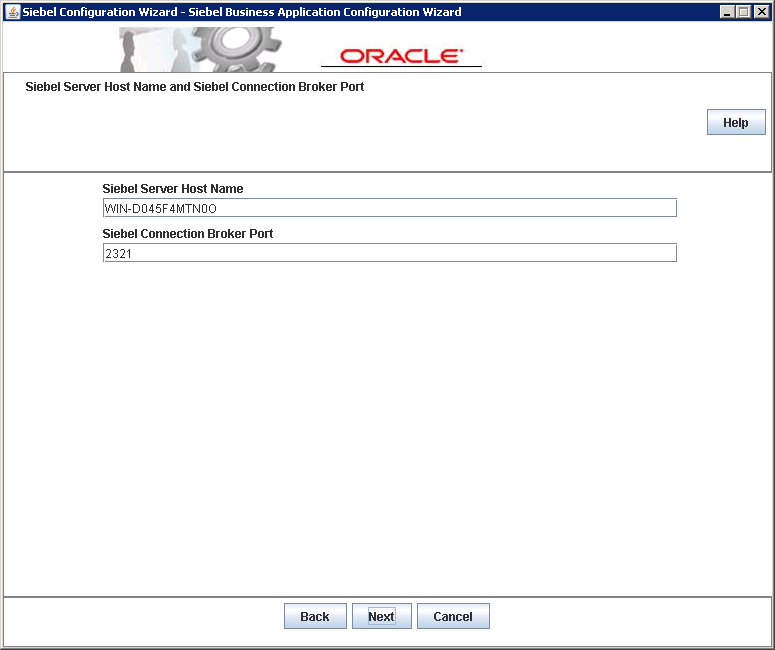
Type in the hostname for the Amazon server named Siebel_Application_Server. Accept the default port and click on Next.
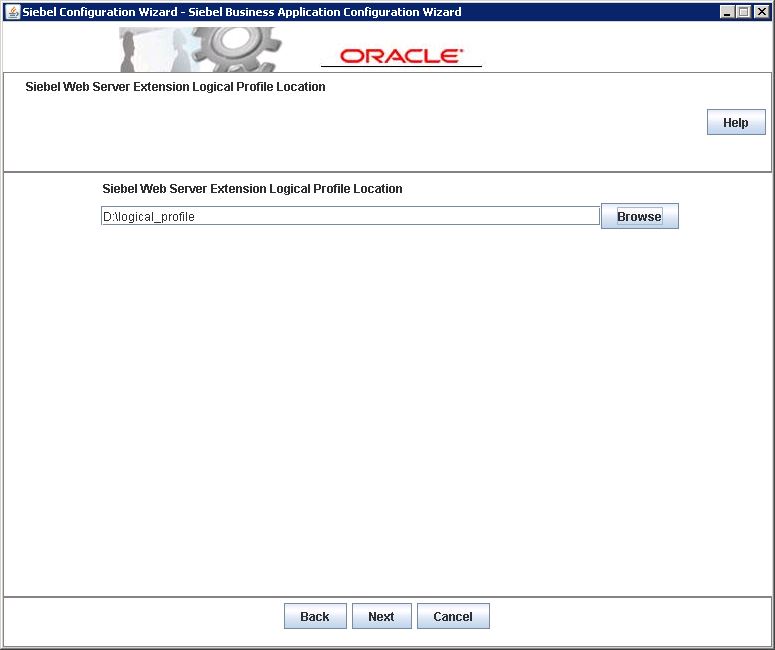
Choose the folder which was created in the previous section and click on Next.
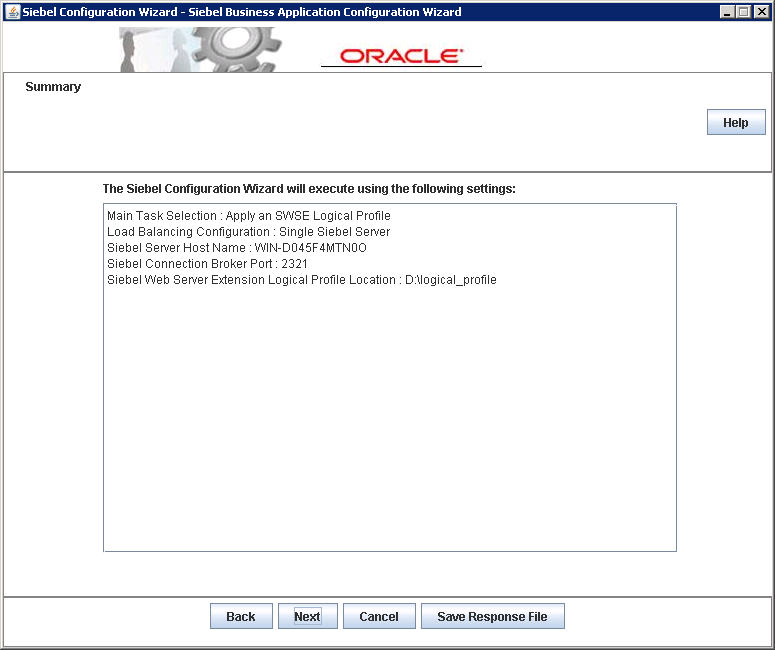
Click on Next on the summary screen and wait for the completion of the execution.

Click on OK on the success screen.
This completes the configuration of the Siebel application.
Shutdown and Startup Sequence
Before we log on to the Siebel application, we need to stop and restart the Siebel servers. The sequence in which this is performed is extremely important and is described below.
Log on to the Siebel Web_Gateway_Server.
- Shut down the World Wide Web Publishing Service.
- Shut down the IIS Admin Service.
- Shut down the Siebel Server Service.
Log on to the Siebel Database Server.
- Shut down the Siebel Server Service.
Log on to the Siebel_Application_Server
- Shut down the Siebel Server Service.
Log on to the Siebel Web_Gateway_Server.
- Shut down the Siebel Gateway Name Server Service.
Log on to the Siebel Web_Gateway_Server.
- Start the IIS Admin Service.
- Start the World Wide Web Publishing Service.
- Start the Siebel Gateway Name Server Service.
- Start the Siebel Server Service.
Log on to the Siebel Database Server.
- Start the Siebel Server Service.
Log on to the Siebel_Application_Server
- Start the Siebel Server Service.
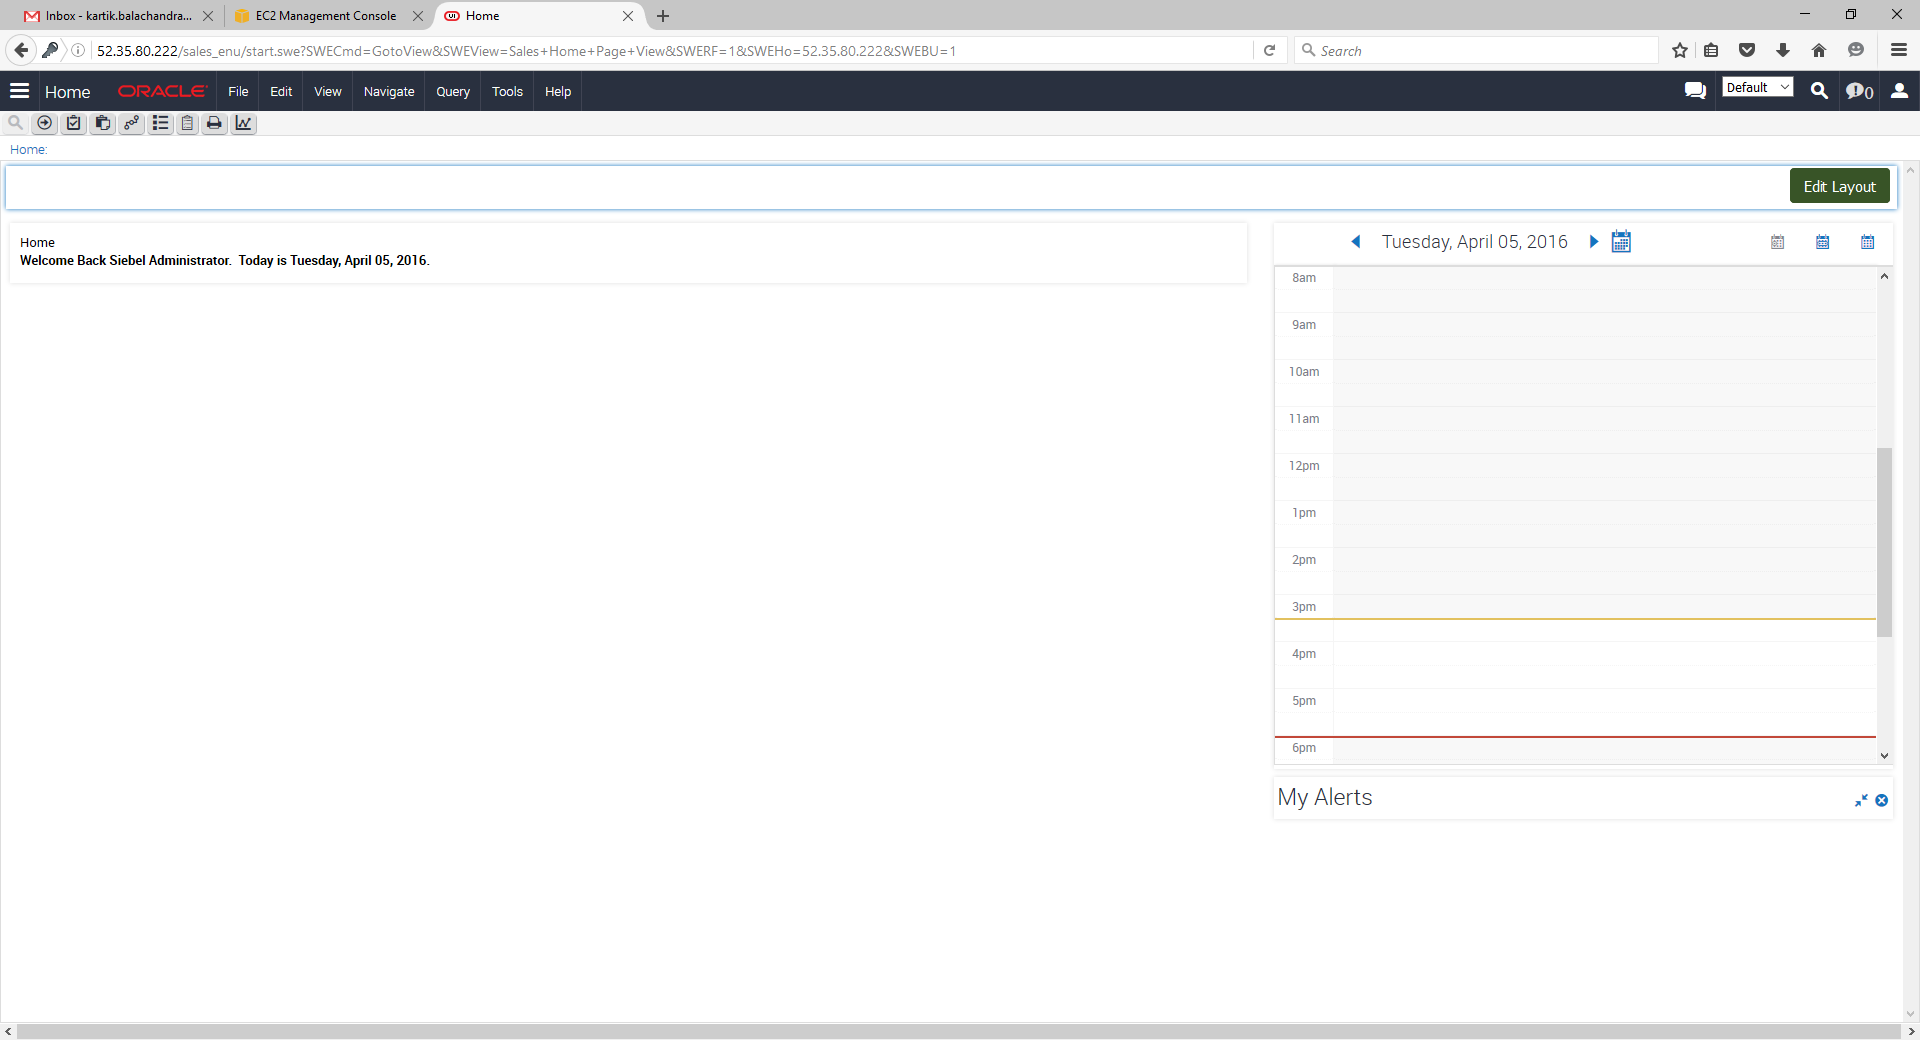
This should bring up the Siebel Application.
Logging on to the Siebel Application
Open a browser and navigate to http://<Amazon_Elastic_IP_Address/Sales_enu.
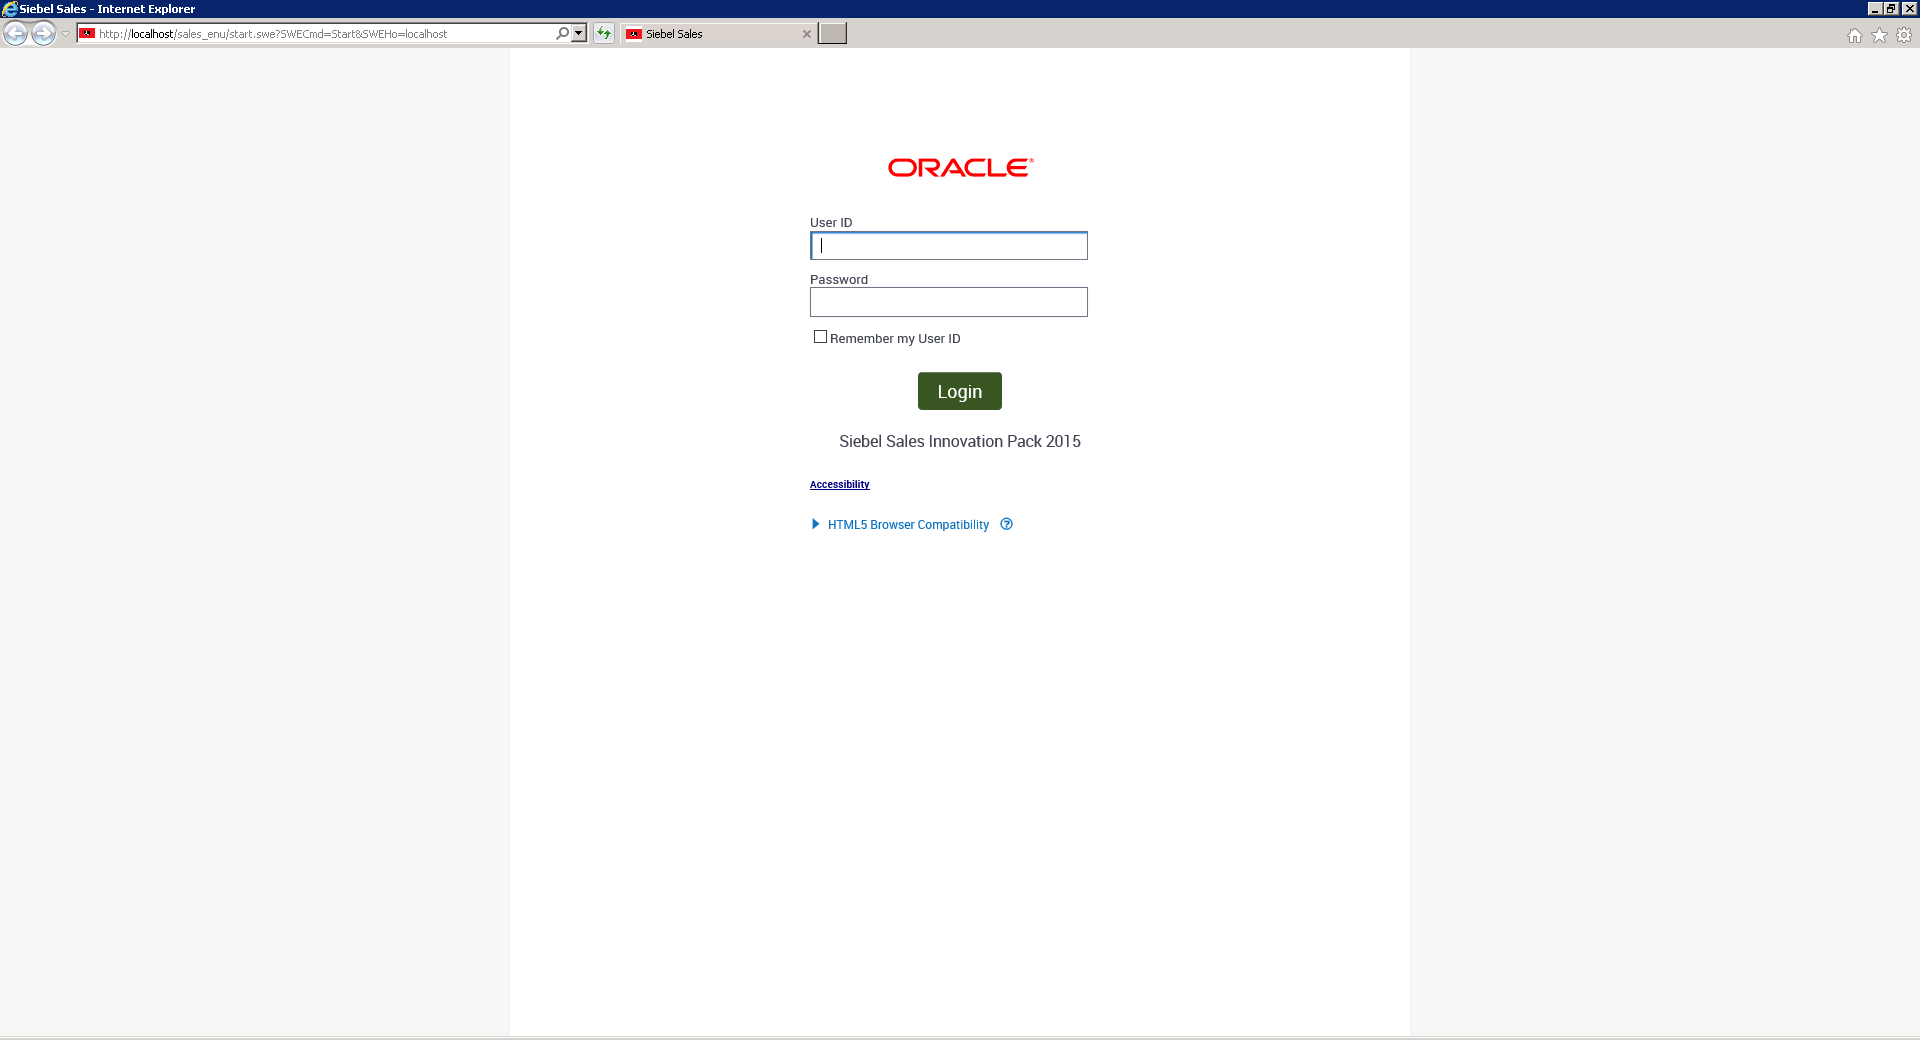
Log on using the SADMIN Username and Password.

This article concludes the series on the creation of the Sandbox Environment. The next articles in the series focus on the upgrade process itself.
Load comments